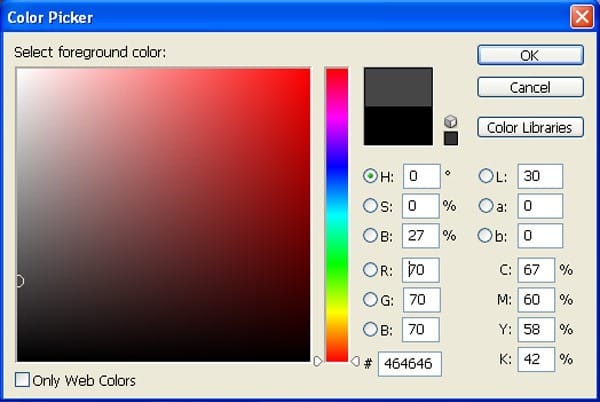
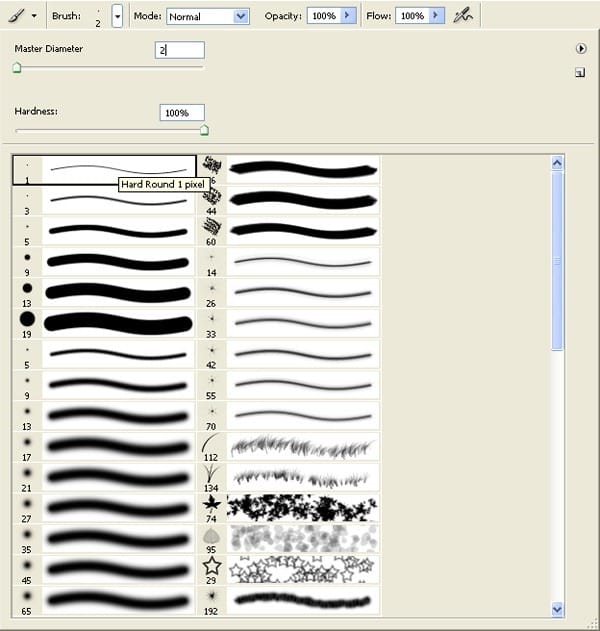
Open Brush (B) chose Hard round brush as below :
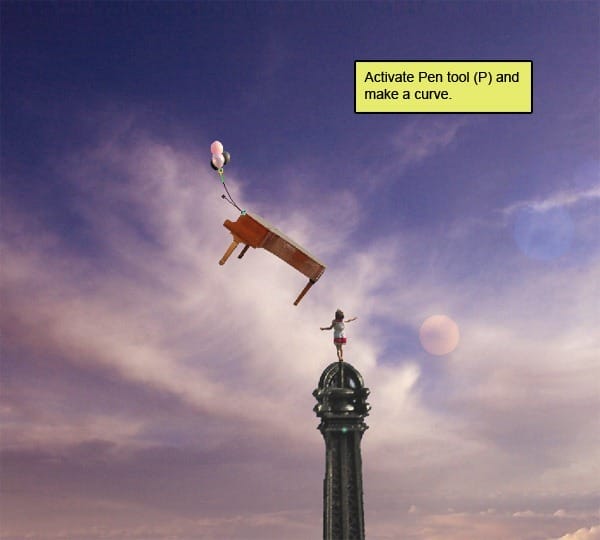
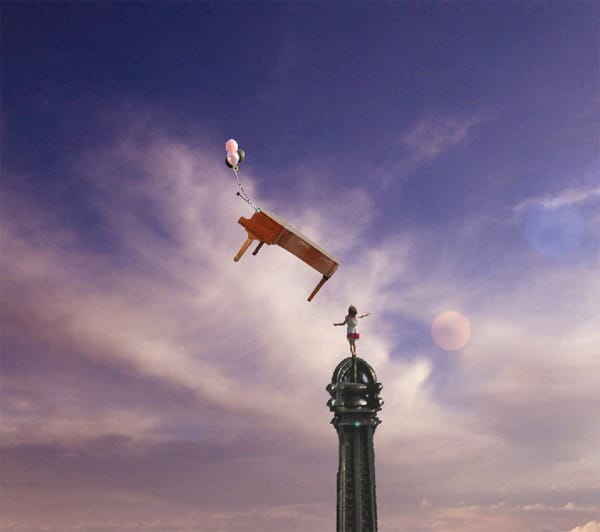
Now a new layer and name it “Thread” then activate Pen tool and make a curve:
Now right click and chose Stock path from options.
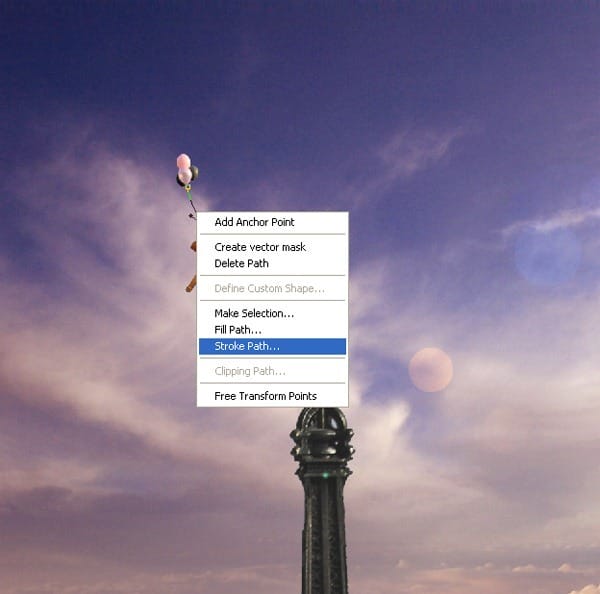
When stock path box opens Select brush.

The result should be similar to this:
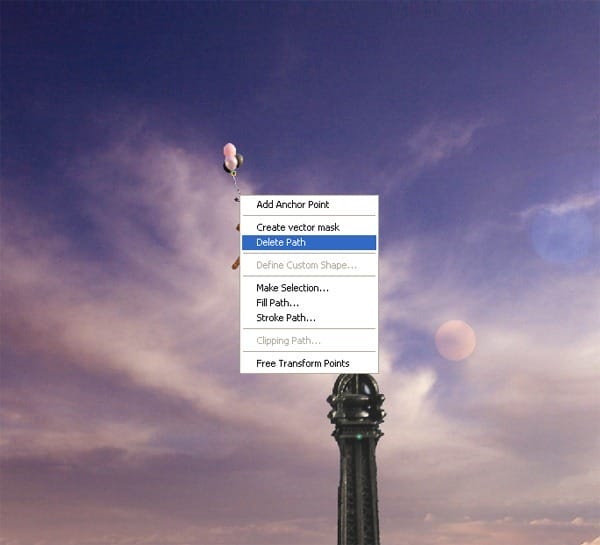
Right click and chose Delete path .
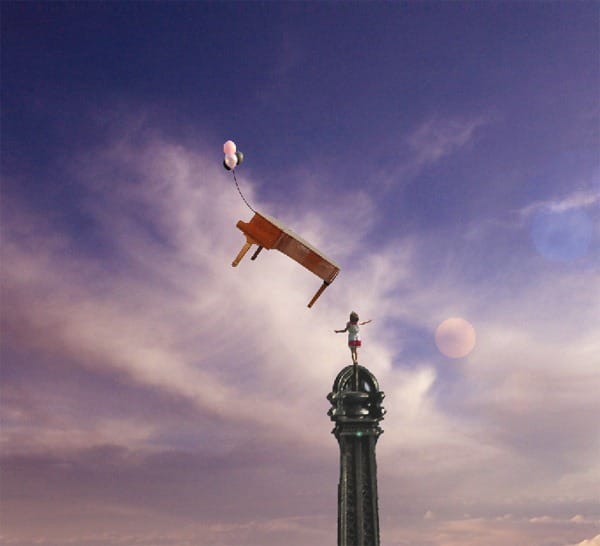
The result should be similar to this:
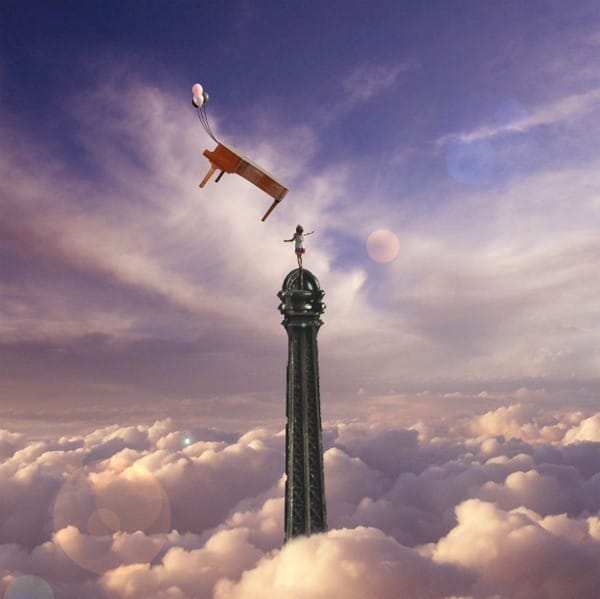
Make more threads following the same steps:
Step 8: Fix Key
First off, let’s open Skeleton Key stock in Photoshop. We will be using the key from this stock image so we will need to transfer it to our main canvas.
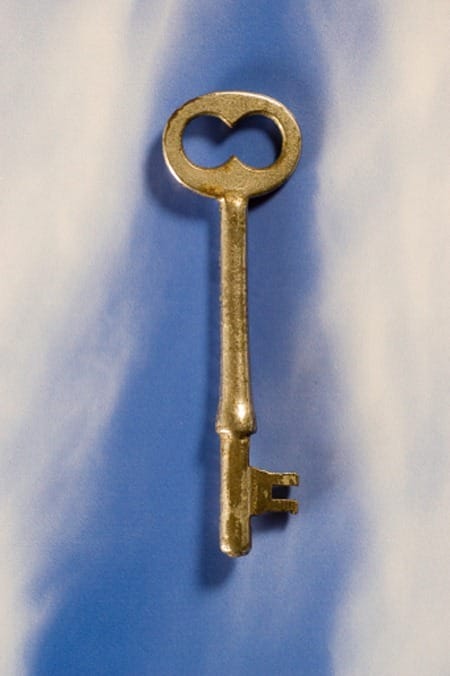
Click the Skeleton Key and press P to activate pen tool and then make a selection around the key and then click V to activate the Move Tool. Left-click the image and drag the image to the main canvas and change layer name to “Key”.
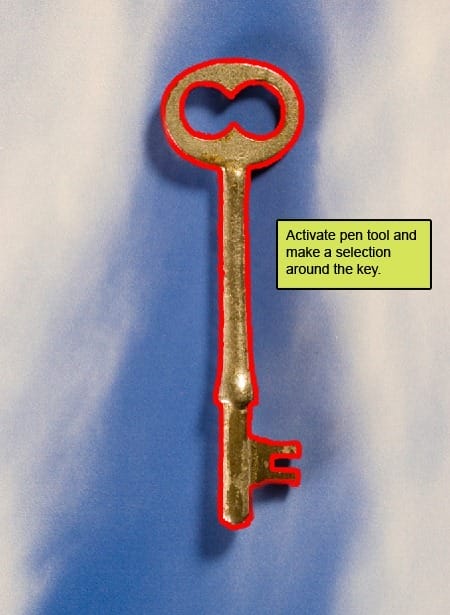
The result should be similar to this:

Next, activate the Transform tool (Ctrl/Cmd +T), then while the “Key” layer is selected and then resize it as shown below:
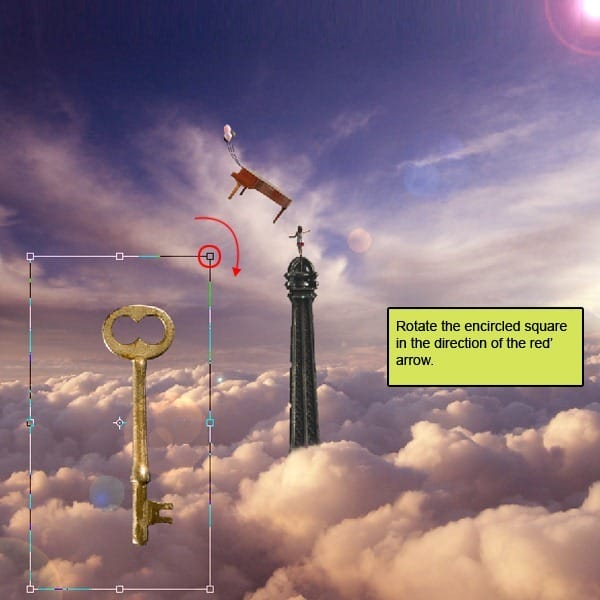
The result should be similar to this:

Now activate Erase tool (E) with these settings Now let’s erase :
- Brush size: 400px
- Hardness: 0%
- Opacity: 40%
- Flow: 100%
- Color: #000000
Now paint over the highlighted area.

The result should be similar to this:

Duplicate the “Key” layer (ctrl+j) and rename it “key2” see as below .

Step 9: Create Shadow’s
Now activate a new layer and name it “Shadow”. Activate Brush tool (B) with these settings:
- Brush size: 400px
- Hardness: 0%
- Opacity: 40%
- Flow: 100%
- Color: #000000
Now paint over the highlighted area.

The result should be similar to this:

Step 10: Enhance the Light and Color of the overall image
Now create a Solid color adjustment layer which can be found by pressing on the Create New Fill/Adjustment layer button shown on the layer window:
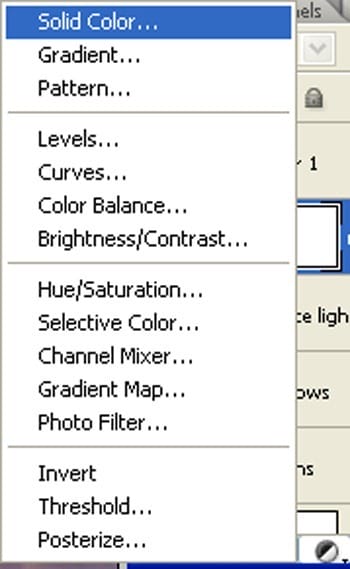
When the Solid color box opens, input the following:
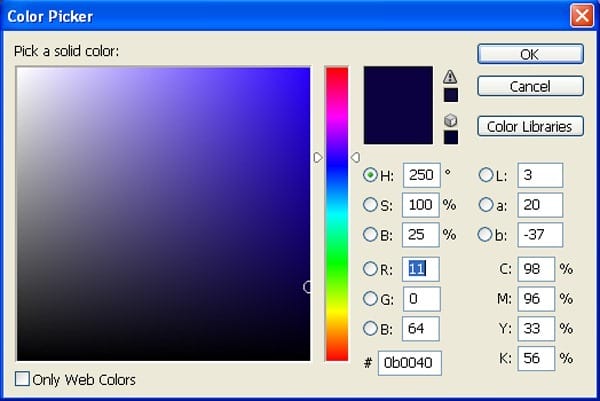
The result should be similar to this:

Change the layer mode to “Exclusion” and reduce the opacity to 20% :
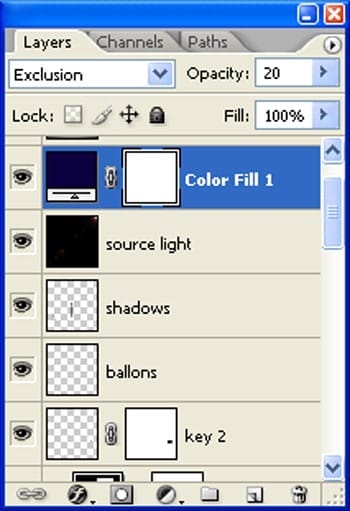
The result should be similar to this:

Step 11: Create a Vignette
Activate new layer and name it “Vignette” and fill it with white color (#ffffff).

Now go to Filter > Distort > Lens Correction :
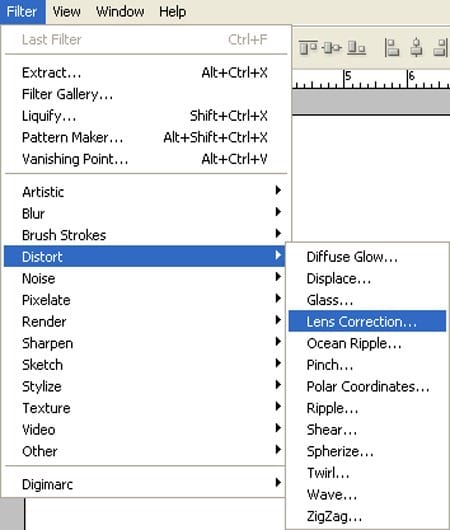
When the Lens Correction box opens, input the following:
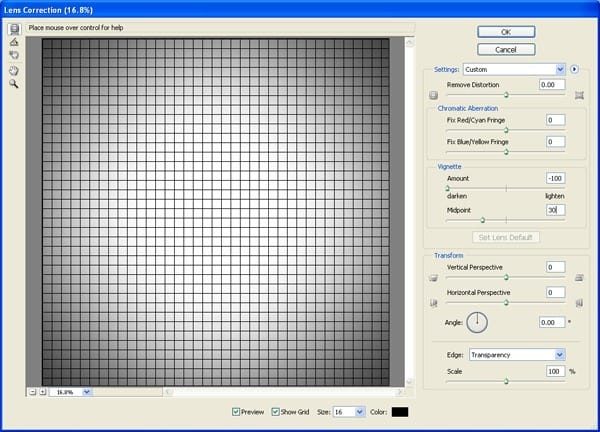
The result should be similar to this:

Change layer mode to “Multiply”:
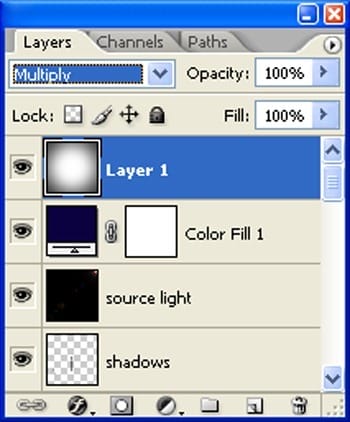
The result should be similar to this:

Final Results
![final-results[1] final-results[1]](https://cdn.photoshoptutorials.ws/images/stories/fc9949e78d86_9366/final-results1.jpg?strip=all&lossy=1&webp=82&avif=82&w=1920&ssl=1)
Tutorial by Vik Aadi
12 responses to “How to Create a Surreal Photo Manipulation of the Eiffel Tower”
-
Very Nice
-
STEP 1 ADOBE PHOTOSHO
-
Some Fantastic images here, some really creative, some excellent timing.
-
Nice! but the girl should be flipped so the the lighting on her body matches the lighting on the clouds.
-
Thank
-
i love you and i want to see you lol jkim kidding anyway this looks like a lot of work
-
-
THanks. I like the way you making tutorial .
Pretty clear teaching for those amateurs to PS like me! -
This is pretty sick
-
nice. thank you
-
nice man. though there’s one thing i’d suggest. the eiffel tower looks a bit chipped in places, which gives it a sharp look as compared to the surroundings. maybe you should paint over that part or smudge it a bit, so that it looks more blended
-
Waaw Perfect. Thanks for tutorial.
-
Thank You


 I’m a freelance visual artist from india.I am a fan of Surreal artworks, and I would like to share the process on how I do mine. I hope you’d enjoy creating this tutorial and I hope this would help you in whatever you’re doing. Anyway, thank you for visiting this page and using my tutorial, if you want to see more of my art works,and if you have any kind of project for me or any kind of art colobration in your mind give me a shout at my
Leave a Reply