
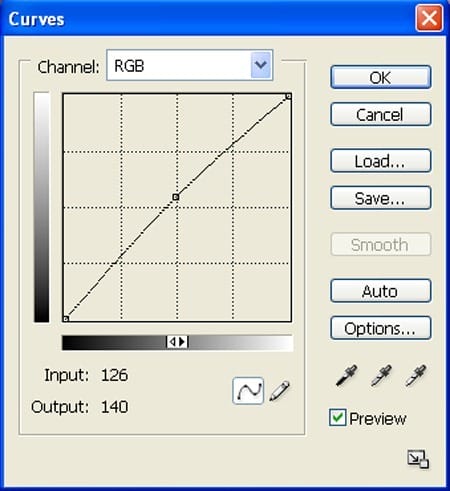
When the Curves box opens, input the following:
The result should be similar to this:

Step 3: Fix Tower
First off, let’s Eiffel tower stock in Photoshop. We will be using the tower from this stock image so we will need to transfer it to our main canvas.
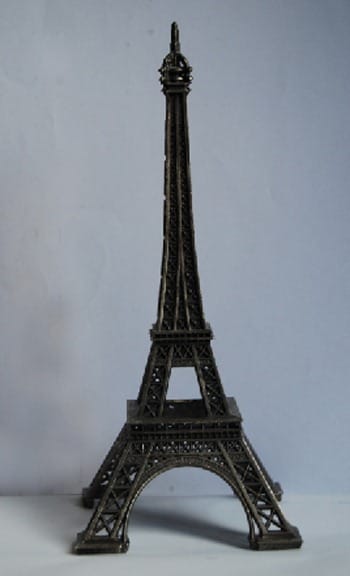
Click the Eiffel tower stock and press P to activate pen tool and then make a selection around the tower and then click V to activate the Move Tool. Left-click the image and drag the image to the main canvas and change layer name to “tower”.
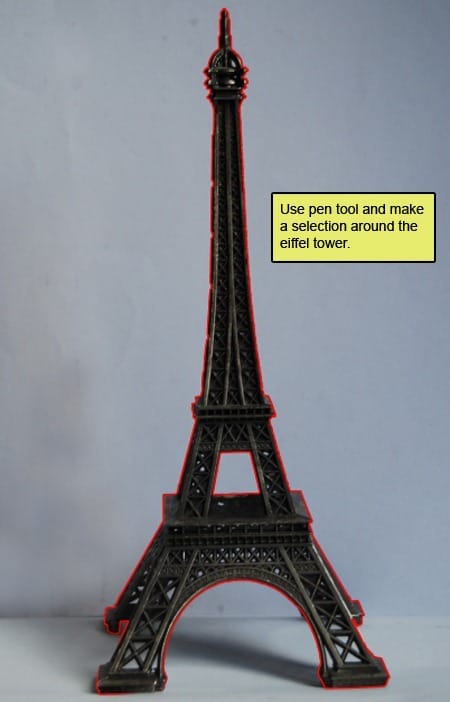
The result should be similar to this:
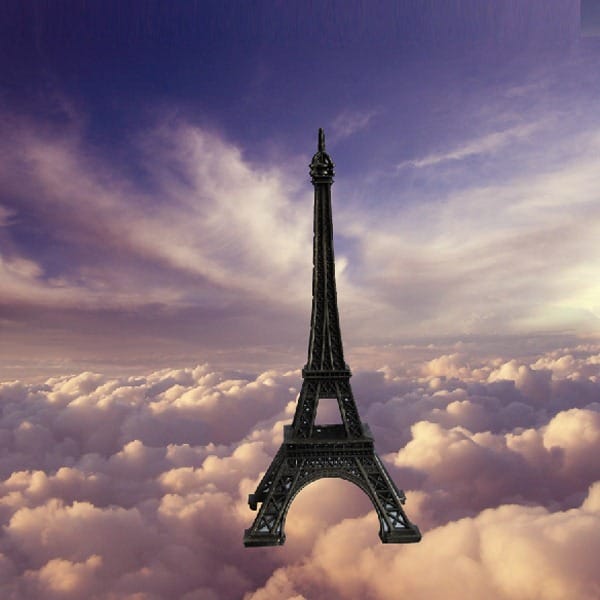
Next, activate the Transform tool (Ctrl/Cmd +T), then while the “Tower” layer is selected and then resize it as shown below:
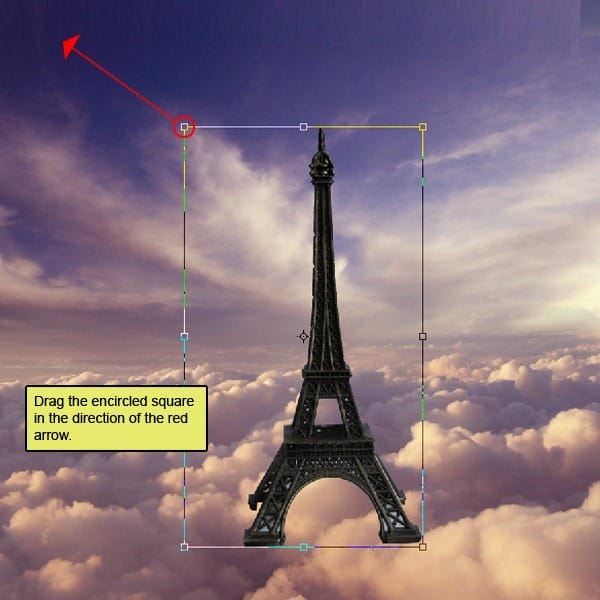
The result should be similar to this:
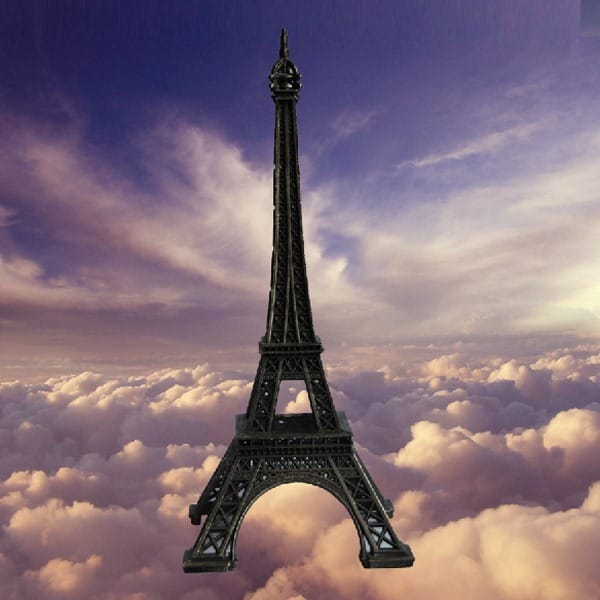
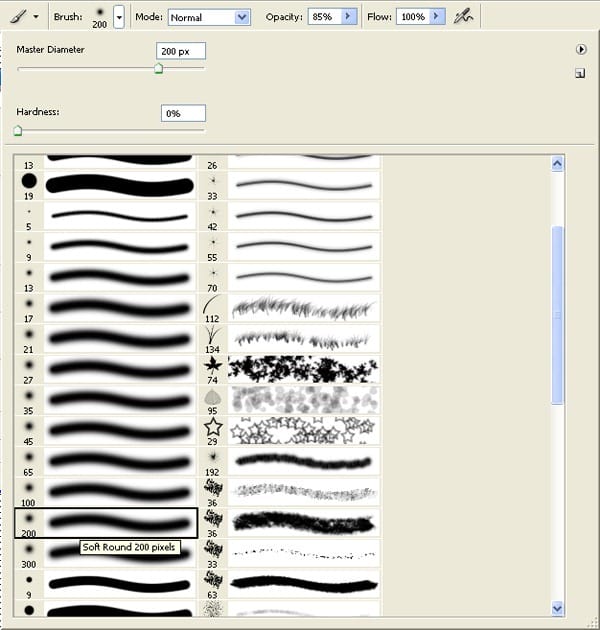
Activate brush tool then right click on the canvas while the Brush tool (B) is active and then pick this brush:
Now paint over the highlighted area.
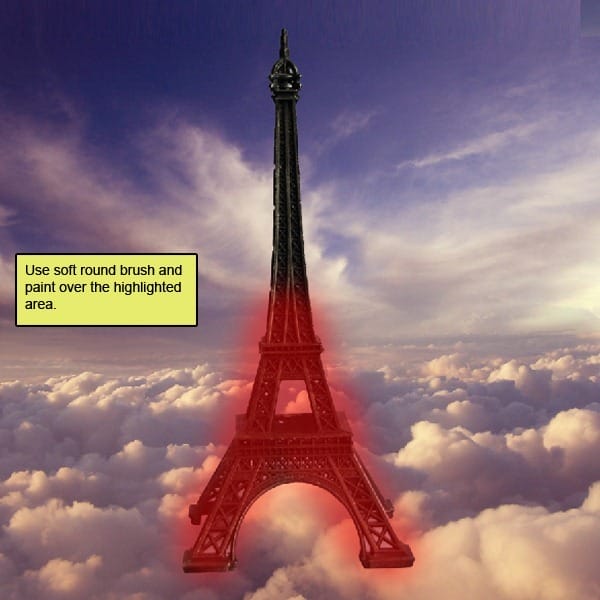
The result should be similar to this:
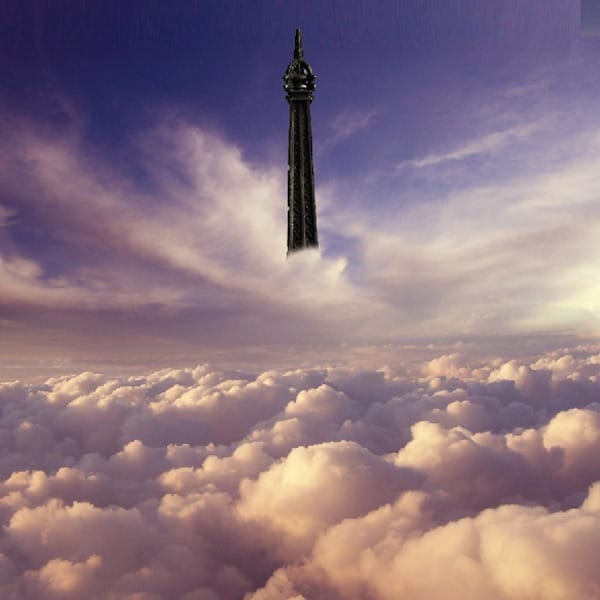
Move Tower to the other place .

The result should be similar to this:
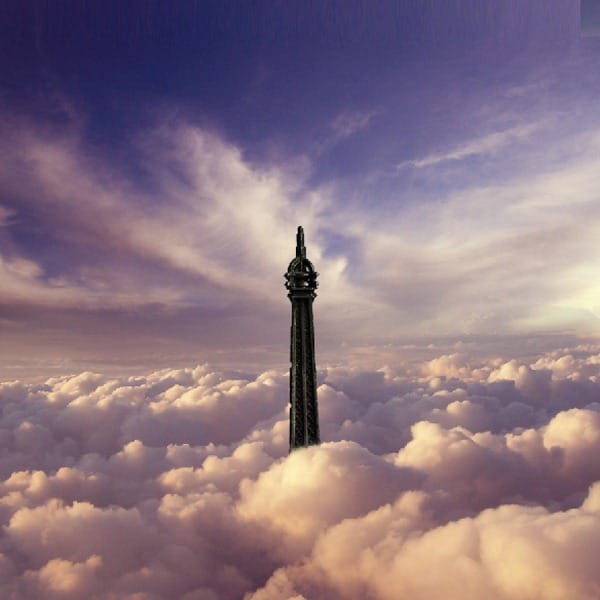
Activate brush tool then right click on the canvas while the Brush tool (B) is active and then pick this brush:
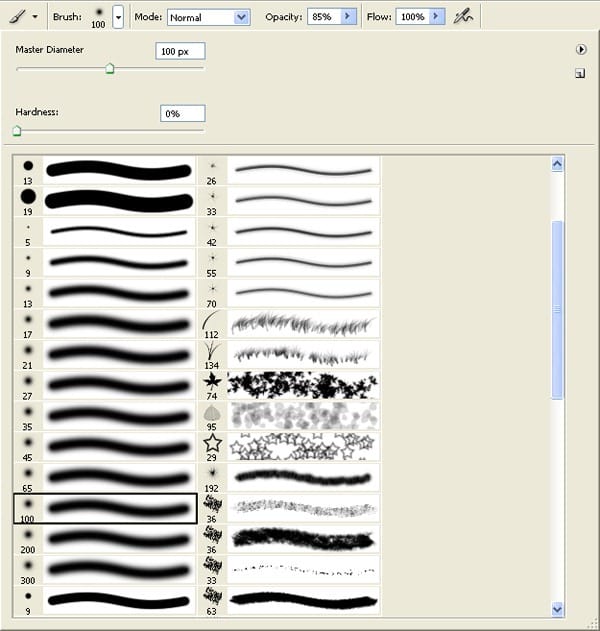
Now paint over the highlighted area.
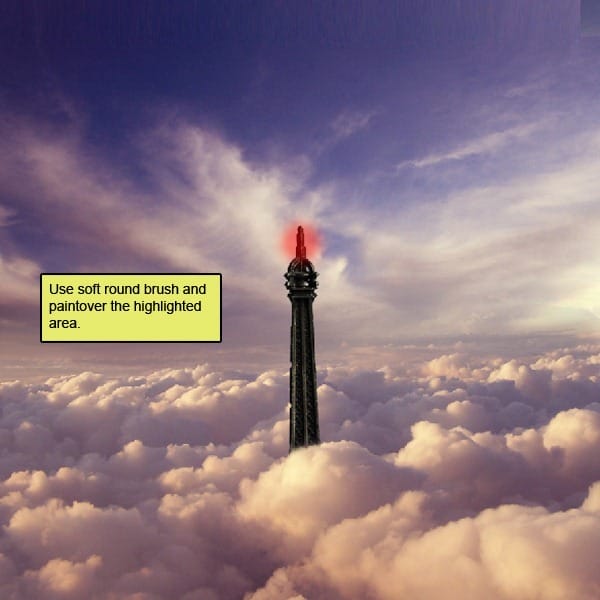
The result should be similar to this:
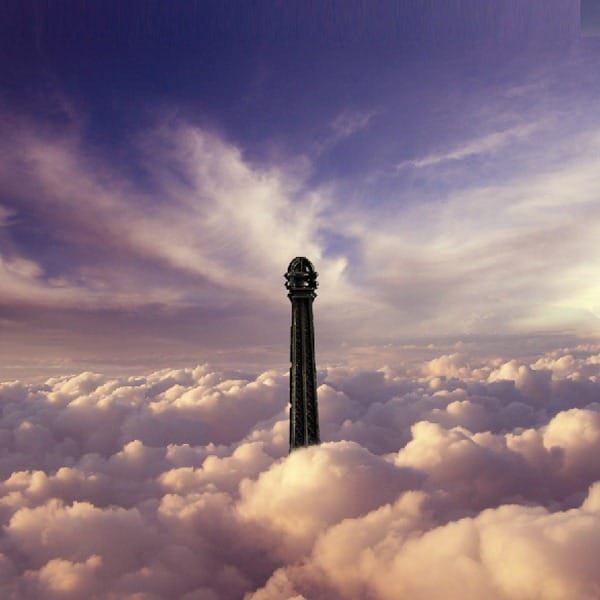
Now create new Brightness/Contrast adjustment layer from the bottom of layers palette .
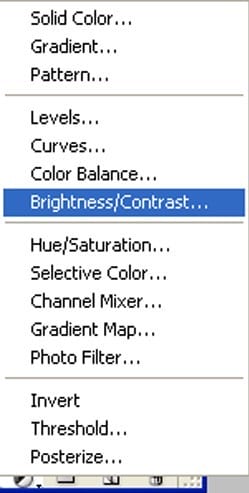
When the Color Balance box opens, input the following:

Press Alt+left click in between 2 layer’s (Tower layer and Brightness/Contrast) to make a mask.

The result should be similar to this:

Now create new Curves adjustment layer from the bottom of layers palette .Press Alt+left click in between 2 layer’s (Tower layer and Curves) to make a mask.
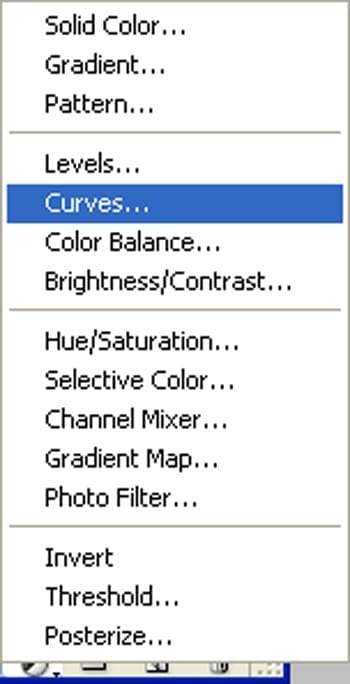
When the Curves box opens, input the following:

The result should be similar to this:

Step 4: Create Source Light
Now activate a new layer name it “Source light” and fill it with black color (#00000).

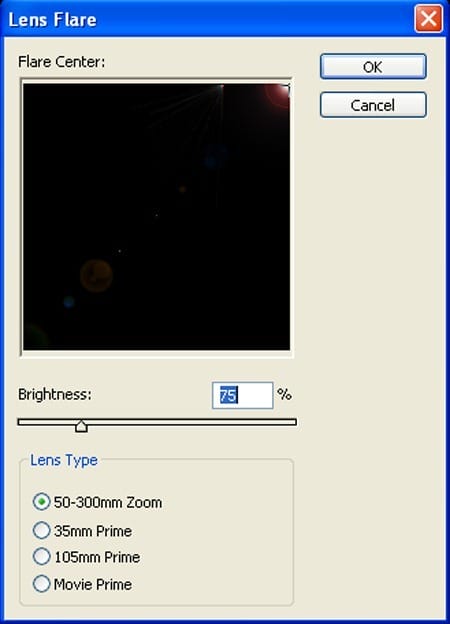
Now go to Filter > Render > Lens Flare :
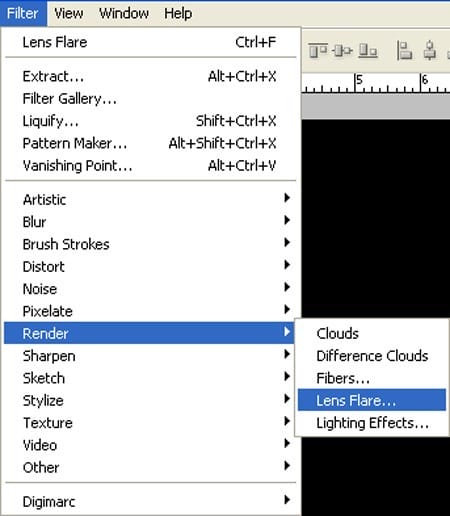
When the Lens Flare box opens, input the following:
The result should be similar to this:

Now Change the layer mode to Liner Dodge.
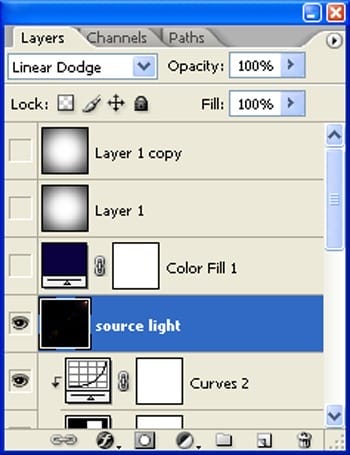
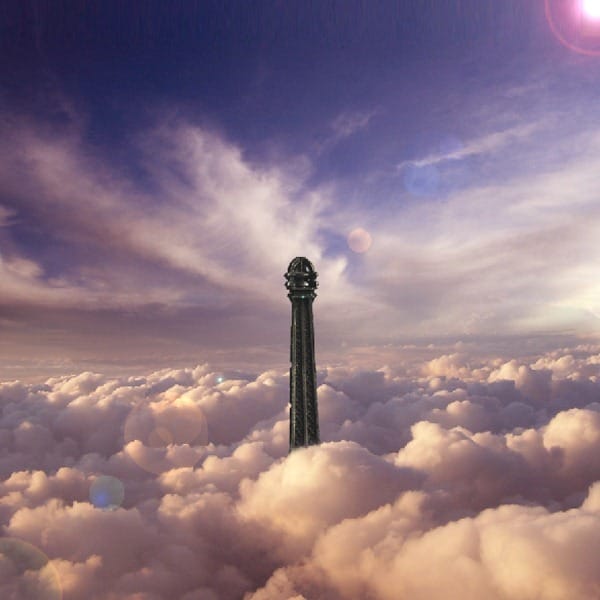
The result should be similar to this:
Step 5: Fix girl in canvas
First off, let’s open Playtime XXIII stock in Photoshop. We will be using the girl from this stock image so we will need to transfer it to our main canvas.
12 responses to “How to Create a Surreal Photo Manipulation of the Eiffel Tower”
-
Very Nice
-
STEP 1 ADOBE PHOTOSHO
-
Some Fantastic images here, some really creative, some excellent timing.
-
Nice! but the girl should be flipped so the the lighting on her body matches the lighting on the clouds.
-
Thank
-
i love you and i want to see you lol jkim kidding anyway this looks like a lot of work
-
-
THanks. I like the way you making tutorial .
Pretty clear teaching for those amateurs to PS like me! -
This is pretty sick
-
nice. thank you
-
nice man. though there’s one thing i’d suggest. the eiffel tower looks a bit chipped in places, which gives it a sharp look as compared to the surroundings. maybe you should paint over that part or smudge it a bit, so that it looks more blended
-
Waaw Perfect. Thanks for tutorial.
-
Thank You


Leave a Reply