Make your artwork look like they're from an alternate universe. These Cyberpunk presets work with Photoshop (via the Camera Raw filter) and Lightroom. Download all 788 presets for 90% off.
Step 16
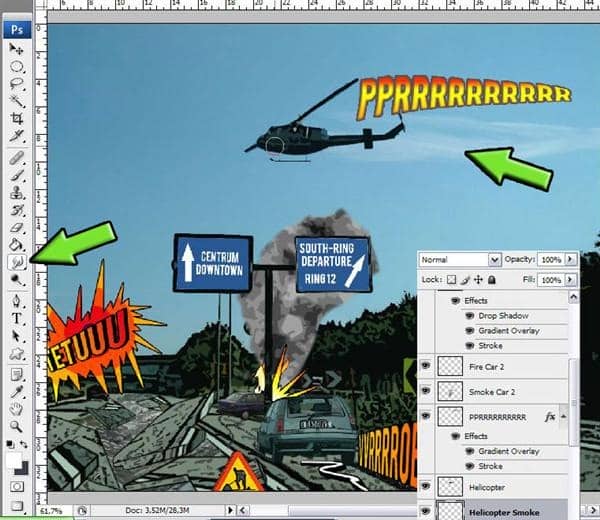
Now we are going to change the traffic direction signs. Select the Original layer and select out the traffic direction sign. Then make your own text. I did this:
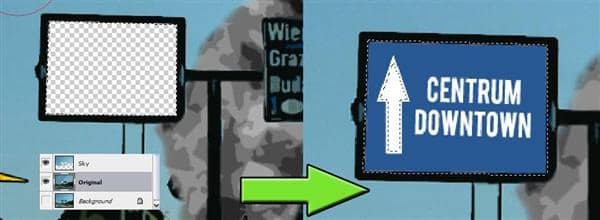
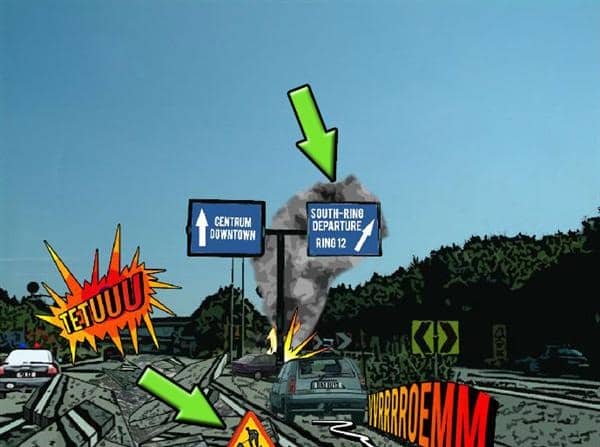
Also i did this with the other traffic direction sign. To give the broken highway more sense i added a 'man at work' sign at the bottom of the project.
Step 17
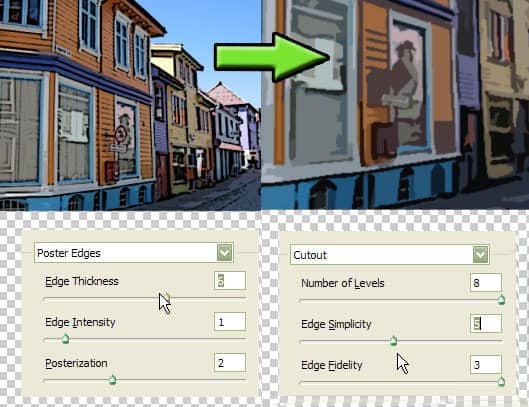
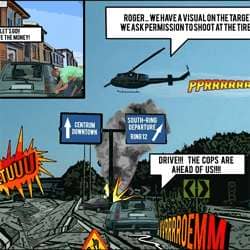
I also added a police helicopter. This one i photographed in Austria when i was on holiday. I gave the helicopter the known Poster edges and Cutout filter effects. And i added some text to this layer. And Warp this text a little bit down. (Edit > Transform > Warp) To give the helicopter some speed i took the Brush tool (B) and the color white. Around 10px is ok. I did not take a regular brush, but i is fine to do so.
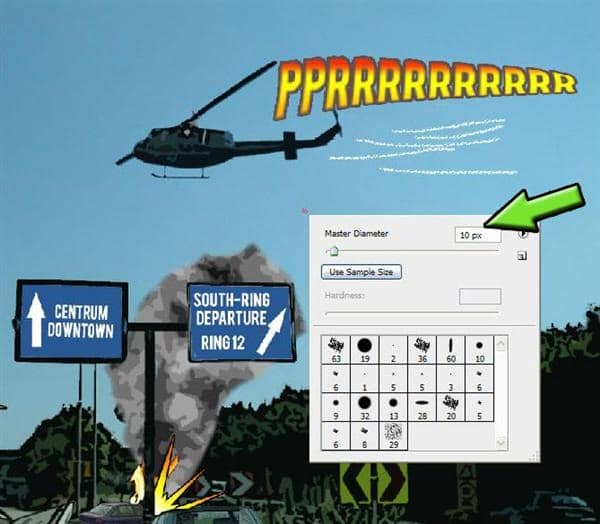
Take the Smudge tool (R) and smudge this out to create a light smoke:
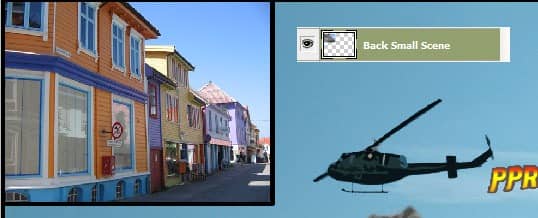
To finish of this cartoon i created an earlier happening. I created a new layer with a background in it. This background is photograph from the city Stavanger in Norway, beautiful don't you think?
I gave this street also these filter effects :
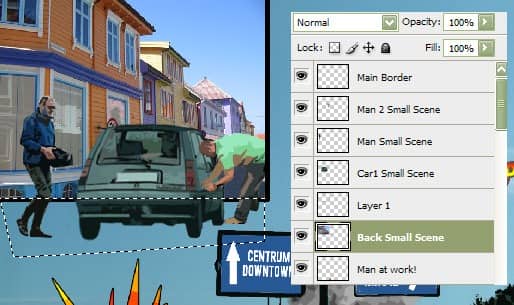
Then i added some people in it. The 'Bad guys' !! Also the Poster edges and Cutout filter are added on them. I duplicated the car we already have been using, and flipped it horizontal. Then i select the part that falls outside of the small scene section and deleted that part.
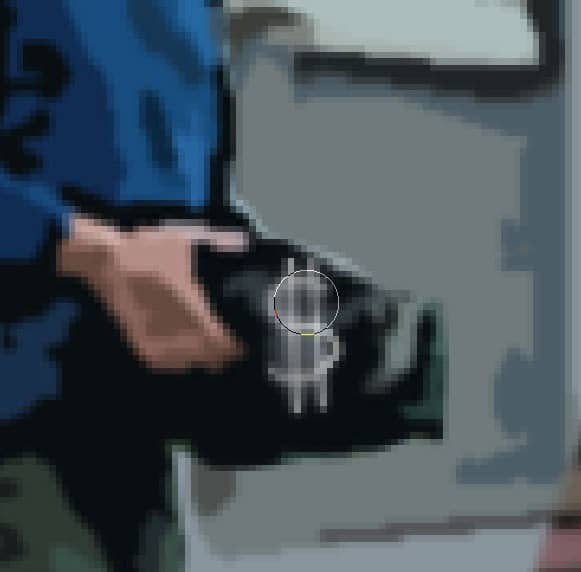
The 'Bad guy' had something in his hands. I wrote a $ on it with the brush tool. Then i blurred it a little bit with the Blur tool(R).
Step 18
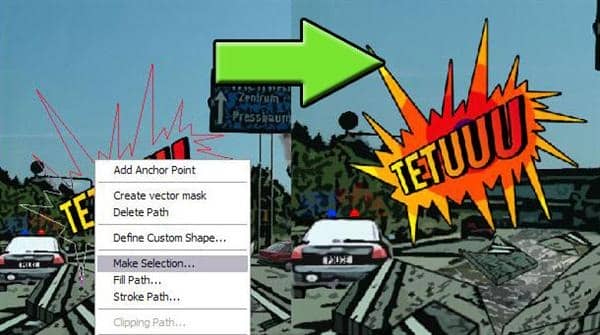
Now we're going to draw some text balloons. For every written text en text balloons, i used separated layers. Use the Pen tool (P) to draw the outlines and hold Shift to create straight lines. Make selection out of it. (Remember? Right mouse on path and select 'make selection'). Then stroke this selection. (Edit->Stroke) Choose size 5 and color black and click ok. Deselect it and fill it with the color white using the Paint bucket tool(G).
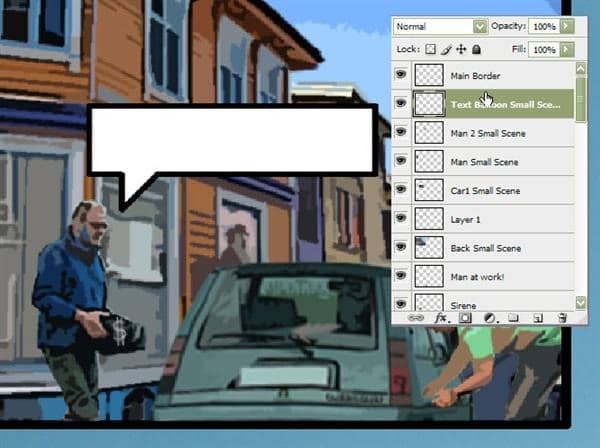
Then create a text layer and add some text to it. I also created an 'Earlier that day' text field in the same way :

6 comments on “Comic Book Effect”
I'm a bit of a novice so some of this stuff goes over my head, eg. using the pen tool to select the right level of pavement, erasing the correct parts of the mountain, distorting it correctly, would like to see more detail. Nice job though, really helpful tutorial.
Thanks, I have learnt so much just fro this one tutorial! Kappow!!!
FBGM
Only children doe
it is awesome.............!!!!!!!!!!!!!!!
nice
This is actually a time consuming process tutorial... but it's a stunning one. Great job !