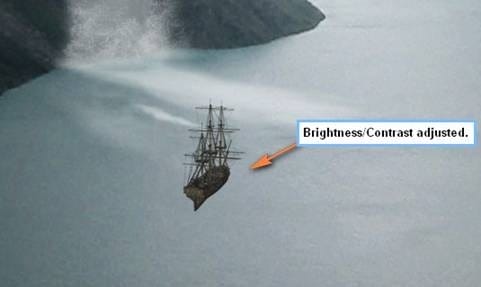
- Brightness: +15
- Contrast: -10

The result should be similar to the image below:
Now, activate the Eraser tool (E). We’re going to make the ship look like it really is on water by erasing the ship’s hull or its bottom part. Use the following settings for the Eraser tool (E):
- Brush size: 10px
- Hardness: 0%
- Opacity: 100%
- Flow: 100%
Now in order for us to accurately erase, we would need to zoom in to the image. To do that, go to the Navigator window and set the zoom level to 100%. See image below:

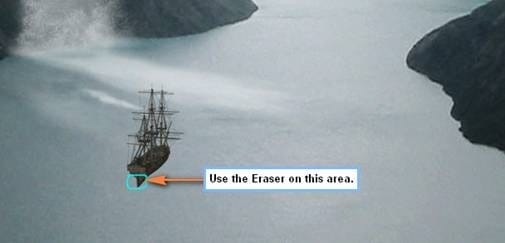
Erase the part of the ship as shown on the image below:
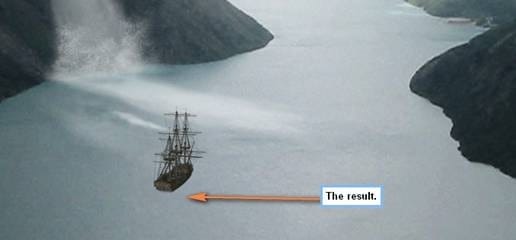
Next, the last thing we would need to do to make this ship blend with the rest of the picture is to lower its Opacity. While the layer “Ship” is selected, reduce its Opacity to 80%.

After the ship, let’s now add its shadows. Create a new layer (Ctrl/Cmd + Shift + N) and then name it “Ship shadow”. When the layer is created, move this layer below the “ship” layer. Next, activate the Brush tool (B) and Reset your brushes. To reset your brushes, do the same thing as you would with the “Load Brushes” option.
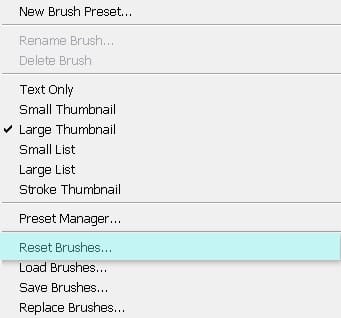
After you’ve reset your Brushes, use the following settings:
- Brush size: 30px
- Hardness: 0%
- Opacity: 15%
- Flow: 100%
- Navigator Window: 100%
Use the Brush on the area shown on the image below:

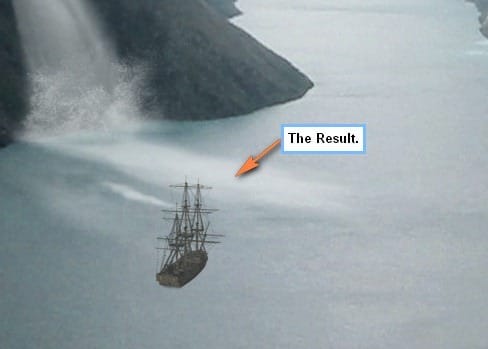
The result should be similar to the image below:

When you’re done, group all the layers that you’ve created on this step and name this group: “Ship and its shadow”.
Step 5: Create the Waves from the Ship
We’re going to make the ship look like its moving so we will create waves which come from the ship. To start, let’s create a new layer (Ctrl/Cmd + Shift + N) and name this layer “Waves from Ship 1”. So that it would look realistic, make sure that this layer and all the layers that you’re going to create on this step is below the “Ship’s shadow” layer. Next, activate the Brush tool (B) and load the brush pack: “waves brush” by anaRasha. Once these brushes have been loaded choose the following brush:
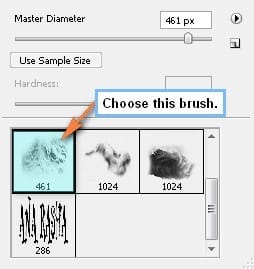
Once you’re done with that, set the Brush values to the following:
- Brush size: 100px
- Hardness: Default
- Opacity: 50%
- Flow: 100%
- #: ffffff
Be sure to zoom this at 100% for you to accurately brush-in the waves. Use the Brush on the area shown below:
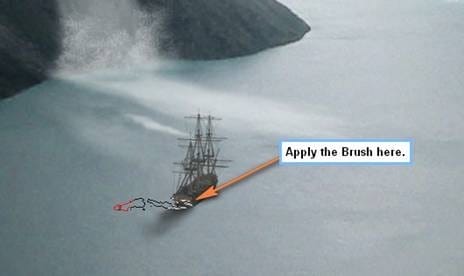
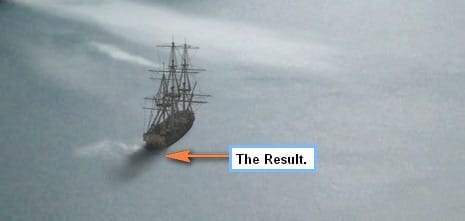
These waves definitely do not look like it came from the ship, so we’ll need to transform/rotate it. Activate the Transform tool (Ctrl/Cmd + T) and right click on the selected layer then click on Rotate.


4 responses to “Create a Beautiful River Scenery in Photoshop”
nice :D
lovely~
the river photo on deviant arts, several links are the exact photo here, very popular tutorial, thanks!
stockimage 10 isn’t there anymore
That deviantart account closed. I just used this picture instead http://www.sxc.hu/photo/1405918