The result should be similar to this:
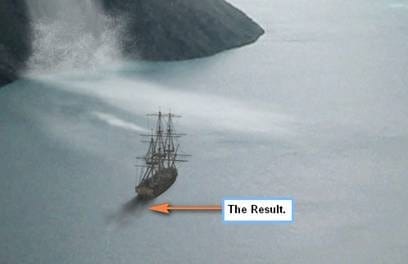
Next, let’s create another layer and name it “Waves from Ship 2”. We’re going to use the same brush (brush 461 of the “waves brush” by anaRasha). After that, set the brush to the following:
- Brush size: 175px
- Hardness: Default
- Opacity: 50%
- Flow: 100%
- #: ffffff
Apply the brush on the area shown below:

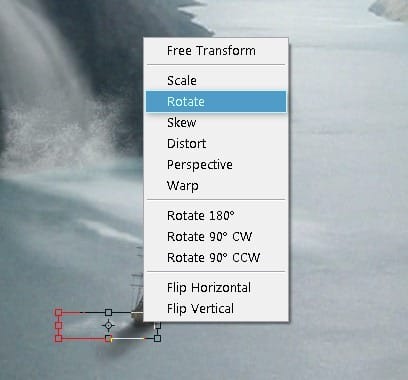
Activate the Transform tool (Ctrl/Cmd + T) and rotate it as shown below:
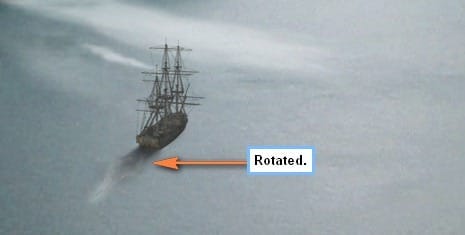
Now for the next layer, name it “Waves from ship 3” and then activate the Brush tool (B). Once the Brush tool (B) is activated reset the brushes. After resetting it, input the following:
- Brush size: 40px
- Hardness: 0%
- Opacity: 25%
- Flow: 100%
- #: ffffff
Make sure that the zoom level is set at 100%. Now we’re ready to paint! Apply the brush on the area shown below:

Now that we’re done, select all the layers that we’ve created and press Ctrl/Cmd + G to group them, name this group as “Waves”.
Step 6: Retouch the Image
In this step, we will need to retouch the image to enhance the beauty of the image. To start, let’s create a Color Balance adjustment layer from the Create New Fill/Adjustment layer button located on the Layer Window.
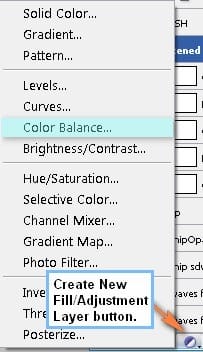
When the Color Balance box opens, input the following:
- Color Levels: -20, +5, +20
- Tone Balance: Midtones
- Preserve Luminosity: Checked

Next, create another Color Balance adjustment layer, and then input the following:
- Color Levels: 0, 0, -15
- Tone Balance: Highlights
- Preserve Luminosity: Checked

Next, create a Photo Filter adjustment layer.
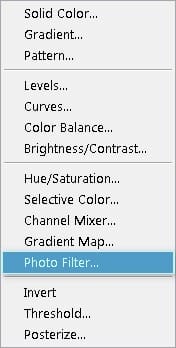
When the box opens, input the following values:
- Filter: Warming Filter (81)
- Density: 25%
- Preserve Luminosity: Checked

Next, let’s create another Color Balance adjustment layer, when the box opens input the following values:
- Color Levels: 0, 0, -5
- Tone Balance: Midtones
- Preserve Luminosity: Checked
Create another Photo Filter again but this time use the following:
- Photo Filter
- Filter: Yellow
- Density: 25%
- Preserve Luminosity: Checked
Finally, let’s create the last Color Balance adjustment layer and input the following:
- Color Balance
- Color Levels: +10, 0, +5
- Tone Balance: Midtones
- Preserve Luminosity: Checked
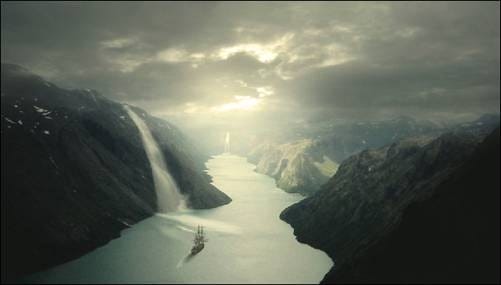
The image should now be similar to this:
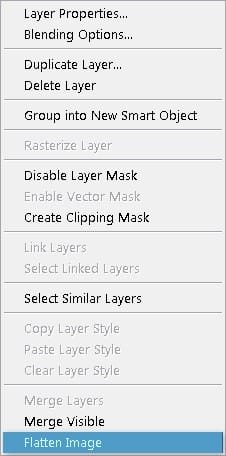
When you’re done, we will now flatten the image or compress all the layers. To flatten the image, right-click any layer to bring up the contextual menu. Once it is open, click on Flatten Image.

Step 7: Make the image look like a Painting
Now, we will give our image a “Painting” effect. Click on the Flattened layer (Background) and then press Ctrl/Cmd + J to duplicate it. After duplicating the layer, the focus of the Layer window or Photoshop itself will be on this duplicated layer, so go to Filter > Filter Gallery > Artistic > Watercolor.


4 responses to “Create a Beautiful River Scenery in Photoshop”
nice :D
lovely~
the river photo on deviant arts, several links are the exact photo here, very popular tutorial, thanks!
stockimage 10 isn’t there anymore
That deviantart account closed. I just used this picture instead http://www.sxc.hu/photo/1405918