Learn how to composite this nighttime artwork and retouch skin with a smooth painting-like effect! This tutorial will show you how to composite this image with various stock photos, soften skin, and apply special lighting and color effects.
Preview of Final Results

Emotional Photo Manipulation Tutorial
Resources
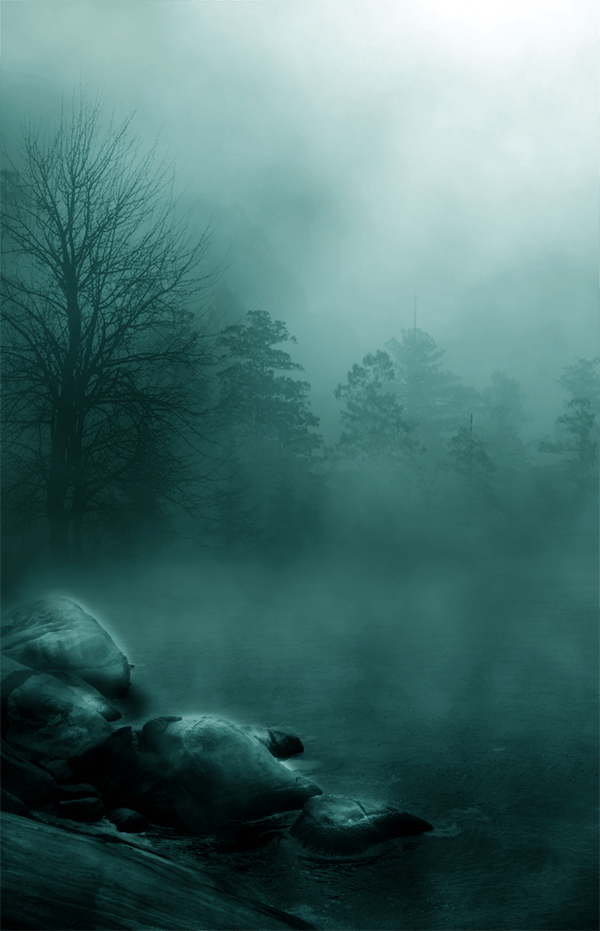
Background– Darkdevil16(Alternatives: 1, 2, 3)- Sky– Joannastar-stock
- Lady– Mariaamanda
- Stars(Image 5) – Cgtextures
- Moon– Ischarm-stock
- Hair Brush– Adonihs
Step 1 – Background
Open the Background image.

Open the Sky image and put it in a new layer above the Background layer. Transform it (CTRL+T) to fit the background and flip vertical. Set this layer to Soft Light.
Add a Brightness/Contrast Adjustment Layer and set the Brightness to -45.

Step 2 – Lady
Open the Lady image and make a selection of the subject. (I did it with Quick selection tool).

CTRL+J to extract her on a new layer. Delete the original image. As you can see the edges are not perfect. But don’t worry, in the next step we’ll fix it!

Let’s take the Smudge Tool to fix the borders. In this case, I used these settings: Strength 40% and Brush 55px (Soft round). Just pass the smudge over the borders to stretch them and remove the imperfections. Then delete the unwanted parts you don’t want. Here’s what we have so far. (It doesn’t have to be perfect for the moment, especially hair).

Now put the lady in a new layer above everything. (CTRL+T) Scale her and flip her horizontally (because it fits better the light source). Move her to the left part of the background. This is what we have.

We need now to cut the right part of the background. So.. let’s crop!

Step 3 – Skin
I will show you how I smudge the skin. If you are not familiar with the smudge tool it could be difficult, but still, you can try to achieve a good result and to practice this technique. Anyway if you don’t like smudged skin you can leave it alone and proceed with the next steps. As you can see below the difficulty is to smudge the hair on her face.

The first thing to do is making a copy of the layer containing the lady so that if something goes wrong you can return to the original one. From now you will work on this layer. Select the Smudge tool. Settings vary all the time. They depend on how much the image is big and on how much you want a smudged soft skin. In this case, I used a soft round brush 28px with strength between 15% and 20%. With this brush start to smudge the skin as if you are doing little circles (see image below).
11 responses to “Create a Emotional Midnight Photo Manipulation with Painting-Like Effects”
-
Amazing work.. Loved it
-
That’s good!Thanks for sharing
-
Your image works beautifully with the mask Nancy!Thanks for sharing.
-
Thanks this is the result of this tutorial!
-
I agree with alicia, in the last part of the tutorial, many
passages was not specified in which layer we have to apply the layers/effects. Another thing I notice is that, even if
I downloads the lady photo from the same link,
my image have a bad resolution compared to the photo of the lady of the tutorial.. is very strange, I wish I could work with the same picture’s quality of this tutorial…
someone have notice this too?
But thanks for this tutorial, I really enjoy it ! -
Thank you so much for this tutorial! Very helpful and easy to follow even for beginners!
-
Hey guys there is a video of the tutorial on youtube showing you in a video format, you can have best of both worlds with the written and video, all respects payed to the creator.
Link to the video is: https://www.youtube.com/watch?v=bzIvBfJsj-g
-
The only problem I have with this is when you went to step 12 Dodge and Burn , You didnt state if that layer is behind the lady or on the lady or what
-
Who cares? And cellist play left handed as well. Rare as it is it happens.
-
way, way cool. I do gratus work for friends who cant afford the high cost of student photography. I always look for something that sets the bar higher for the underprivledged families I help. I want them to get a unique photo set others would pay highly for. This tut will go far for some of the folks Im helping. Thank you, and Lord bless you.

Leave a Reply