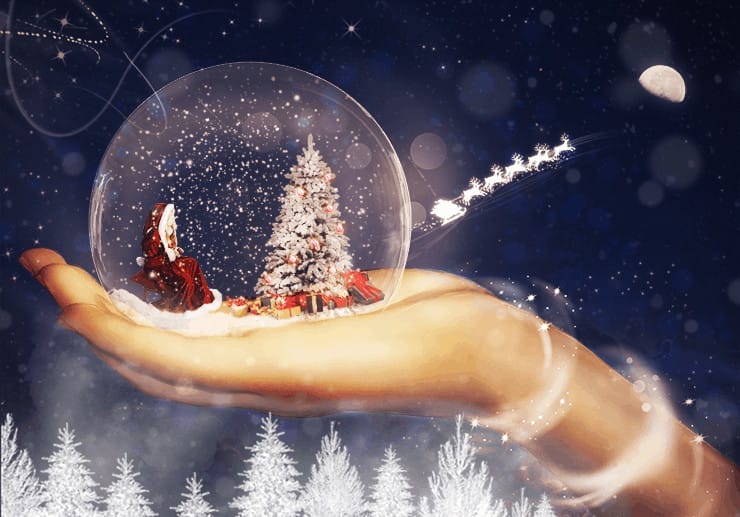
Learn how to create this fantasy Christmas scene with Photoshop. You will use a variety of brushes and images in order to achieve a pleasant final result. Let’s start!
What you’ll be creating
In this tutorial you will create a winter fantasy scene. In order to follow this tutorial you will need Photoshop CS3 or newer.
Tutorial Resources
- Nebula– Pixabay
- Background– zememz
- Moon brush– ischarm-stock
- Ribbon Brush– rozairo
- Christmas Brush– flina
- Hand– marchetooo
- Bubble– lieveheersbeestje
- Snow Drops Brush– frostbo
- Tree1– camelfobia
- Ornaments– 32cherry
- Tree2– iamszissz
Girl– MoraNox-Stock(Alternative)- Snow Patch Brush– frostbo
- Abstract brush– Edelihu
- Fantasy Light brush– KeepWaiting
- Mist Brush– Ideasplayer
- Snow Texture– emilyemilybeth
- Tree Brush– redheadstock
Step 1
Create a new document 934 x 652 pixels. Fill the background layer with black (Set the foreground color to black and press Alt + Backspace).

Step 2
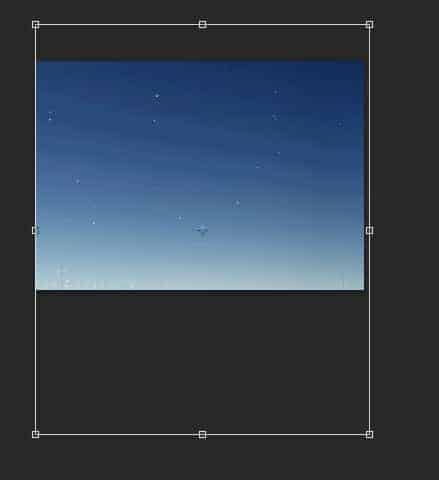
Open the file “Background”. Press Ctrl + A to select all and Ctrl + C to copy. Go back to our working scene and press Ctrl + V to paste. Press Ctrl + T to enter Free Transform. Resize and position the layer as indicated in the image below.
Step 3
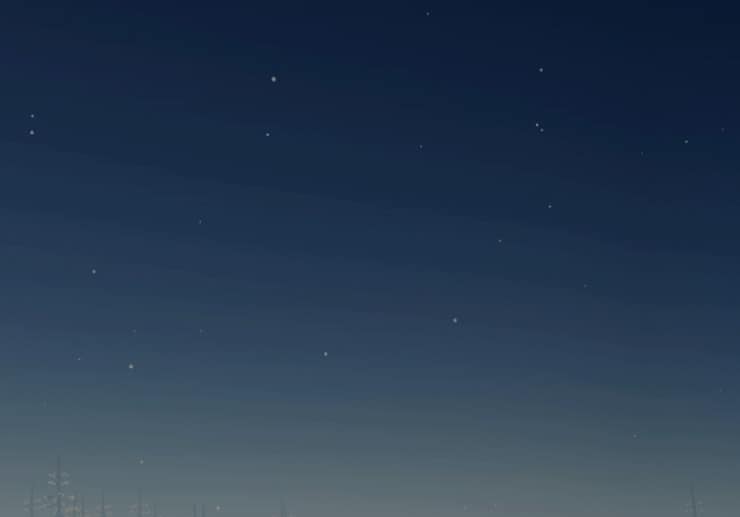
Lower the opacity of the pasted layer to 57% and name it “Gradient”.
Step 4
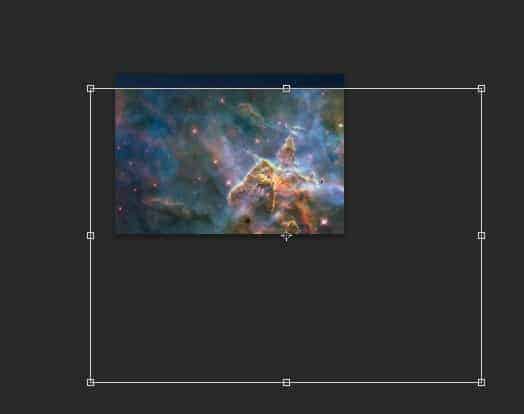
Open the file “Nebula”. Select all, copy and paste into our scene. Use Free Transform to place the nebula as shown below. Right click the nebula layer and from the drop down menu choose “Convert To Smart Object”. Convert all future layers that we paste from other documents into smart objects (In order to be able to keep the original data when performing resizes and applying filters).
Step 5
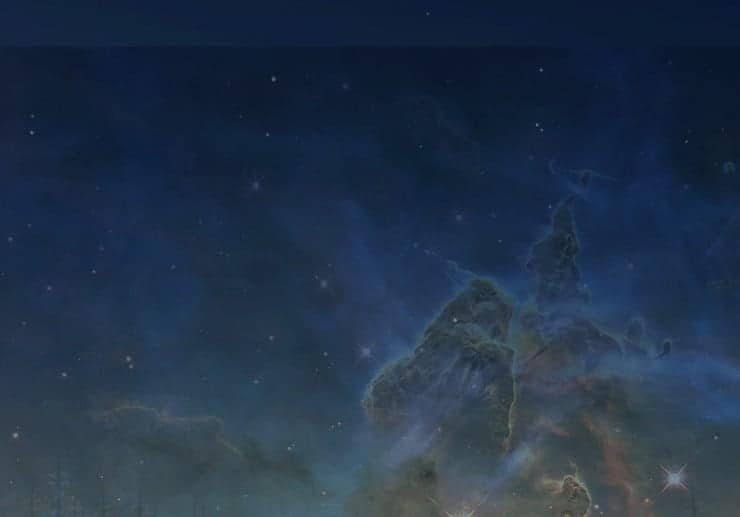
Change the blending mode of the nebula to overlay and lower the Opacity 49%.
Step 6
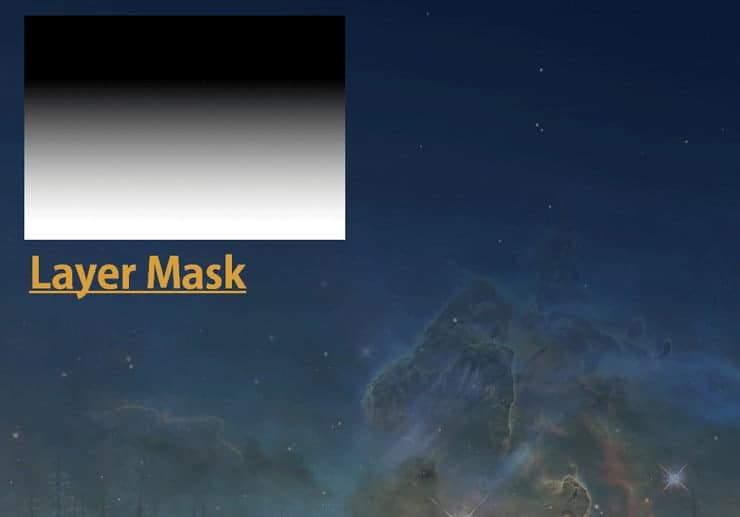
Add a layer mask to the nebula layer (Layer > Layer Mask > Reveal All). Use the gradient tool in the layer mask to seamlessly blend the nebula into the scene.
Step 7
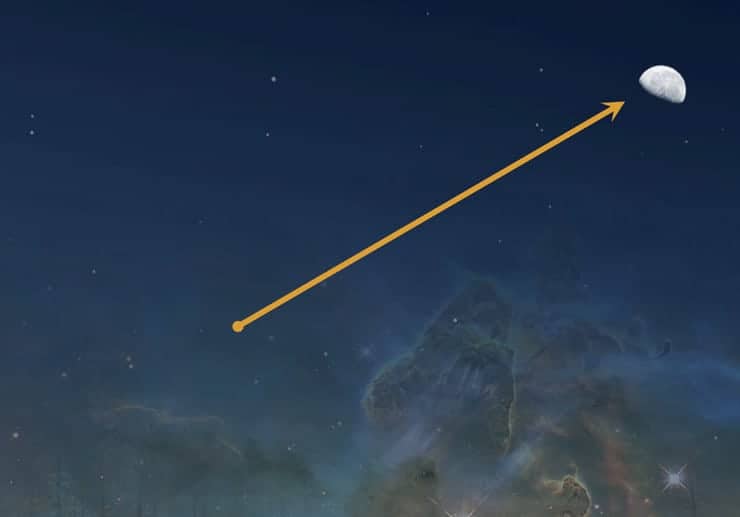
Use the Presets Manager window to import “Moon” brushes (Edit > Preset Manager. Press the Load button and select the brushes in the window that appears). Create a new layer (Ctrl + Shift + Alt + N). Choose a half moon from the Brush Presets panel (Window > Brush Presets) and click once to create a white moon in the upper half area of our scene.
Step 8
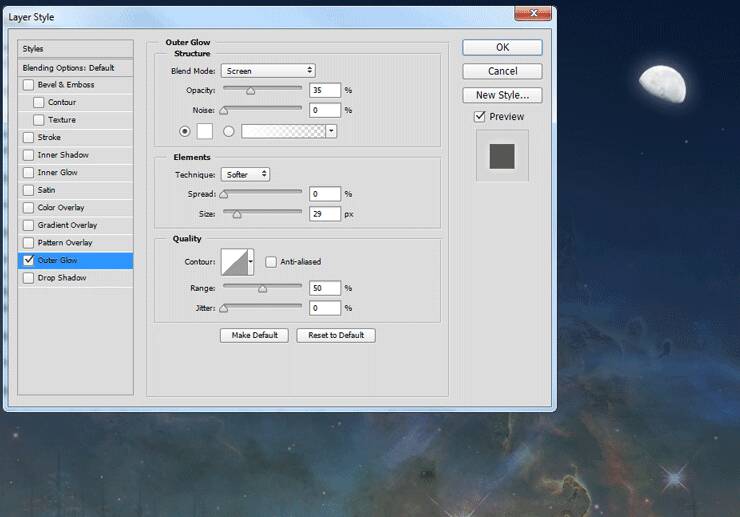
Double click the Moon layer to open Advanced Blending window and add some Outer Glow to the moon.
Step 9
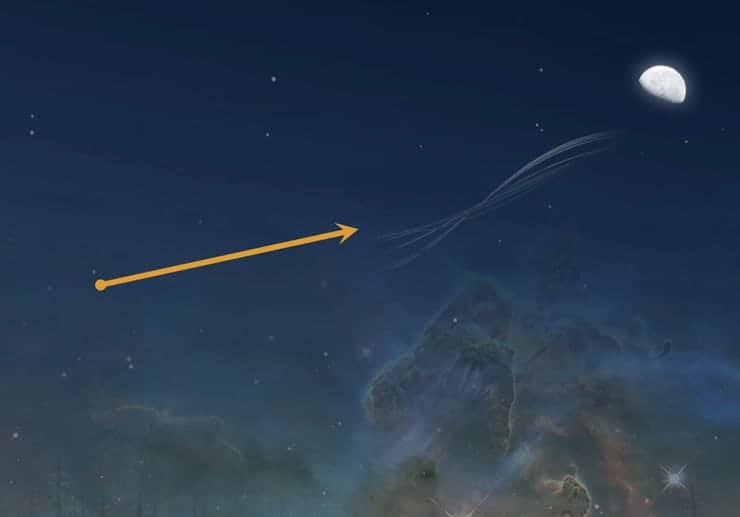
Import “Ribbon” brushes. Create a new layer and draw a white ribbon near the moon as indicated below. Add a layer mask and hide away the hard edges. Lower the Opacity to 66%.
Step 10
Double click the ribbon layer to open Advanced Blending window. Add a subtle Outer Glow effect.
10 responses to “How to Create a Magical Christmas Snow Globe in Photoshop”
-
linn
-
can u update the images? none of the links are working and showing the right images.
-
Some of the original images don’t exist anymore and so we’ve updated them to use alternative images. Unfortunately, this happens a lot with free images. You can still follow the tutorial using similar images and get the same composition.
-
-
GREAT tutorial!
-
this is briliant. at first i thought it was difficult to follow when it turn out very easy
-
At first it seemed to be a difficult tutorial, but infact is not.
-
Too much going on?
-
This is lovely. It looks like a lot of work, but it’s worth it! I might do something like this for next year’s Christmas cards. Thank you for sharing. :)
-
luke
-
At first I thought this was going to be hard to follow, but the resource list was a real big help. Thanks for posting!


Leave a Reply