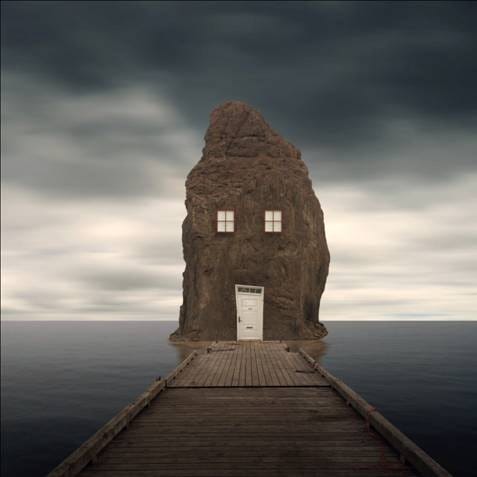
In this photo-manipulation tutorial, we will learn how to create an oddly-shaped, surreal-inspired, stone house. We will learn how to blend several stock images together to create a pseudo long exposure image of a surreal house at the edge of the dock. We will learn how to create realistic reflections on water and also, enhance the light and shadows of the stock images to create a seamless image.
Preview of Final Results

Download the PSD
How to Create an Oddly-shaped Surreal House PSD.zip | 169.84 MB
Download from Website
How to Create an Oddly-shaped Surreal House
Tutorial Resources
- Stock Field – Digital-Amphetamine
- Sky 17 – Sacral Stock
- Floating Dock – archistock
- Waterscape Stock 1 – Colourize-Stock
- Piedra Parada – cdiniro
- Old door – salsoul
- Window – Mehrunnisa-stock
Step 1: Create a Photoshop Image File
Now, let’s start by creating a new image file, go to the Menu bar and click File > New, and then input the following values on their respective fields:
- Width: 3000px
- Height: 3000px
- Resolution: 300pixels/inch
- Color Mode: RGB Color; 8 bit
- Background Contents: Transparent

Step 2: Create the Background
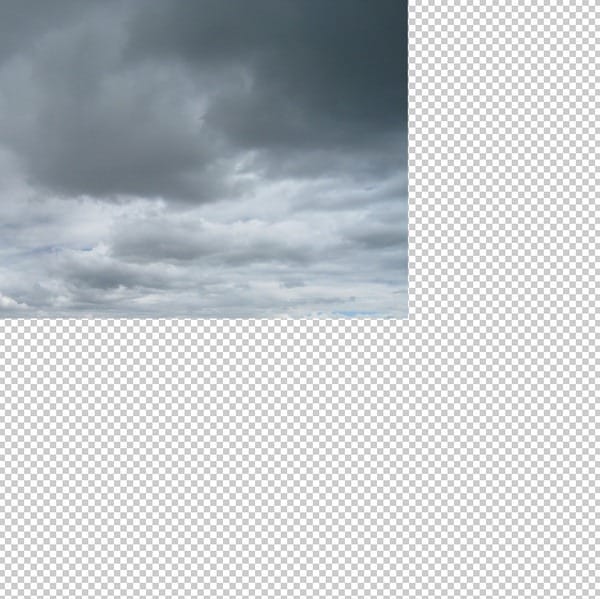
In this step, we will be creating the sky of our image. To start, open “Stock Field” by digital amphetamine. Next activate the Rectangular Marquee Tool by pressing M on your keyboard.

Once activated, create a selection area around the sky as shown below:

Next, activate the Move tool (V) and drag the selected area by left-clicking on it and dragging it to the canvas.
Position the selected area as shown on the image below:

Now, let’s rename this layer to “sky 1”. To rename a layer, simply double-click on the words: “layer 1” (you can find that on the layer window) to prompt a text box to appear. Once that appears, you may now rename the layer. See image below:

Next, activate the Transform tool (Ctrl/Cmd + T) and resize the image as shown on the image below:

Now, activate the Transform tool (Ctrl/Cmd + T) and resize the image by following the instructions shown below:

The result of that should be like this:

Next, we will add another sky layer to give make the sky more dramatic. To start, open “Sky 17” by sacral stock. Once open, activate the Move tool (V) and drag this to our canvas, make sure to put this layer above the “sky 1” layer; to do that, simply left-click the new layer and drag it above the “sky 1” layer.
Rename this layer to “sky 2”.
Position it as shown below:

Next, activate the Transform tool (Ctrl/Cmd + T) and resize it as shown below:

The result:
4 responses to “How to Create an Oddly-shaped Surreal House”
-
wow! Its really look so nice….
-
This was really great and really well explained, but for anyone attempting to do this, to give your door and windows a less “fake” look give it a Gaussian blur with a 2 pixel radius. :D
-
Awesome!!!
-
great master


Leave a Reply