
Next, let’s create another window and for us to do that, simply duplicate the “window” layer (Ctrl/Cmd + J) and then drag this duplicated layer to the right. See image below:

The result:
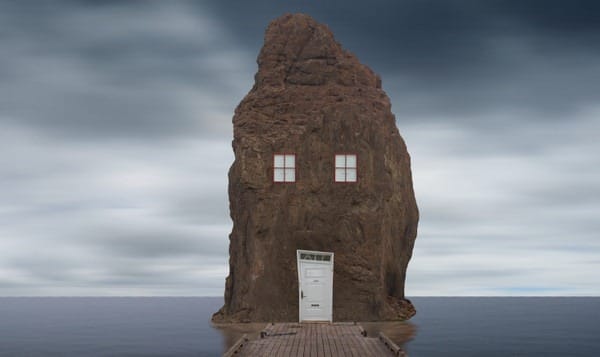
Now, let’s create the shadow of the windows. Let’s start by creating a new layer (Ctrl/Cmd + Shift + N), and on the name field, input: “window shadow”. Put this layer below the window layers.
Activate the Brush tool (B) and input the following:
- Brush size: 80px
- Hardness: 0%
- Opacity: 15%
- Flow: 100%
- #: 000000
Now, let’s start painting:
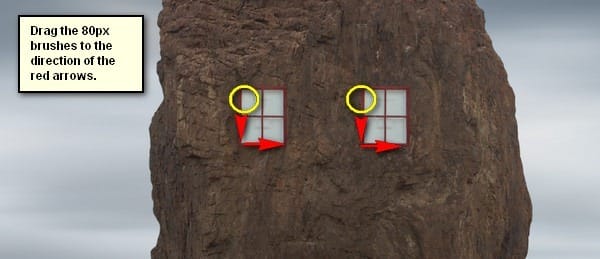
The result:

Step 7: Enhance the Color of the Image
Now, we will enhance the color and overall brightness of the image. To start, let’s create a Solid Color adjustment layer. From the Layer window, click on the “Create New Fill/Adjustment layer button”.

Once the contextual menu opens, click on Solid Color:
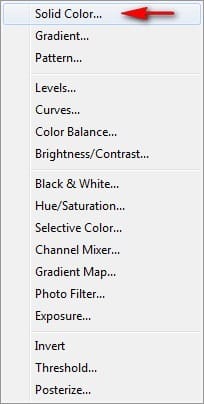
Now, clicking on the Solid Color option will open the Color Picker box. Now, input the following on the #: space.
- #: 000120

Now, your screen is filled with a dark blue color. We don’t want that, so let’s change the Blending mode and Opacity of this Solid color adjustment layer. To do that, go to the Layer window and then click on the drop-down menu beside the Normal tab and then click on “Exclusion”. For the Opacity, simply click on the 100% tab and then reduce it to 40%. See image below:

The result of that would be like this:
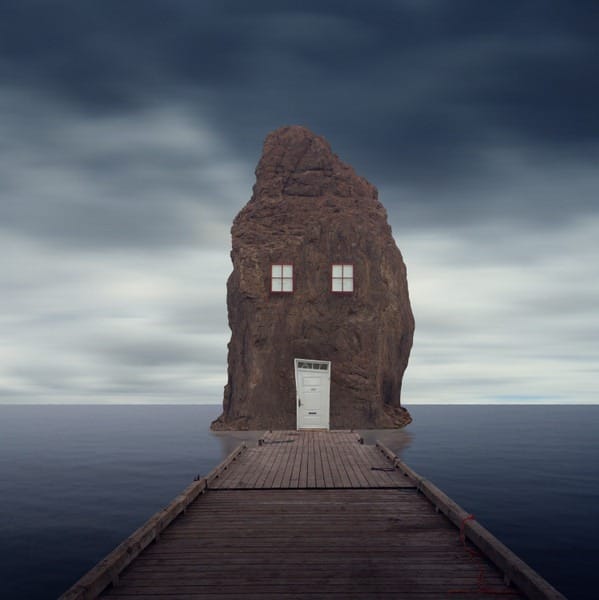
Next, let’s create another Solid Color adjustment layer.
Input the following:
- #: 3a220d
Once created, change the Blending mode and Opacity to the following:
- Blending mode: Soft Light
- Opacity: 30%
Next, let’s create a Color Balance adjustment layer, from the “Create New Fill/Adjustment layer button”.
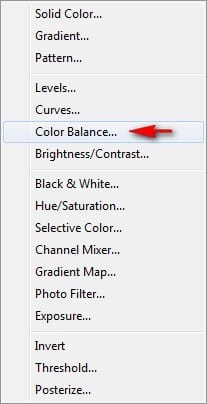
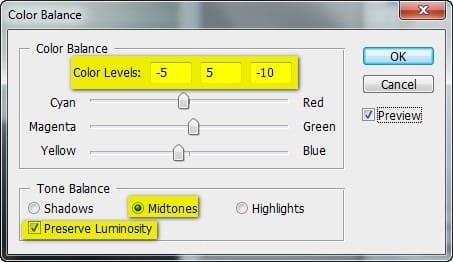
When the box opens, input the following:
- Color Levels: -5, +5, -10
- Tone Balance: Midtones
- Preserve Luminosity: Checked
Next, let’s create a Photo Filter adjustment layer.
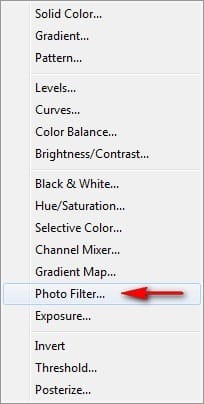
Once this box opens, choose the following filter:
- Filter: Red
- Density: 25%
- Preserve Luminosity: Check

Next, reduce the Photo Filter’s opacity to the following:
- Layer Opacity: 70%

Now, let’s create another Photo Filter adjustment layer. This time, choose the following filter:
- Filter: Sepia
- Density: 25%
- Preserve Luminosity: Check

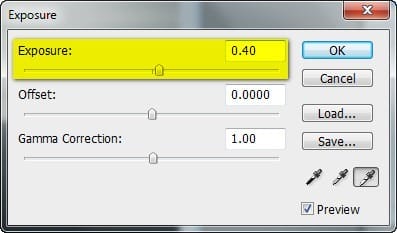
Now, let’s enhance the exposure of the image. Create an Exposure adjustment layer through the “Create New Fill/Adjustment Layer” button.
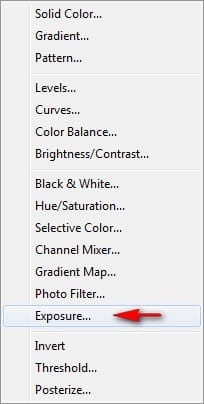
Once the Exposure box opens, input the following:
- Exopsure: 0.40
- Offset: 0.0000
- Gamma Correction: 1.00
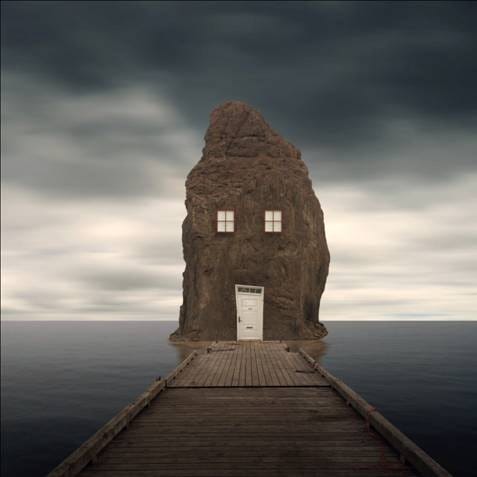
Final Results
Download the PSD
How to Create an Oddly-shaped Surreal House PSD.zip | 169.84 MB
Download from Website
4 responses to “How to Create an Oddly-shaped Surreal House”
-
wow! Its really look so nice….
-
This was really great and really well explained, but for anyone attempting to do this, to give your door and windows a less “fake” look give it a Gaussian blur with a 2 pixel radius. :D
-
Awesome!!!
-
great master


Leave a Reply