
")
Step 17
I drew a line using the Line Tool. Then Rotated it by -60 degrees to match the other elements of the design.
")
Step 18
Open up the paint splatter (drips and spray paint pack, 2.png).
")
Step 19
Drag it into the composition. Place it above the water color texture
")
Step 20
We are going to bring several images into our composition procedurally. Let’s start with the main model stock image. She is photographed against a black background. Same time her outfit and cap are also black. So instead of using other selection tools I used the Pen Toolto draw selection around her. You can just leave off those fine strands of hair. It won’t have much effect in this case.
")
Step 21
When finished drawing path turn it into a selection. You can simply hit Ctrl + Enter to do this. Or just right click on the path and choose Make Selection.
")
Step 22
Now hit Ctrl + J (Layer via copy) to create a new layer of the isolated model. Right click on the layer and choose Convert to Smart Object. Smart objects are really smart in many ways. You can apply smart filters to them which are completely editable reversible. You can scale them up and down without losing the actual pixel information of the image.
")
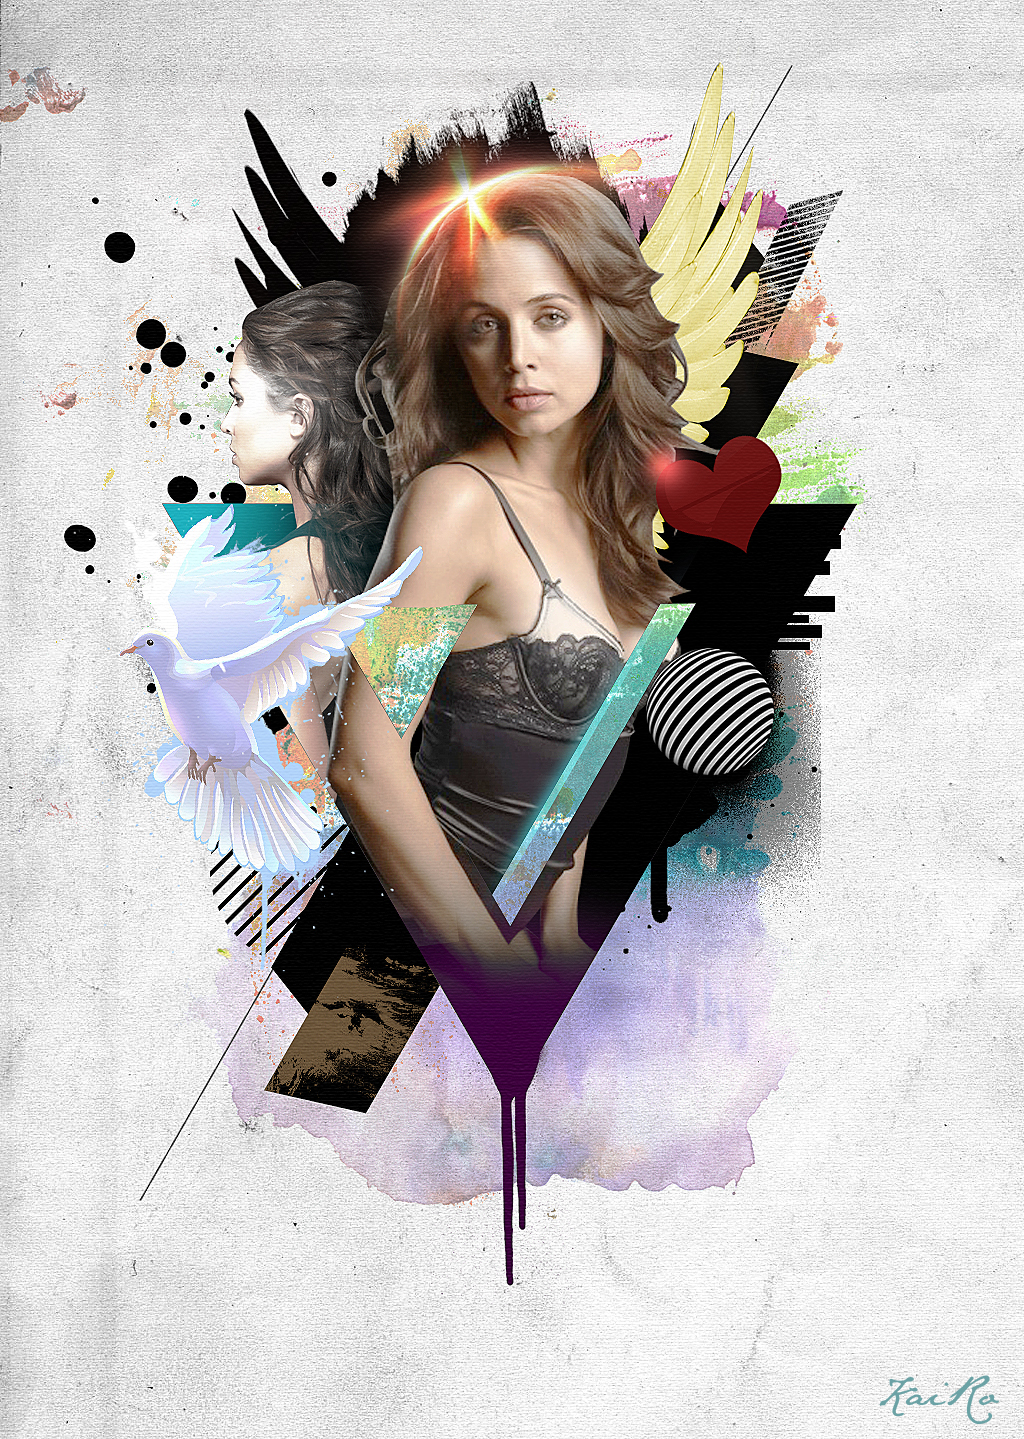
Step 23
Bring the model into the composition. Resize it and place above all the shape layers.
")
Step 24
Add curves adjustment layer. Adjust the mid tones slightly.
")
Step 25
I want to hide parts of the image that falling outside the main shape layers. We can use the vector paths from the shape layers vector mask to load selection. Hold “Ctrl” key and click on the Vector Mask thumbnail. that will simply load the selection.
")
Step 26
While the selection is active, click back on the model layer and click on the Add Layer Mask button.
")
Step 27
The mask we just applied has blocked anything that is outside of the triangle including the face. So we need to get it back. Take the Lasso Tool and roughly select the region we need to uncover.
")
Step 28
When you selected, click on the Layer Mask thumbnail and fill the selection with white of #ffffff.
")
Step 29
We still have some areas needed to be uncovered. Load selection from the slanted shapes just we did earlier. You can combine selections by holding “Shift” key along with “Ctrl” when loading a second selection.
29 responses to “Create This Stylistic Mixed-Media Artwork in Photoshop”
-

Very nice tutorial. I kind of cheated and screen captured some of the things to save time, but it came out good. Thanks
-
hello
its realy amezing tutorial ill try this -
step 28?? where is the button “Thumbnail”?
-
Looks so festive……Excellent post. Thanks for sharing……….
-
i was totally confused at steps 12&13.can you plz explain how did you obtained those steps?
-
i’m totally confused at steps 12&13.can u plz explain how did you obtained that?
-
Downed, thanks a lot for your sharing
-
thanks guys i’ve learn a lot
-
Thanks so much for sharing! Really liked this!
-
GOOD TUTORIAL!!
-
Incredible tutorial! I’ve been using Photoshop for years, and I still learned a ton of stuff going through this.
Thanks!
-
sooooo fun lol
-
The shoofly stock images are no longer available. *sadness
:( -
awesome creation…… i learn it
-
Thanks, Very nice tutorial.
Here is my version – http://i.imgbox.com/acdvYlY6.jpg -
nice soumaya keep trying …
-
I not doing it no more because if I follow these steps I will like mess up or something so I am not doing it so BYE :)
-
-
This is my copy :))
https://www.box.com/s/tpkaboqgp5za2j8b7kt5-
good work :)
-
-
Thank you, i fixed it by myself :)
-
Actually I am facing problem with step 28 :(
-
Thank you, i fixed by myself
-
i have problem on that step too. how to fill the selection? i cant unhide it. please tell me what did you do?
-
-
Awesome tutorial!!! Thanks
-
This is great!
-
heheheheheheheheh thnx vazomama
-
OMG this is awesomeeeee! She is HAWT TOO I wanna
-
I think it,s the easy way to learn.thank you.
-
Thanks for sharing this :)
Leave a Reply