Luminar AI lets you turn your ideas into reality with powerful, intelligent AI. Download the photo editor and see how you can completely transform your photos in a few clicks.
- Shadows: -11 -6 0
- Midtones: -21 -7 0
- Highlights: -19 -7 0
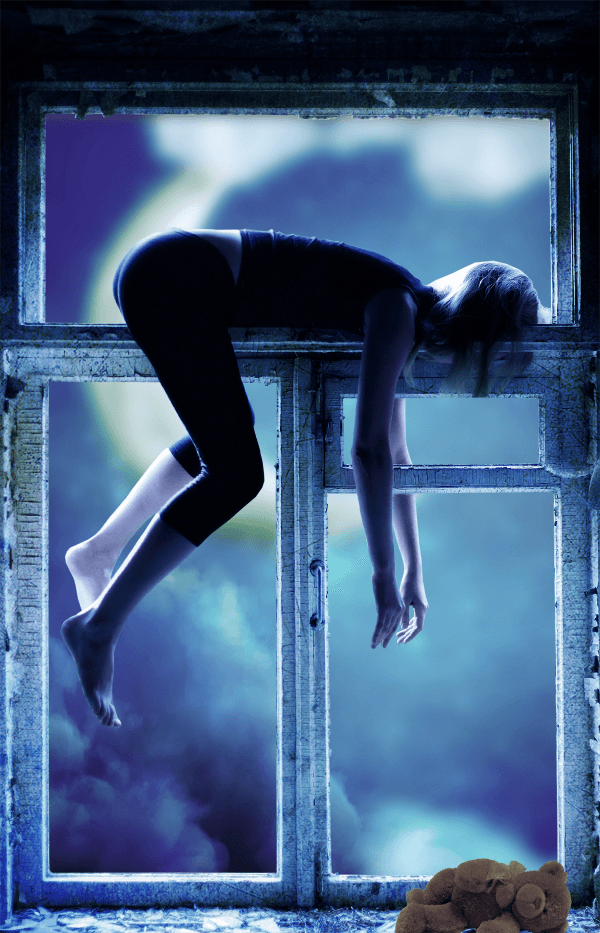
Step 47
Add a Photo Filter Adjustment Layer (clipped to the Teddy layer). Choose the Cooling Filter (80). Set it to 84%.
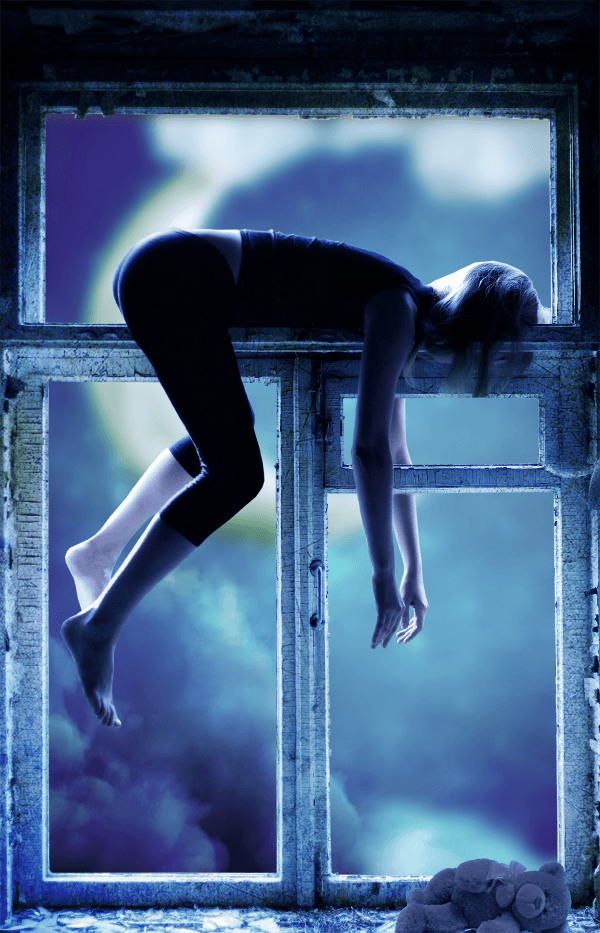
Step 48
Add a Brightness/Contrast Adjustment Layer (clipped to the Teddy Layer) with these settings.
- Brightness 7
- Contrast 33

Step 49
Below you can see all the adjustments I made for the Teddy layer.
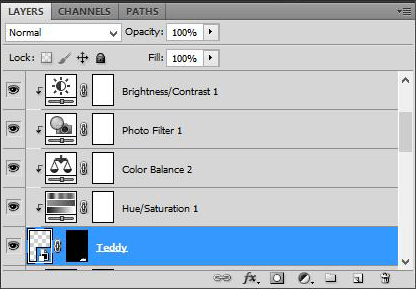
Step 50
The scene is built. Now we have to work on the hardest parts. Colors and Light/Shadow. We will start with the color. Add a Selective Color Adjustment Layer above all layers with these settings:
- Cyans: -12 +11 -100 +7
- Blues: -42 -16 +18 0
- White: +10 -1 +2 0
- Blacks: +12 +19 -3 -4

Step 51
Add a Color Balance Adjustment Layer above all layers with these settings:
- Shadows: -4 -8 -2
- Midtones: -5 -11 +5
- Highlights: -3 0 +5

Step 52
Add a Curves Adjustment layer above layer and set it to Luminosity. Choose the Linear Contrast in the Preset curves.
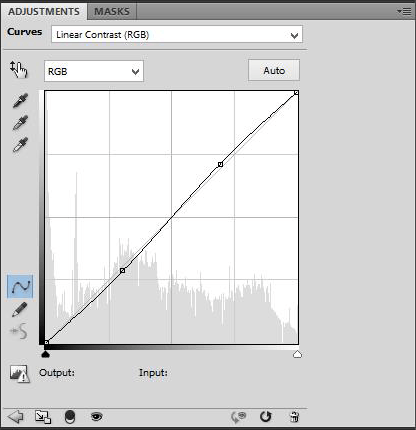
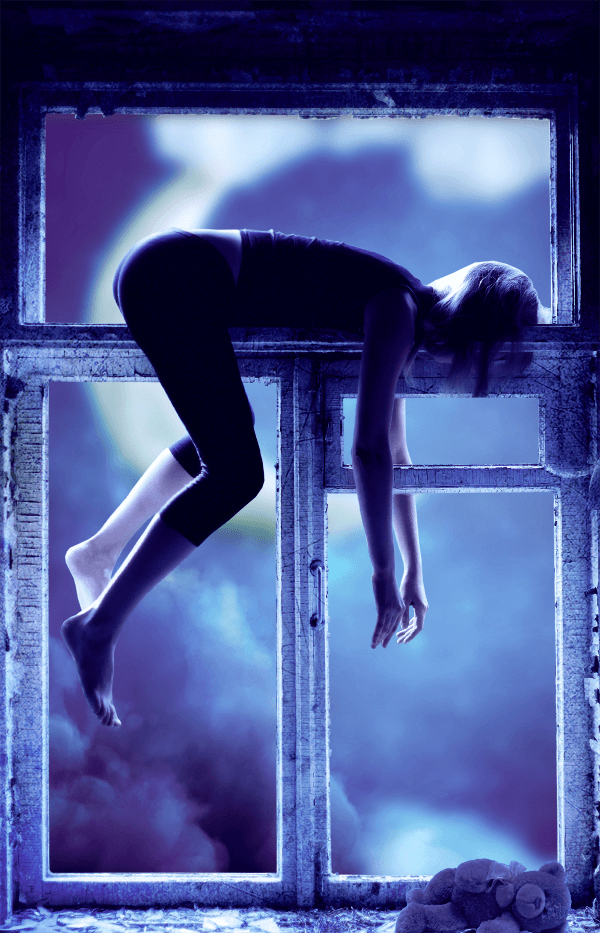
Step 53
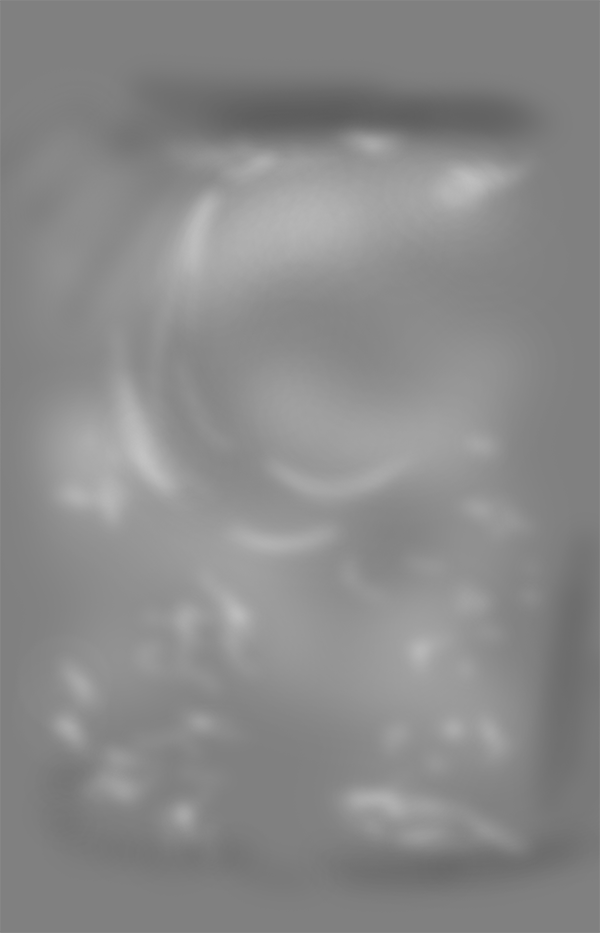
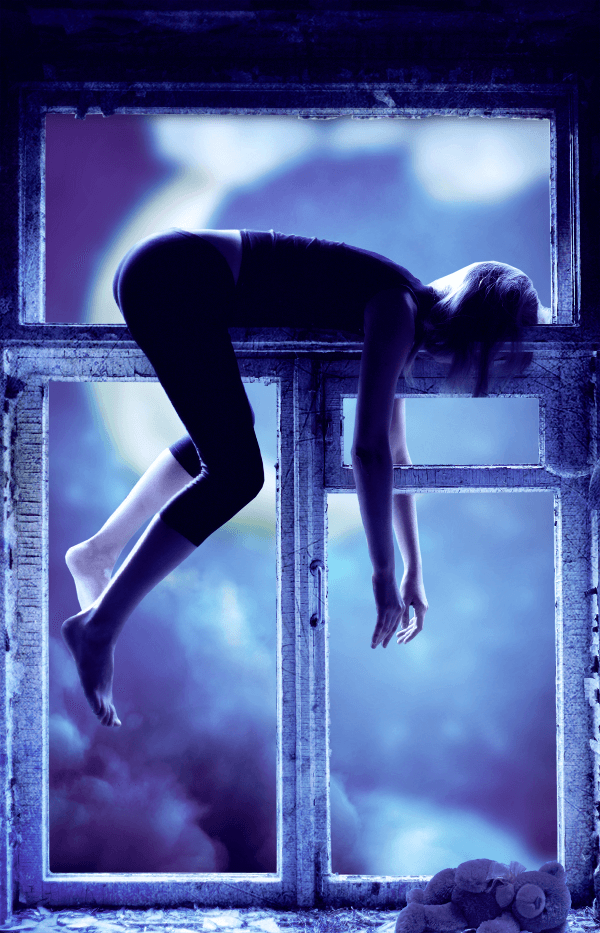
Let's start to work on the Lights and the Shadows. Unfortunately we can't do it generally but for one and each layer. I started with the Sky with some Dodge & Burn. Create a new layer below the Main Layer and name it 'D&B for the Sky'. Set it to Overlay. I worked on the lights using the Dodge Tool set at 10% and Range Midtones. Where you see stronger light I changed the Range to Highlights. For the shadows I used the Burn Tool with Range Midtones at 10%. Below you can see my Dodge and Burn layer and then the result.
Step 54
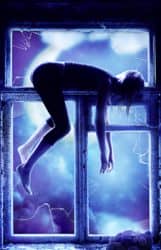
Let's work on the window and the girl.
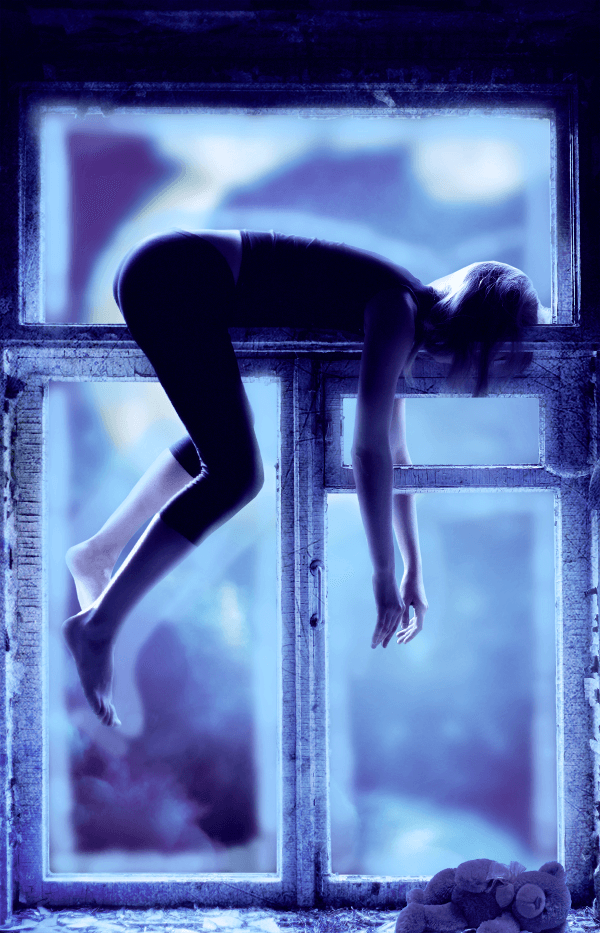
Create a new layer below the Teddy layer and clip it to the Main layer.
Name it 'Light for the Main layer'
Pick the color #97d6f6.
With a soft brush paint some light on the window and woman's edges.
I used a low Opacity for the brush. Something like 20%
Below you can see the layer without being clipped and the the result.
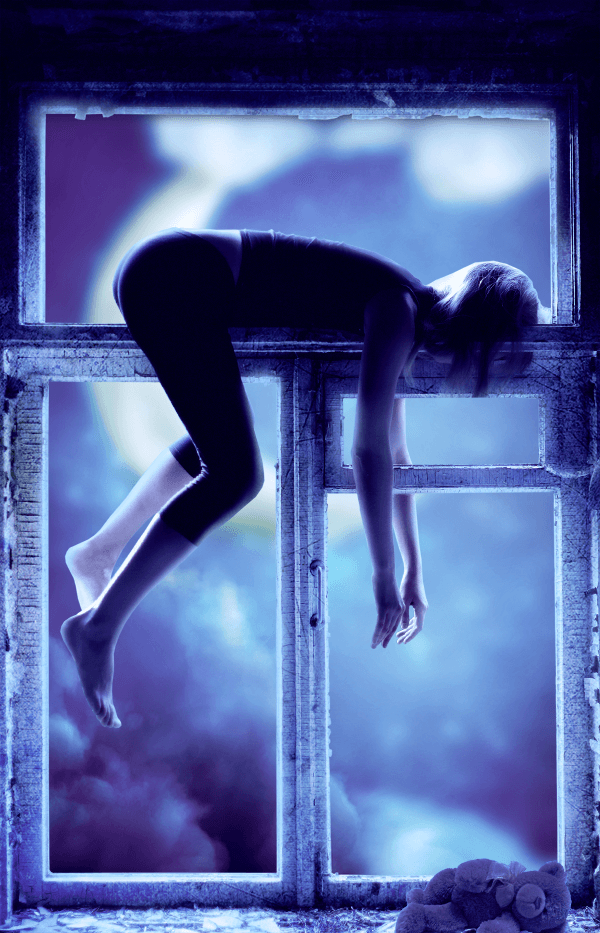
Step 55
We will do the same for the shadows. Create a new layer above the one you created for the light and name it 'Shadow for the Main Layer'. Set it to Multiply with Opacity at 20%. Pick the color #1a0948. Paint some shadows in the window and on the woman. Below you can see the layer set to Normal and the the result with Multiply.
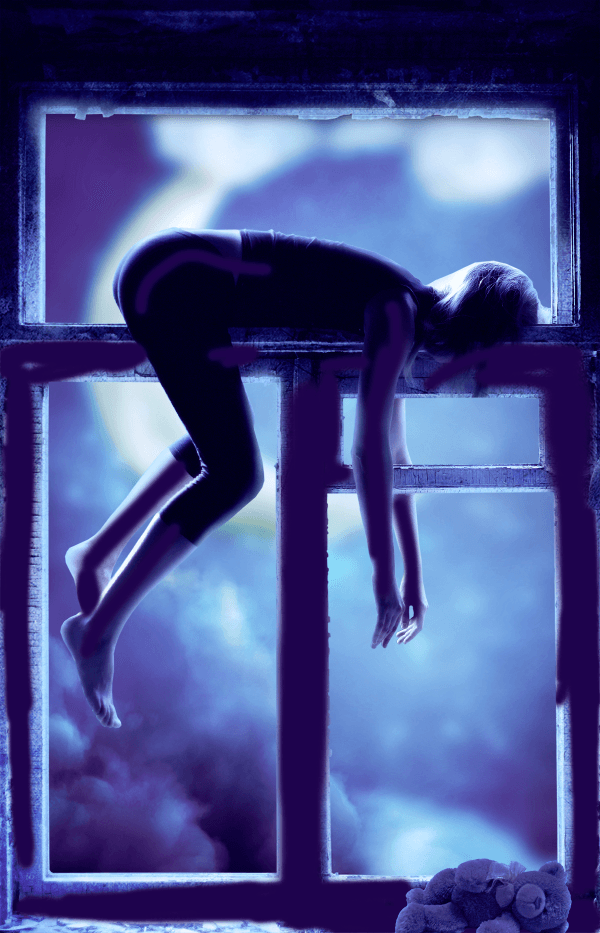
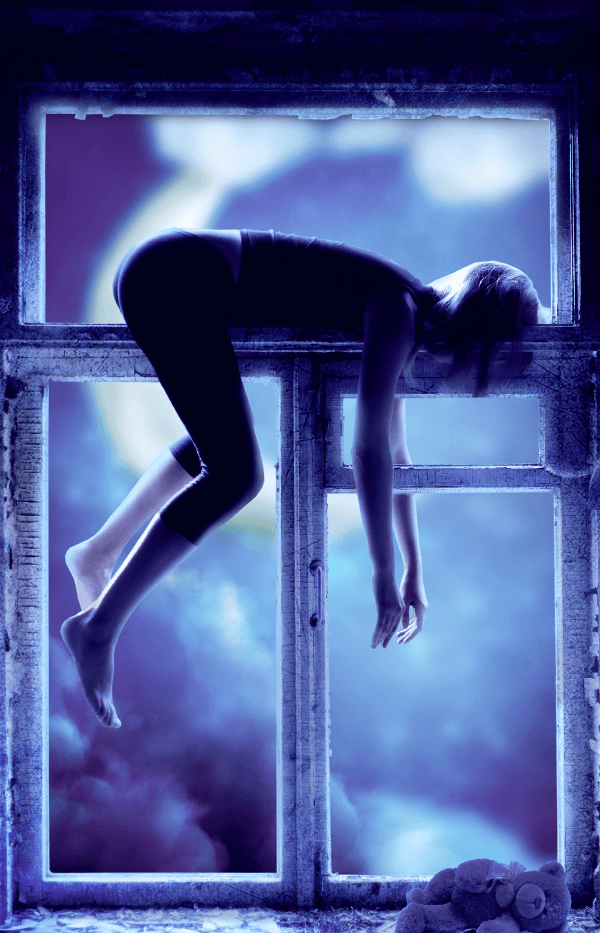
Step 56
To add some drama to the scene we can add some broken glass at the ruined windows. Create a new layer below the 'Main' layer and name it 'Broken Glass'. Now load both 'Broken Glass' brushes. Choose the white color and add some broken glasses to the window.
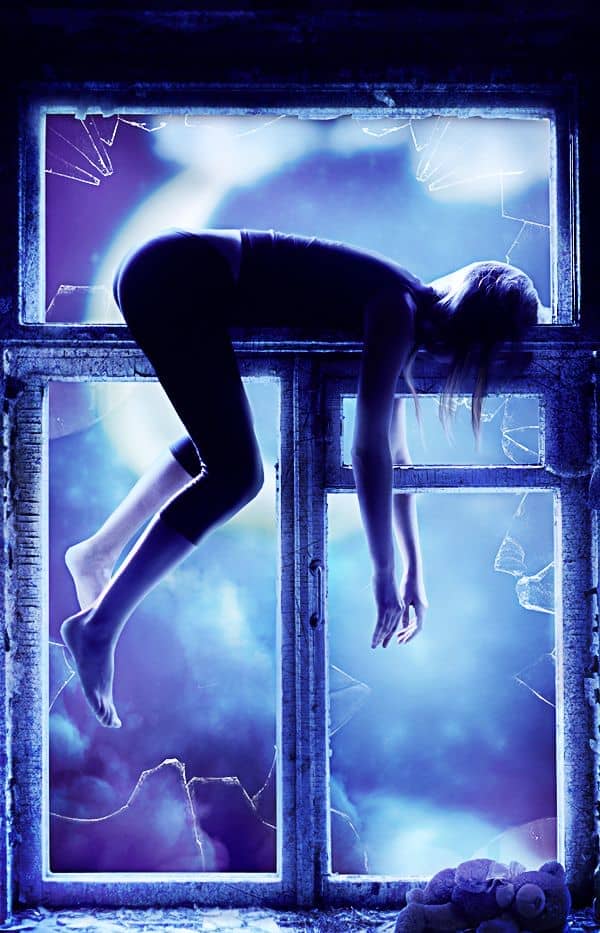

4 comments on “Create a Wonderful Midnight Photo Manipulation in Photoshop”
wowww amazing work can u please upload psd for this workk
wow! Its a nice work............thanks for sharing
Thanks a lot! Very helpful tutorial. Here is my result http://milanaserk.deviantart.com/art/Moonlight-482132626?ga_submit_new=10%253A1410640832
thanks alot!