Select the texture for the background and copy it over our main image. Resize it to cover all the figure and then change the layer mode to Multiply. Now use a layer mask or the eraser tool to delete the area from the model. It’s easy and we don’t have to fight with the complicated hair selection.
Anyway, if you prefer the other way, just use the quick mask mode or lasso tool to select the girl and paste over the background.
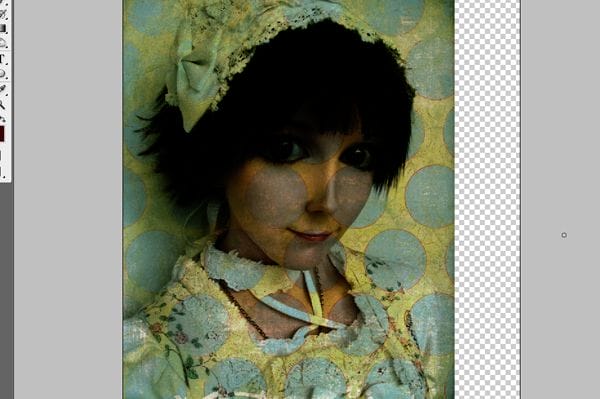
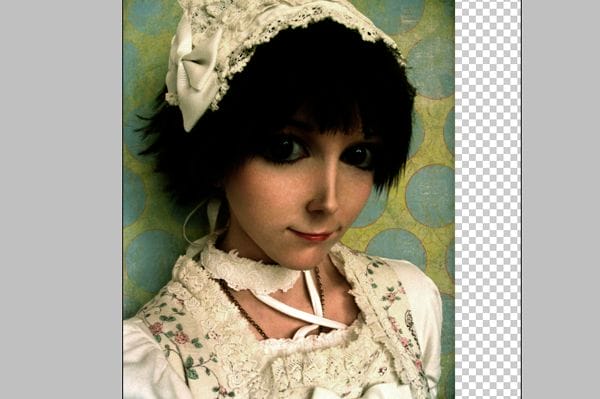
Step 15
Flatten the image. We’re almost done this photo manipulation but let’s try something a little more difficult. We want to make the image bigger and add some elements to the right of the girl. In this step, we’ll show you two methods of doing this.
First method
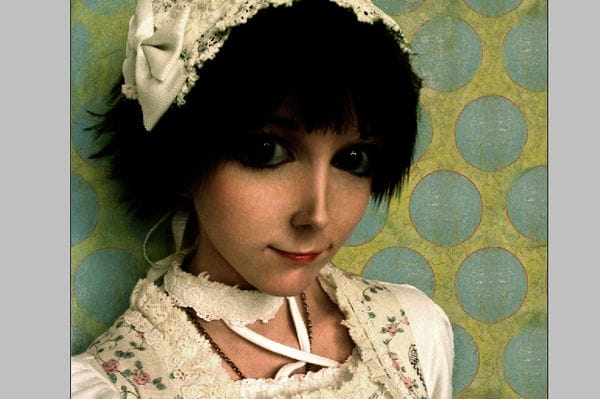
The first method is to simply duplicate the background texture and place it on the right. Use the levels and color balance tools to blend it with the original texture.
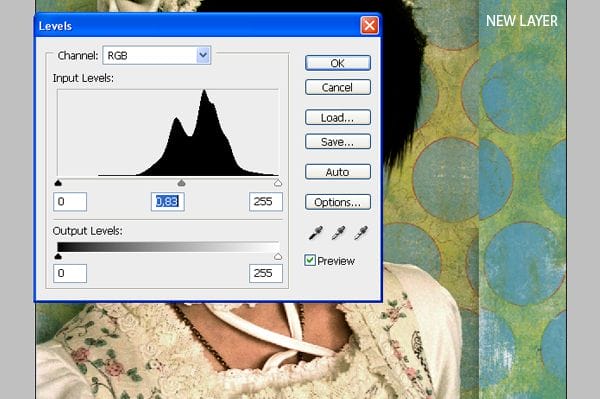
Then, position the texture so that the circles match up. Use the eraser tool (E) to erase the edge of this layer. Merge the two layers then use the healing brush tool (J) to correct any mistakes.
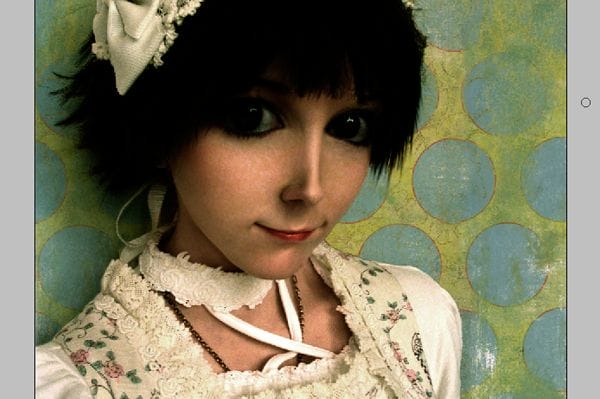
Second method
The second way it’s copy one of the circles from our background and paste it in the empty background. Repeat this step as much times as you need to cover the background. Use the same technique with the spaces between the circles but copying the green wall.
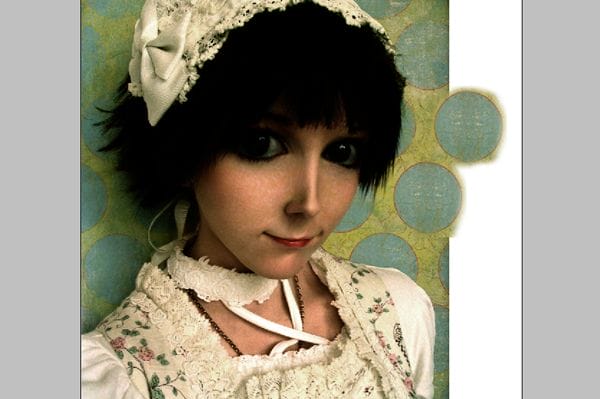
This will be more complicated than previous idea but you will not have brightness and color matching problems.
Step 16
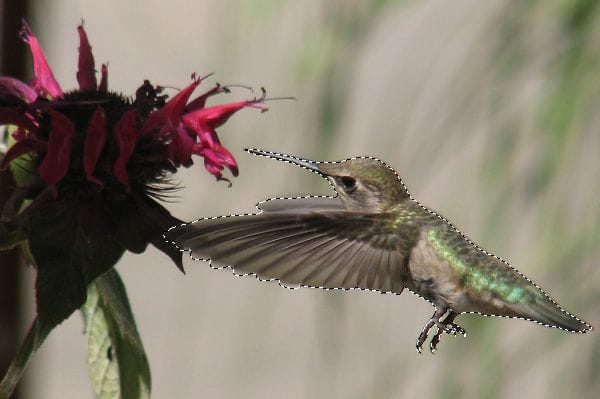
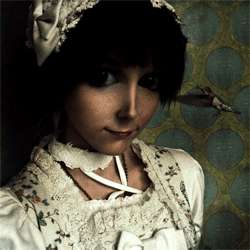
Open the hummingbird image into Photoshop and create a selection of the hummingbird. Choose Edit > Copy to copy the selection onto a clipboard.
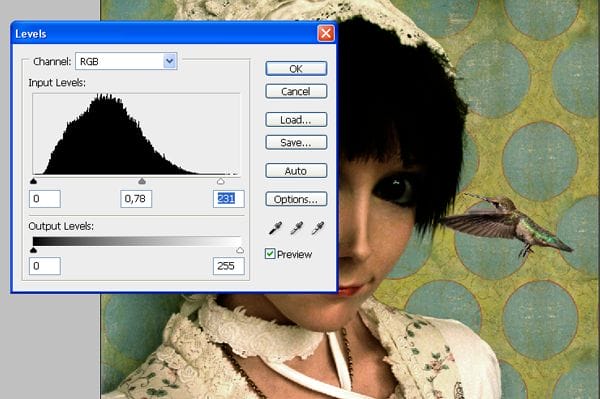
Switch back to the image with the model then choose Edit > Paste to paste the hummingbird into the document. Select the move tool and move the hummingbird next to the models face. To match the contrast of the current image, we’ll use the Levels tool. Choose Image > Adjustments > Levels. Adjust the settings like shown in the image below.
Step 17
Select the wings of the hummingbird and then choose Layer > New > Layer Via Copy. With the new layer selected, apply a Motion Blur (Filter > Blur > Motion Blur) with a setting that will blur the wings slightly like shown in the image below.

Leave a Reply