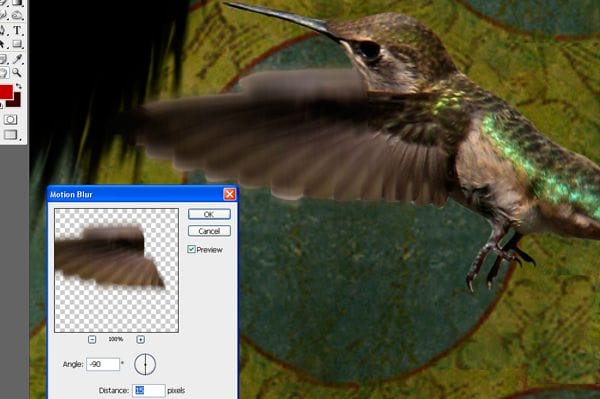
Change the opacity of the current layer to 80% then use the eraser tool with a soft edged brush to delete part of the wing in the original hummingbird. Finally use the blur tool to blur some parts of the hummingbird to make it look like it’s moving.
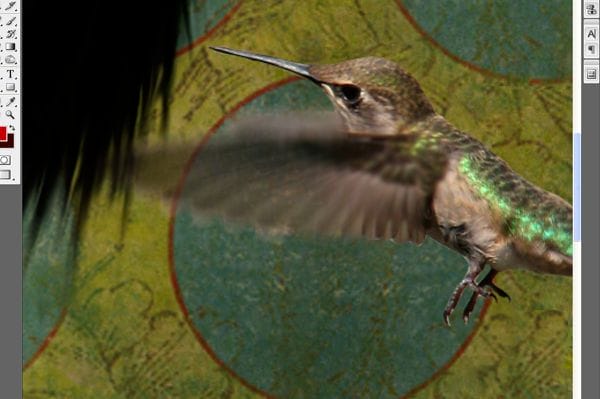
To finish, we’ll refine the edge of the hummingbird. Erase the edges and add gaussian blur filter (Filter > Blur > Gaussian Blur) of 0.5 pixels to the hummingbird layer.
Step 18
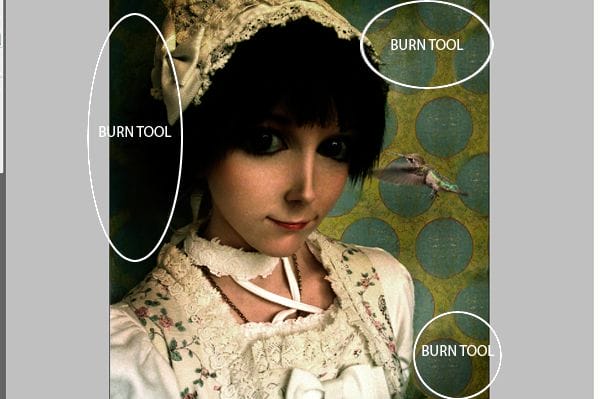
Now we just need to add shadows and our personal tone to the image. Select the Burn Tool (O) and burn different areas (ex. next to the girl, in the upper part of the image and in the edges).
Step 19
Now let’s go to our upper layer and select Layer > New Adjustments Layer > Levels. Modify the settings like shown in the image below.
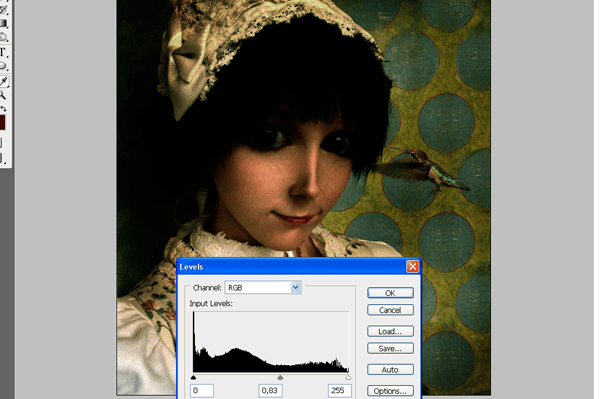
This will modify all the layers under this new adjustments layer. Let’s add one more; go to Layer > Adjustments Layers > Hue/Saturation and set the saturation to -20.
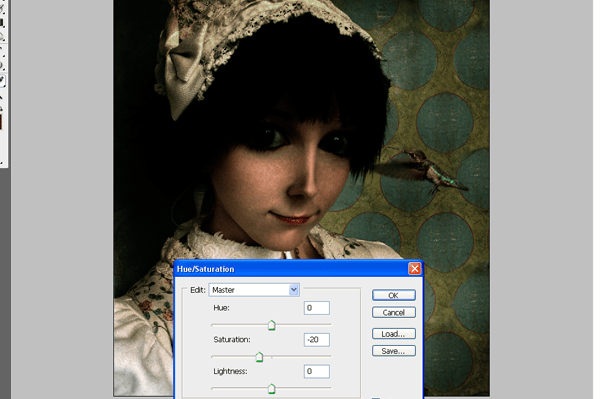
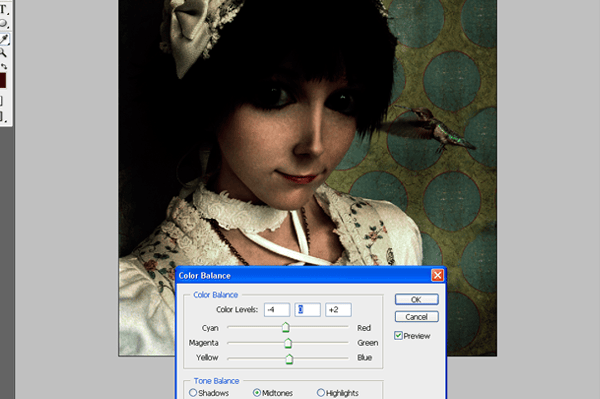
Finally, go again to Layer > Adjustments Layers > Color Balance and modify the colors like shown in the image below.
Step 20
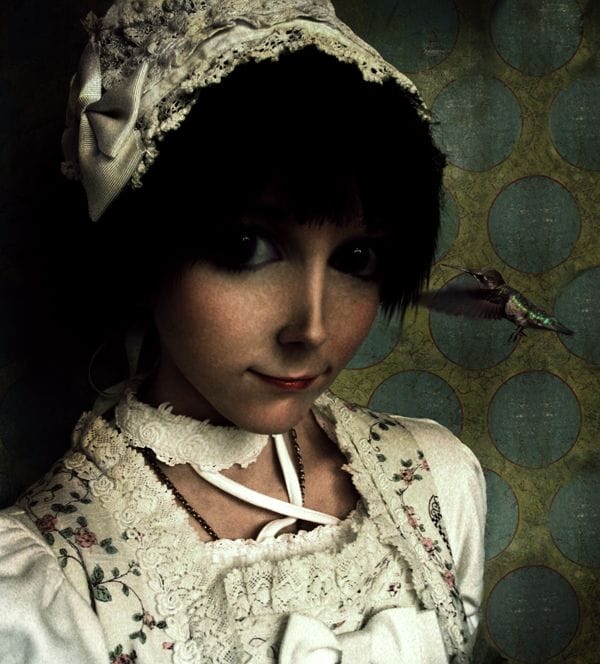
Press Shift+Ctrl+Alt+E to create a new merged layer. Apply a gaussian blur filter (Filter > Blur > Gaussian Blur) with 2,5 pixels on the new layer then change the layer mode to Soft Light with about 28% opacity


Leave a Reply