
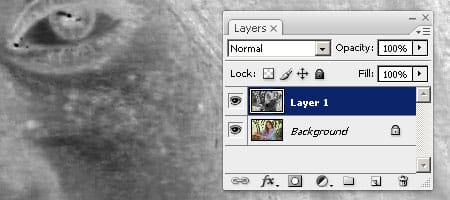
Step 8: Blend the layer
Now that we have the right formula to subtract the freckles from, change the blending mode to Overlay and adjust the opacity so that the freckles disappear. You should see the effect of this subtraction technique real time as you adjust the opacity slider.
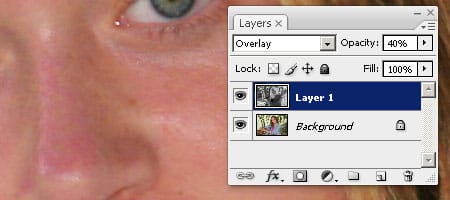
Once you’re done, you may notice that the contrast for the entire image has changed. For the image used in this tutorial, the result is pleasing and makes the overall image look better. If you are happy with the results, you’ve completed the effect. However, if you don’t like the effect that it creates, follow the next steps to learn how to make this effect only visible on the skin.

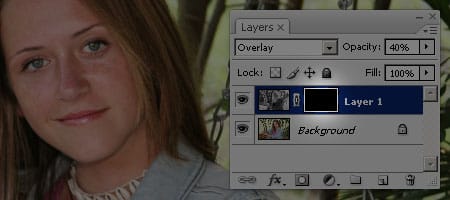
Step 9: Add a layer mask
To manually specify where the freckle removal effect should appear, we’ll be using a layer mask. Add a layer mask by opening the Layer> Layer Mask> Hide All. This should create a black layer mask that makes the entire layer invisible.
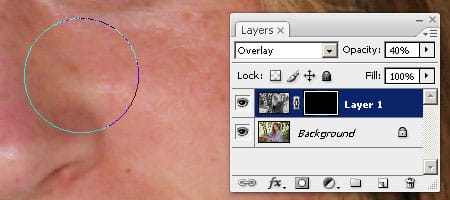
Step 10: Paint over the freckles
First, make sure that you have the layer mask selected by clicking on the thumbnail of the layer mask. It should have a white outline around it to indicate that it is activated. Select white as the foreground color and use the Brush tool with a soft edged brush to paint the affected areas. This will feel like an eraser tool for the freckles because the area you paint is the area that the freckles disappear.
Final Results
Original image

Remove Freckles Photoshop tutorial

Freckles removed from affected areas only

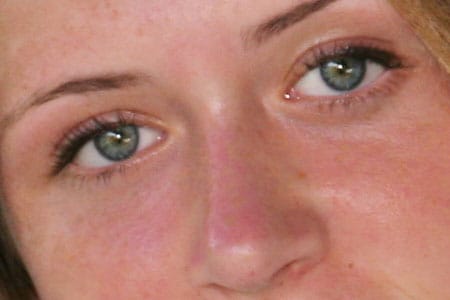
Close-up
Original image

Freckles removed
6 responses to “Remove Freckles”
-

It really works but it has limitations
-
It works excellently! Thanks for the technique.
-
Sorry sir, but it doesnt work. pls fix asap
-
This does not work
-
thank you please download me
-
Be a buddy not a bully.
-
Leave a Reply