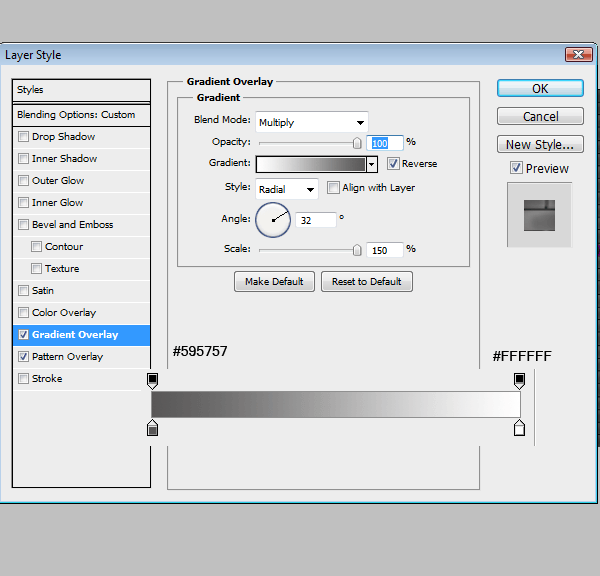

Step 30
Create a new layer and randomly add highlights to the bricks. I used a soft round brush and the smudge tool to smooth it out.
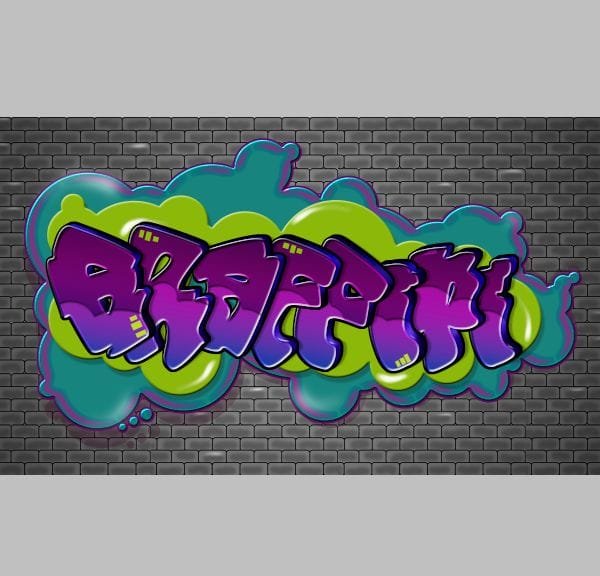
Step 31
Now for the light streaks. Create a New layer above your text and grab your pen tool. Prior to making your light streaks set your brush tool to 87px.
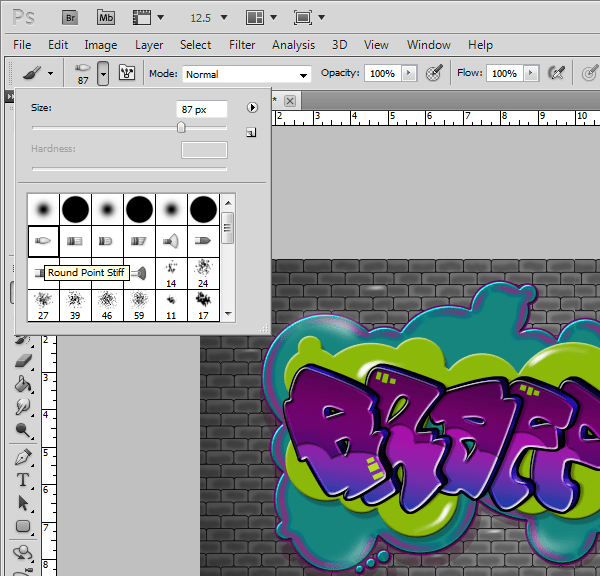
Step 32
Once you have created the light streak with the pen tool, right-click the path>Stroke Path (make sure that the ‘Stimulate Pressure’ box is checked)

Step 33
Add a Outer Glow
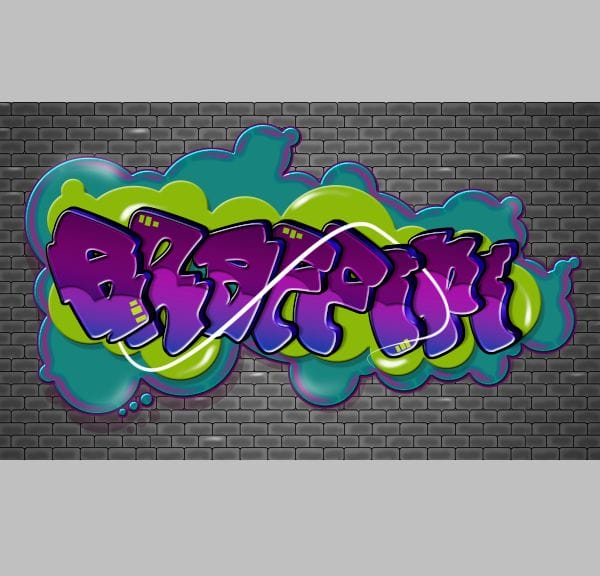

Step 34
Create another light streak
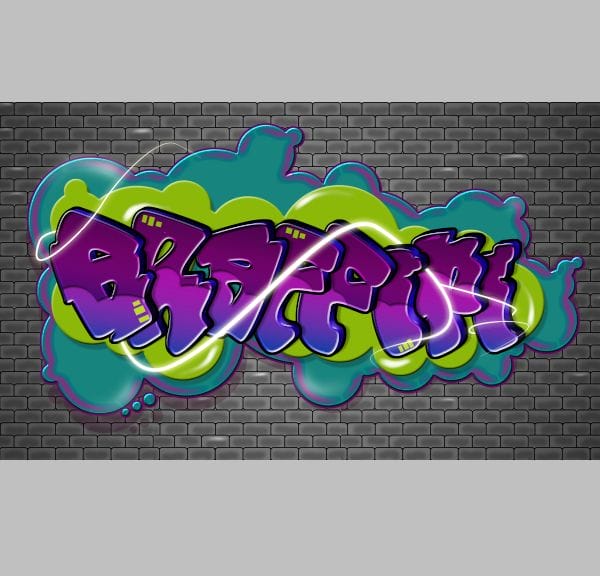
Step 35
Create a new layer and add some stars from the brushes you downloaded earlier.
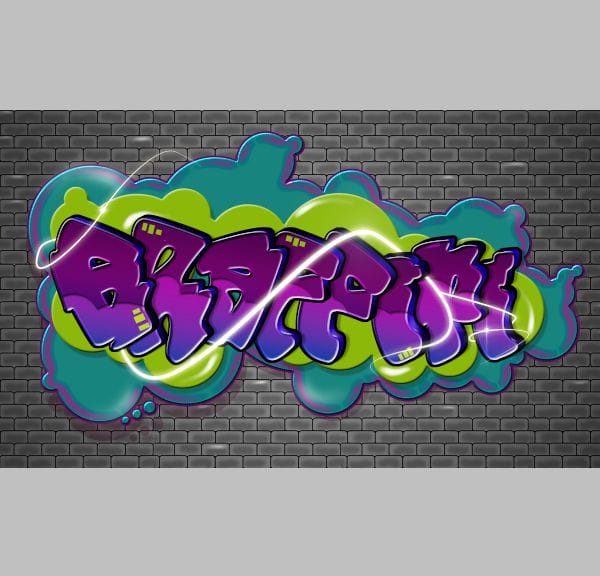
Final Results
![final-results[1] final-results[1]](https://cdn.photoshoptutorials.ws/images/stories/ab09dd496847_123D5/final-results1.png?strip=all&lossy=1&webp=82&avif=82&w=1920&ssl=1)
Download the PSD
Graffiti Text.zip | 16.32 MB
Download from Website
Authors Comment
15 responses to “Create a Cartoon-Style Graffiti Text Effect in Photoshop”
-
bruh
-
A very smart approach to explain the things,like your step by step tutorial.
-
Fantastic tutorial, thank you. Used it in my Graphic Design assessment, it made all the difference.
-
It’s fascinating. Way but I want to clarify more video
-
Great tutorial. Thanks for sharing :)
-
10Q FOR TUTORIAL I LIKE IT
-
welldone Ashlee, Nice Tutorial
-
Really Great….tutorial. Thank Your Ashlee.
-
galing
-
good tut
-
Nice one Ashlee….love graffiti as well..
-
Bad tut…
-
nice tutorial,…thanks Ashlee!:)
-
very nice
-
thanks a lot


 Thank you for following my tutorial. I’m a 21 year old Graphic Design student. I wanted to create something dealing with graffiti because I’ve always loved that style. Enjoy!
Leave a Reply