Make skin look perfect in one-click with these AI-powered Photoshop actions.
Step 10
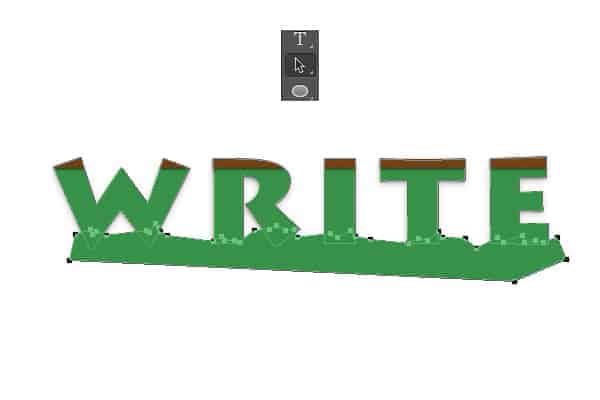
Pick the Add Anchor Point Tool, make sure that your green vector shape is selected and add one anchor point on the highlighted place as shown in the first image.
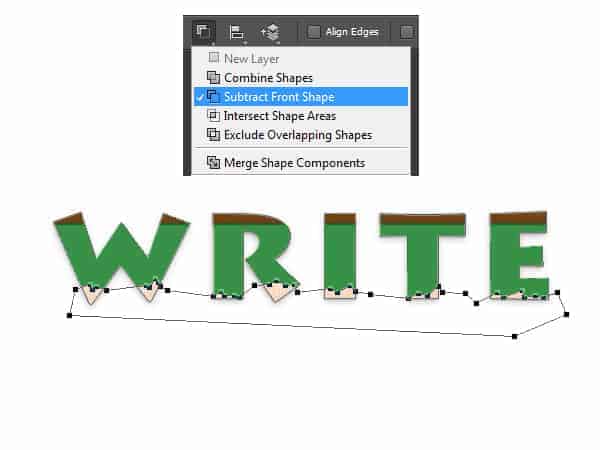
Now, grab the Direct Selection Tool, select the anchor points from the bottom side of your green vector shape and hit the right arrow button from your keyboard ( 2 -3 times ) to move them few pixels.

Step 11
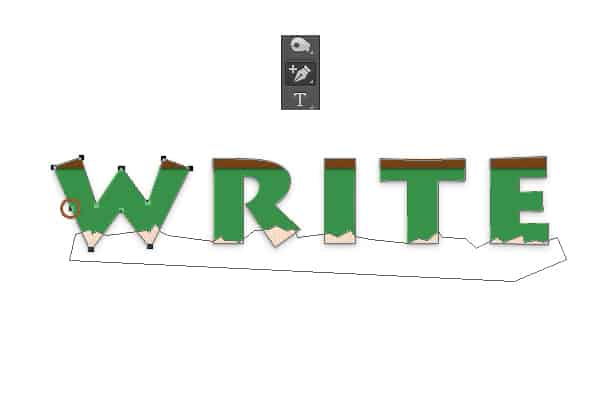
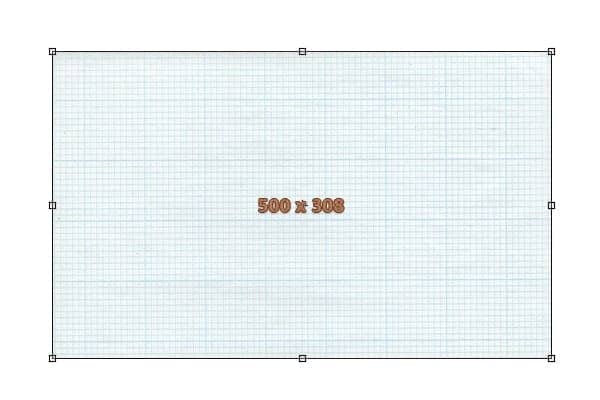
Import the paper texture, hit Control + T and resize it to 500 x 308px.
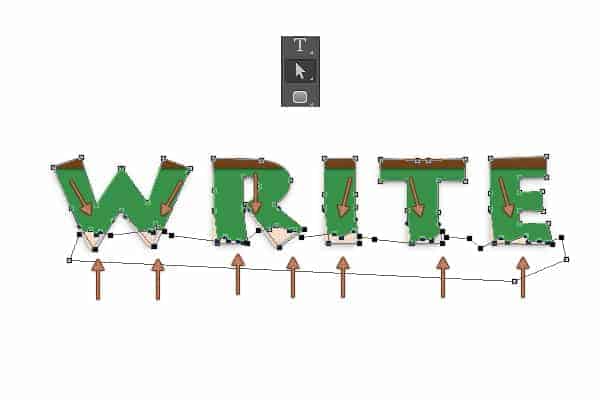
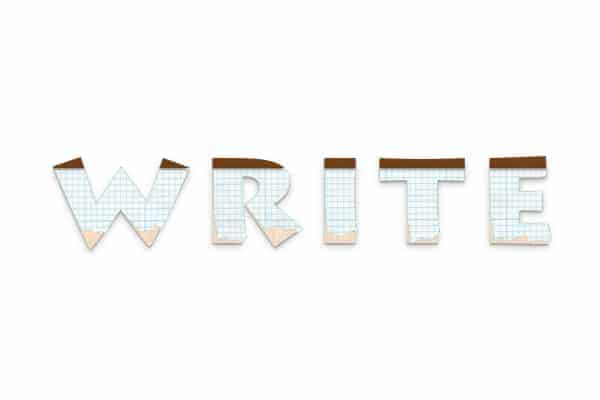
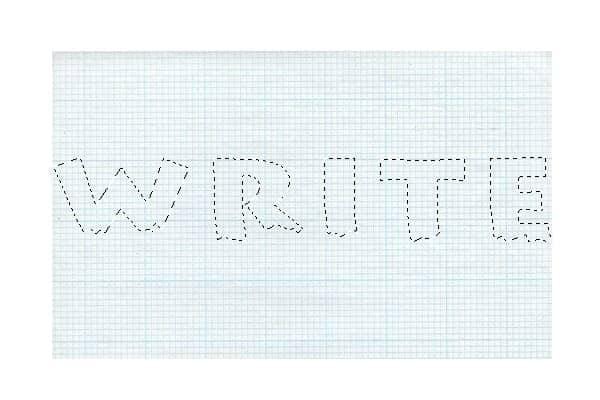
Make a selection around your green vector shape, make sure that the paper texture is selected and click theAdd Layer Mask button.
Focus on the Layers panel, select the green vector shape and lower the Fill to 0% and then place the paper texture below the brown vector shape using the Control + [ keyboard shortcut.
Step 12
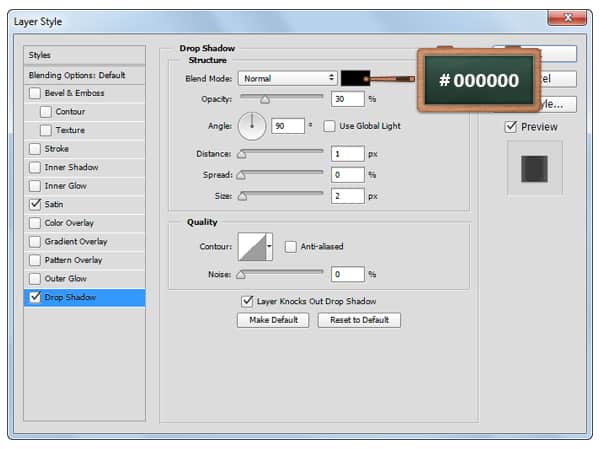
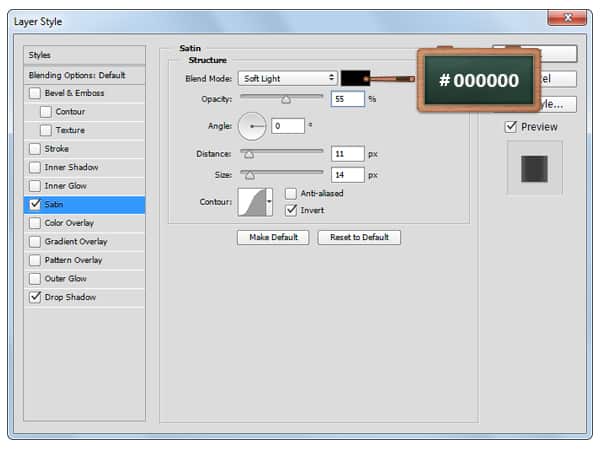
Open the Layer Style window for your paper texture and enter the settings mentioned in the next images.

Step 13
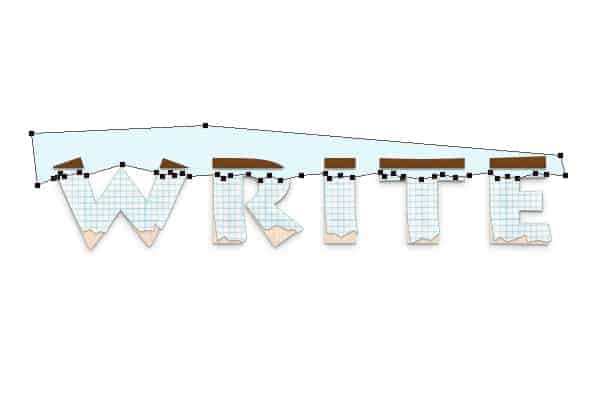
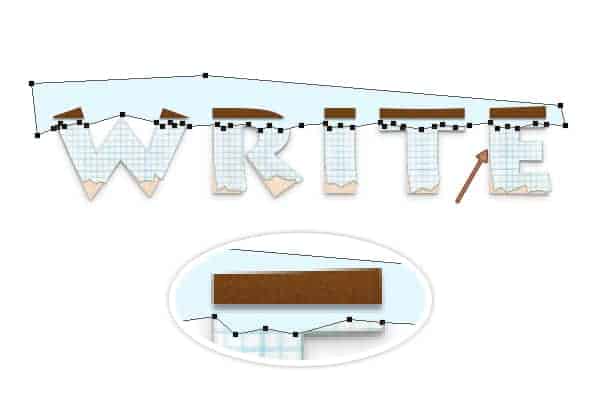
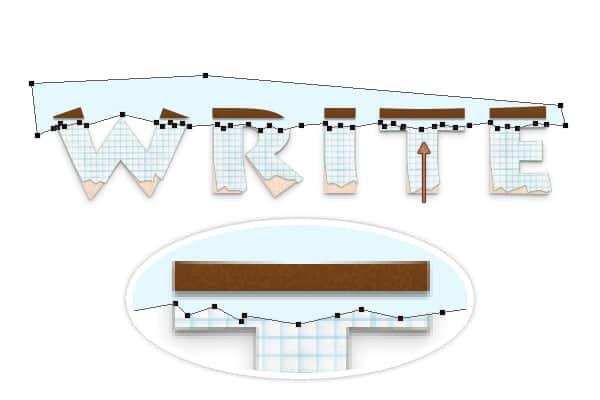
Change the foreground color to #E4F8FF, pick the Pen Tool and create the following vector shape.
Again, make sure that this vector shape is below the brown vector shape.
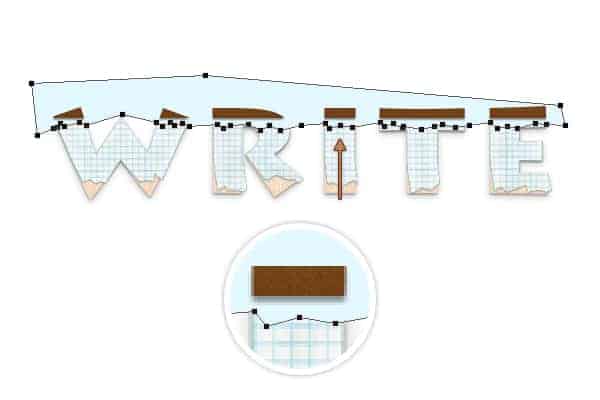
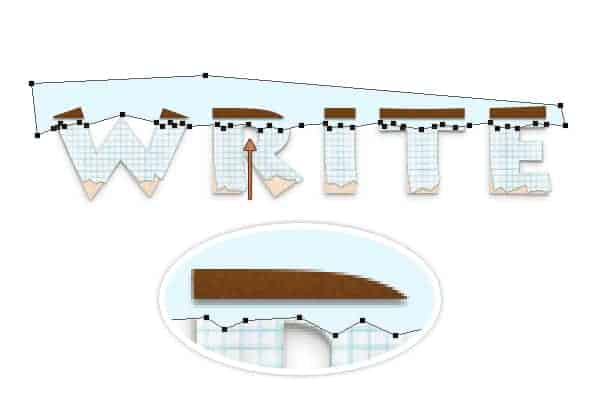
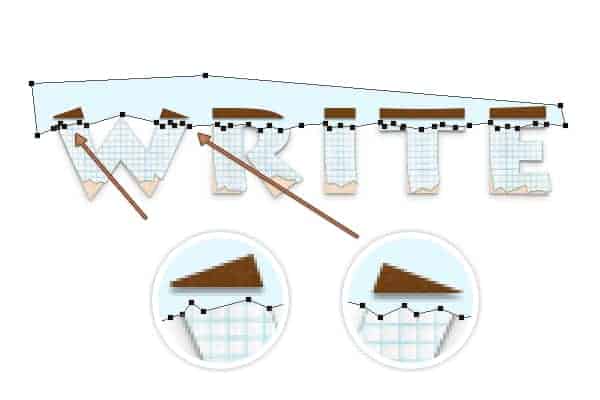
Step 14
Make a selection around your green vector shape, make sure that your vector shape made in the previous step is selected and click the Add Layer Mask button.


Step 15
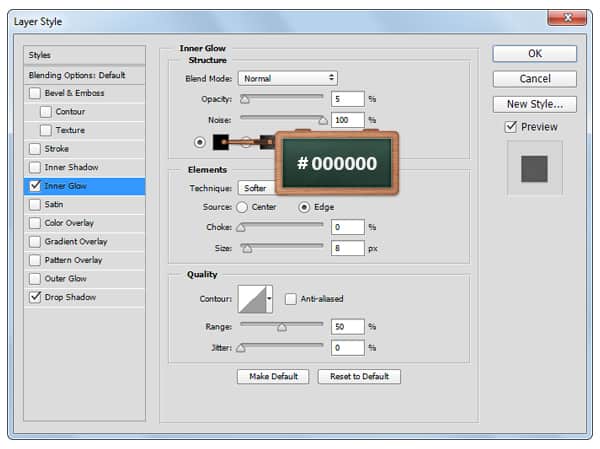
Open the Layer Style window for the vector shape edited in the previous step and enter the settings mentioned below.
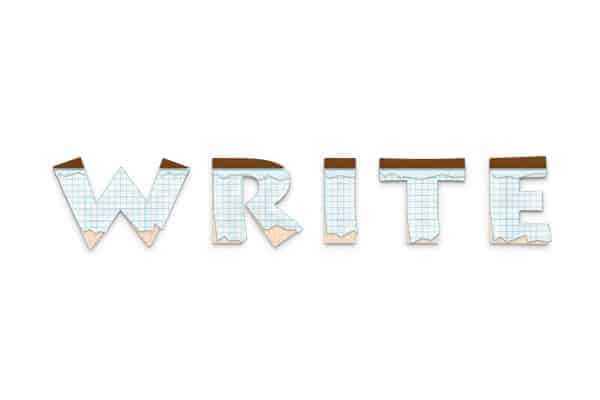

Step 16
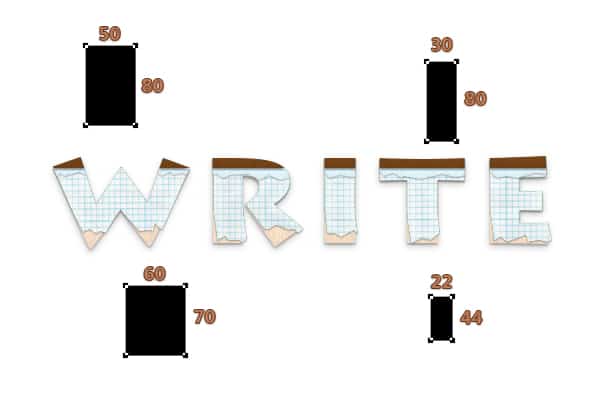
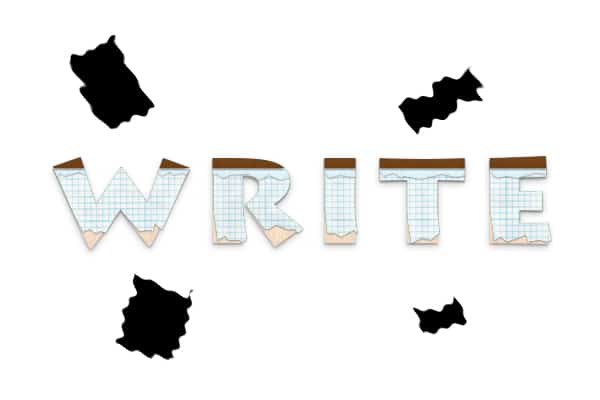
Set the foreground color to #000000, pick the Rectangle Tool and create the following vector shapes.
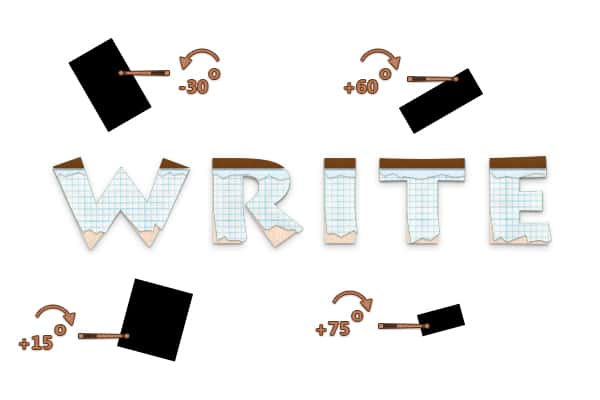
Select these vector shapes one by one and rotate ( Control + T ) them randomly as you can see in the second image.
Step 17
Concentrate on the Layers panel, select your black vector shapes, right click on one of it and go to Merge Shapes. Select your fresh vector shape, right click on it and go to Convert to Smart Object.
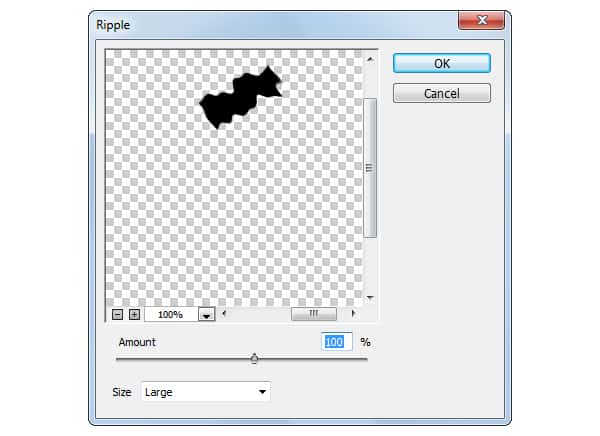
Go to Filter > Distort > Ripple, drag the Amount slider at 100% and set the Size to Large and then click theOK button.
Step 18
Import again the paper texture, hit Control + T and resize it to about 522 x 351px.
Make a selection around your black shapes, make sure that your paper texture added in this step is selected and click the Add Layer Mask button.
Focus on the Layers panel, select your layer with the black shapes and lower the Fill to 0%.


One comment on “Create a Notebook Text Effect in Photoshop”
This one was fun to make! Thank you for this awesome tutorial.