Create a Notebook Text Effect in Photoshop

Create a Notebook Text Effect in Photoshop

In this tutorial you will learn how to create a notebook text effect in Adobe Photoshop. You will begin to create the text using a font and then you will create the parts one by one to have a notebook aspect. You will learn how to transform a font into a vector shape and you will know how to cut the vector shapes and how to manipulate the anchor points. Finally, you will be introduced to Distort and the Add Layer Mask features.Let's begin!

What you'll be creating

final-result-1
final-result-3
final-result-2

Tutorial Resources

Step 1

Create a new document in Adobe Photoshop and enter the settings mentioned in the next image.

1

Step 2

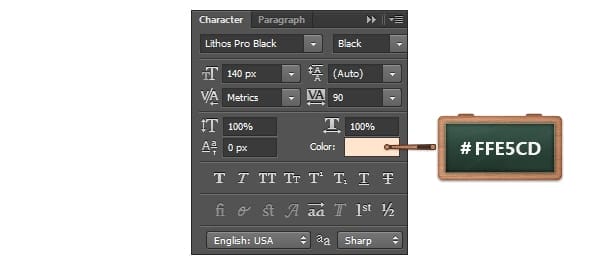
Pick the Horizontal Type Tool and use the Lithos Pro Black font.
Move to your canvas, add the "write" text with the size set to 140px and the color to #FFE5CD.
2
2a

Step 3

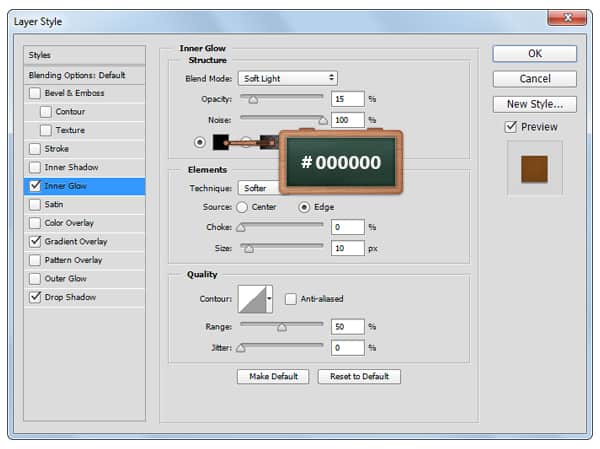
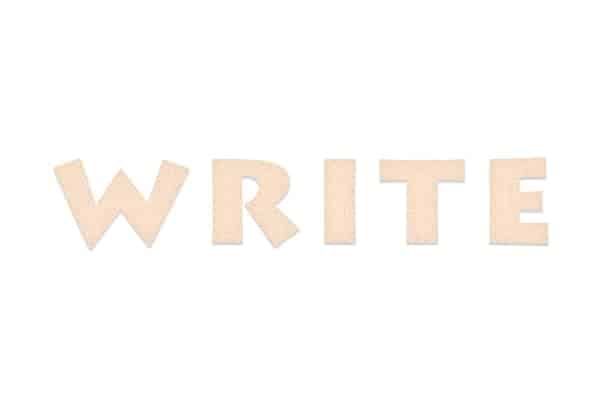
Open the Layer Style window for your text and enter the settings mentioned in the next images.
3
3b
3a

Step 4

Duplicate your text using the Control + J keyboard shortcut, focus on your Layers panel, make sure that your copy is selected and lower the Fill to 0%.
Open the Layer Style window for this copy and enter the settings mentioned below.

4
4a

Step 5

Concentrate on your Toolbar, set the foreground color to #804C1C and pick the Rectangle Tool.
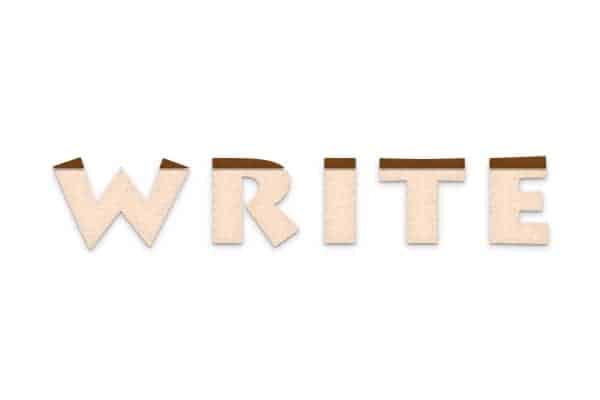
Move to your canvas, create a 522 x 15px vector shape and place it as you can see in the first image.
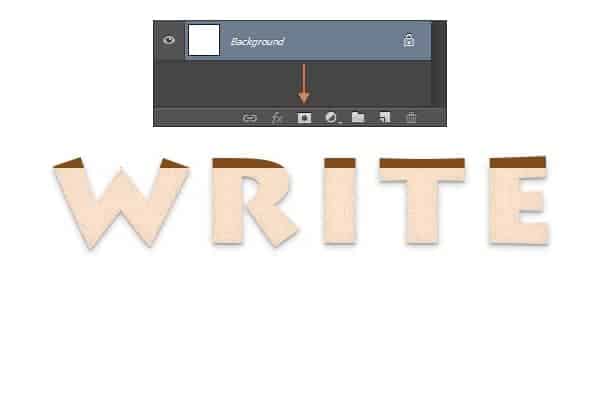
Focus on your Layers panel, hold the Control button from your keyboard and then click on the thumbnail icon that stands for your text to load a simple selection around it.
Now, make sure that your rectangle is selected and click on the Add Layer Mask button

5
5b
5a

Step 6

Open the Layer Style window for your brown vector shape and enter the settings mentioned in the next images.

6
6c
6b
6a

Step 7

Focus on the Layers panel, duplicate ( Control + J ) your "write" copy text, right click on this fresh copy and go to Clear Layer Style.
Hit again right click on this copy, go to Convert to Shape and change its color to green ( #389149 ).

7

Step 8

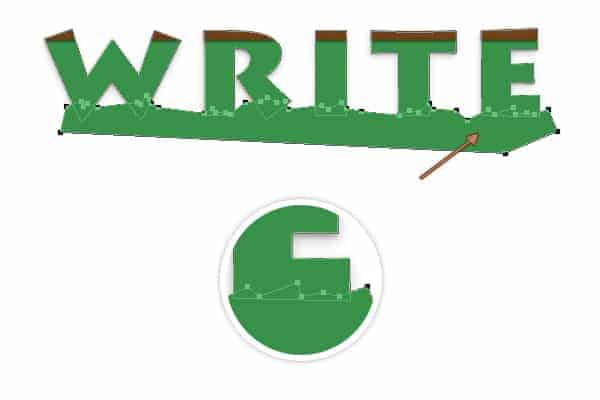
Make sure that your green vector shape is selected, pick the Pen Tool and create the vector shape roughly as shown below.

8
8d
8c
8b
8a

Step 9

Pick the Path Selection Tool, select your vector shape made in the previous step, focus on the top bar and go to Subtract Front Shape.

9
9a

Step 10

Pick the Add Anchor Point Tool, make sure that your green vector shape is selected and add one anchor point on the highlighted place as shown in the first image.
Now, grab the Direct Selection Tool, select the anchor points from the bottom side of your green vector shape and hit the right arrow button from your keyboard ( 2 -3 times ) to move them few pixels.

10
10b
10a

Step 11

Import the paper texture, hit Control + T and resize it to 500 x 308px.
Make a selection around your green vector shape, make sure that the paper texture is selected and click theAdd Layer Mask button.
Focus on the Layers panel, select the green vector shape and lower the Fill to 0% and then place the paper texture below the brown vector shape using the Control + [ keyboard shortcut.

11
11b
11a

Step 12

Open the Layer Style window for your paper texture and enter the settings mentioned in the next images.

12
12b
12a

Step 13

Change the foreground color to #E4F8FF, pick the Pen Tool and create the following vector shape.
Again, make sure that this vector shape is below the brown vector shape.

13
13e
13d
13c
13b
13a

Step 14

Make a selection around your green vector shape, make sure that your vector shape made in the previous step is selected and click the Add Layer Mask button.

14
14a

Step 15

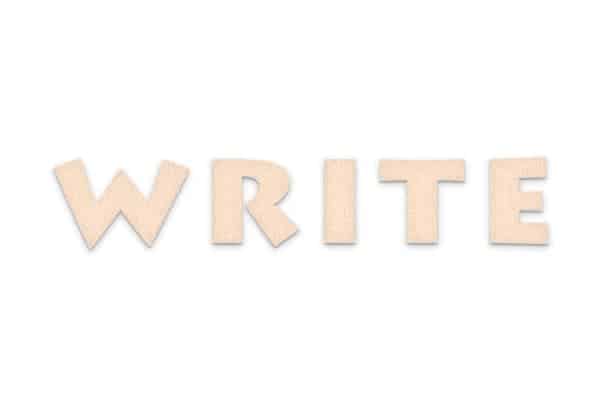
Open the Layer Style window for the vector shape edited in the previous step and enter the settings mentioned below.
15
15b
15a

Step 16

Set the foreground color to #000000, pick the Rectangle Tool and create the following vector shapes.
Select these vector shapes one by one and rotate ( Control + T ) them randomly as you can see in the second image.

16
16a

Step 17

Concentrate on the Layers panel, select your black vector shapes, right click on one of it and go to Merge Shapes. Select your fresh vector shape, right click on it and go to Convert to Smart Object.
Go to Filter > Distort > Ripple, drag the Amount slider at 100% and set the Size to Large and then click theOK button.

17
17a

Step 18

Import again the paper texture, hit Control + T and resize it to about 522 x 351px.
Make a selection around your black shapes, make sure that your paper texture added in this step is selected and click the Add Layer Mask button.
Focus on the Layers panel, select your layer with the black shapes and lower the Fill to 0%.

18
18b
18a

Step 19

Open the Layer Style window for the paper texture made in the previous step and enter the settings mentioned in the next images.

19
19b
19a

Step 20

Finally, we'll add the background.
Focus on the Layers panel, select the Background layer and click on the padlock icon to unlock the layer. Set the foreground color to #678F84, grab the Paint Bucket Tool and fill the canvas with your color.
Open the Layer Style window for this layer and enter the settings mentioned below.

20
20b
20a

Step 21

If you like the beige color simply fill the canvas with this color #D3C2B4, open the Layer Style window and enter the settings mentioned below.

21
21b
21a

Step 22

If you prefer the blue color, fill the canvas with this color #AECCE6, open the Layer Style window and enter the settings mentioned below.

22
22b
22a

Final Results

final-result-1
final-result-3
final-result-2

Download the PSD

[vc_column width="1/1" el_position="first last"] [vc_cta_button title="Download" href="https://downloads.photoshoptutorials.ws/Notebook.zip" color="btn" size="btn-large" icon="none" target="_self" position="cta_align_right" call_text="Notebook.zip | 1.11 MB" width="1/1" el_position="first last"] [/vc_column]

Tutorial by Razvan Gabriel

razvangabriel_profile
Thank you for reading this tutorial and I hope that these techniques will help you in your future projects. See my portfolio here: MySketch.net

- Razvan Gabriel

90% Off Cyberpunk Preset Bundle
Sponsored

Make your artwork look like they're from an alternate universe. These Cyberpunk presets work with Photoshop (via the Camera Raw filter) and Lightroom. Download all 788 presets for 90% off.

One comment on “Create a Notebook Text Effect in Photoshop”

Leave a Reply

Your email address will not be published. Required fields are marked *

cross