Make your artwork look like they're from an alternate universe. These Cyberpunk presets work with Photoshop (via the Camera Raw filter) and Lightroom. Download all 788 presets for 90% off.


Step 36
Select the Rectangle Tool, create two, 2 x 3px vector shapes and place them as you can see in the first image.
Merge these two rectangle, duplicate this fresh vector shape three times and rotate the copies one by one as you can see in the next images.


Step 37
Focus on the Layers panel, select the vector shapes that make up your new key, right click on one of it and go to Merge Shapes. Click on the Layer Thumbnail Icon that stands for the new key vector shape and change the color to #F6F6F6.
Rotate this new key to -45 degrees and place it as you can see in the second image.
Open the Layer Style window for this vector shape and enter the settings mentioned below.


Step 38
Focus on the Layers panel, make sure that the new key is selected and duplicate it. Go to Edit > Transform > Rotate 180 degrees and place this fresh copy as you can see in the image below.
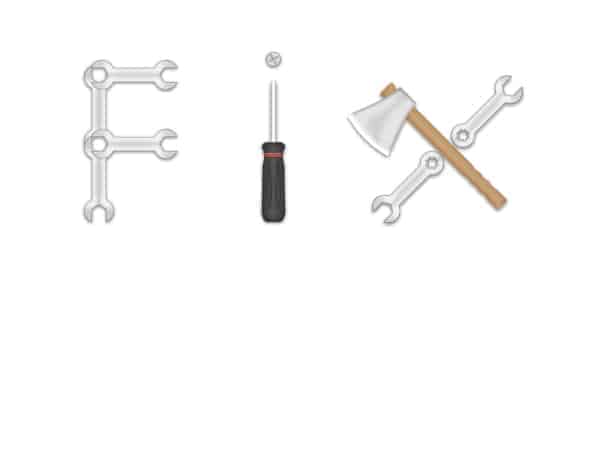
Select all the vector shapes that make up your " x " and group them ( Control + G ).
Open the Layer Style window for this new group and enter the settings mentioned below.


Step 39
Focus on the Layers panel, select and duplicate the group that stands your your " i " and place it as you can see in the first image.
Now select the brown rectangle, duplicate it ( Control + J ) and place it as you can see in the second image.


Step 40
Set the foreground color to #F6F6F6, pick the Pen Tool and create the following vector shape.


Step 41
Open the Layer Style window for the vector shape made in the previous step and enter the settings mentioned below.


Step 42
Focus on the Layers panel, select all the vector shapes that stand for your " t " and group them.
Open the Layer Style window for this group and enter the settings mentioned in the next images.


Step 43
Focus on the Layers panel, select the Background layer and click on the padlock icon to unlock the layer. Set the foreground color to #58857E or #80664F, grab the Paint Bucket Tool and fill the canvas with your new color. Open the Layers Style window for the layer unlocked in this step and enter the settings mentioned in the next images.


One comment on “Create a Tools Text Effect in Photoshop”
nice nice