Step 7
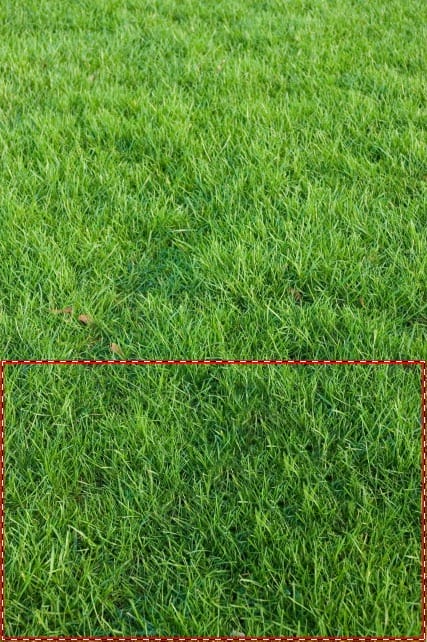
Now choose Rectangular Marquee tool from the main toolbar and select the bottom part of the document, then press ctrl/cmd + c, switch windows to spring.psd, select the text layer and press ctrl/cmd + v, and grass image should appear just above the text layer. Rename it to grass texture.

Step 8
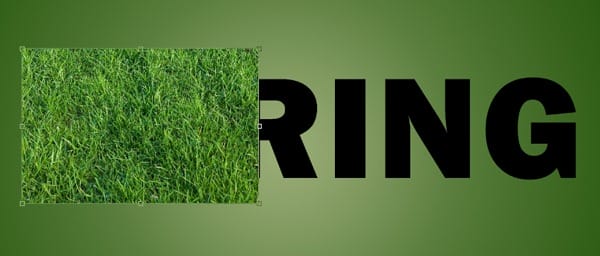
We now have to match the size of the grass texture to make it look best. In my opinion it looks the best, when the blades are relatively small. To do that, press ctrl/cmd + t, and enter values in Transform option bar: H:40% W:40%. Press Enter to confirm. Select grass texture layer, press ctrl/cmd + j to duplicate it, choose Move tool (V), and move it to the right edge of the layer below, then do it again (duplicate + move) to cover the whole text with some margin.
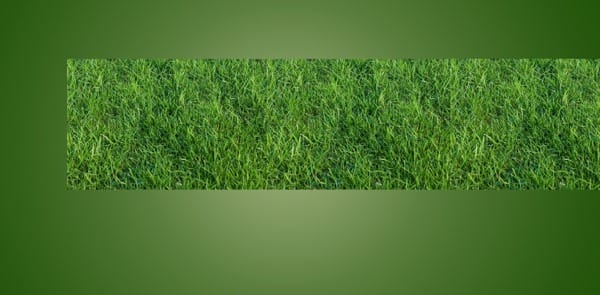
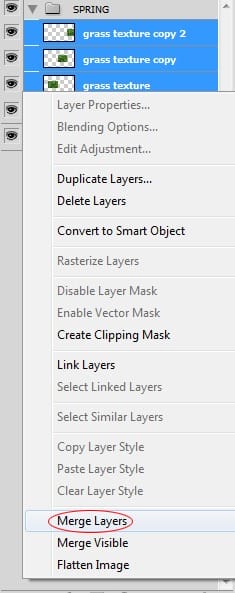
Now select all three grass texture layers (holding shift key), right-click on any, and select Merge layers.
Step 9
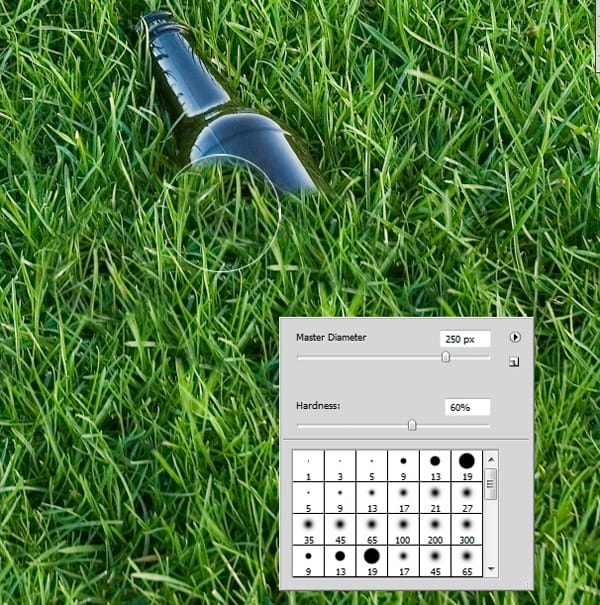
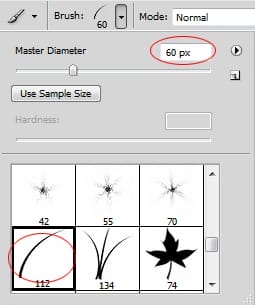
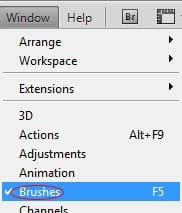
Place the merged grass layer in the centre of the image, to cover the whole text with exact margins. Now hide the layer. Create new layer above the text. Select the Brush tool, open the Brush presets window and choose the basic “dune grass” brush, adjust diameter (60) and hardness (100%), then click somewhere else to close the window. Now go to Window\Brush (F5) to adjust some advanced brush settings.
Step 10
In advanced brush settings window, go to Shape Dynamics, then set Size jitter to 100%, Minimum diameter to 22% and Angle jitter to 100. Other settings may remain by default.
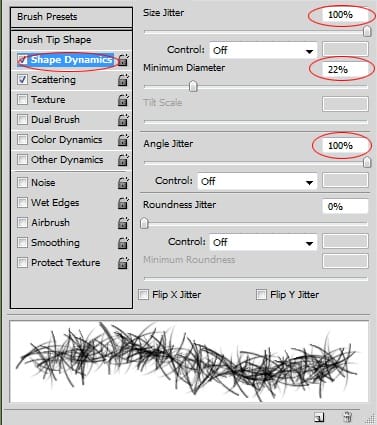
Go to Scattering, and set Scatter to 45, Count to 5.
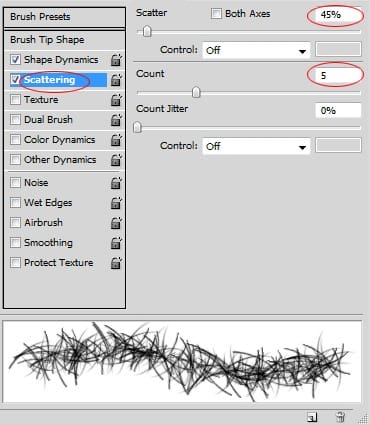
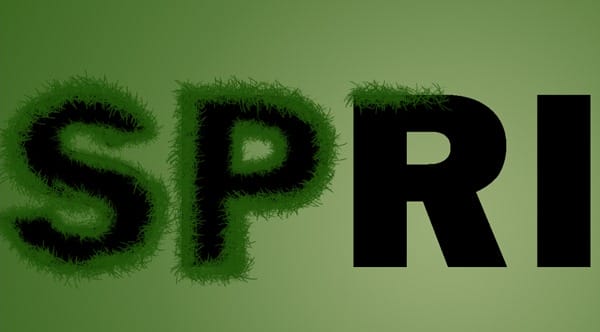
You can now close this window. Choose any color but black – to see clearly where you paint, and draw the outline of every character. Try to do each letter by one single stroke (without releasing left mouse button). Of course you can change the diameter in some more difficult moments, to make it good better -for example inside the “P”.
Step 11
Select the text layer, right-click on it and choose Rasterize Type. Then select the layer with the grass outline, you’ve just done and press ctrl/cmd + e (shortcut for Merge layer down). Now turn the grass texture back visible, now right-click on it, and click on Create clipping mask. I should look like this (see below). What’s great about Clipping mask is that you can edit it in any moment, and if you draw anything on the layer it’s attached to, you will automaticly see the right effect. In other words – it covers the layer below with it’s content. If you’re satisfied with the effect you’ve got, you may now merge those two layers. In order to do that, select both layers, right-click on any of those, and choose Merge Layers.
9 responses to “Spring Wallpaper”
-
While I appreciate this tutorial, I would have appreciated a heads-up about the amount of time it takes to mask out the tossed paint remnants. I’m in the third hour of doing that and I don’t see it finishing up very quickly. Well, I guess you get what you pay for!
-
Fix the stock file please :)
-
Finally we have images after a long wait! Thank you very much!
-
Voilà ce que ça donne http://sta.sh/01325gjin1j1
-
Voilà ce que ça donne http://sta.sh/01pcoera8h8j
-
Fix the images, please :(
-
Fixed! Thanks for letting us know about the broken images :)
-
-
why no image??!? plz fix ittttt its along time im waiting for it
-
problem on loading images… :( plz fix it


Leave a Reply