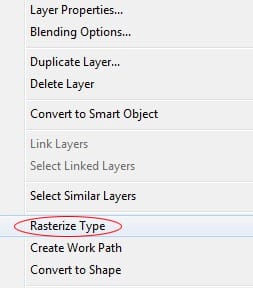

Step 12
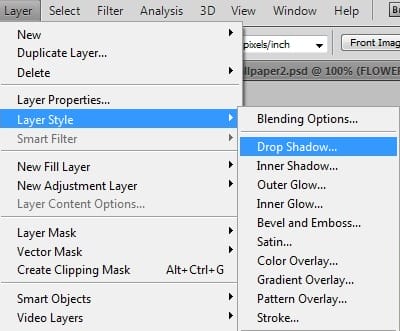
Select SPRING layer and from Layer\Layer style pick Drop Shadow.
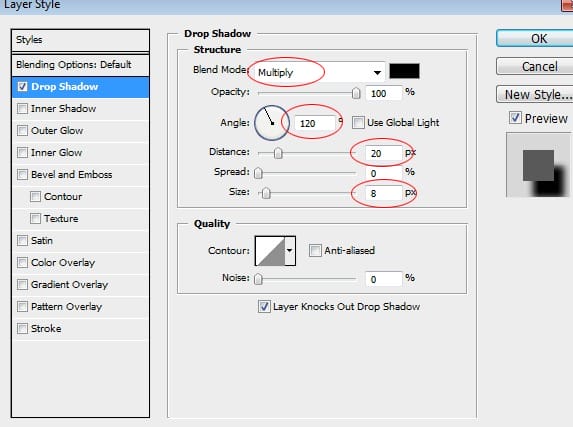
In Drop shadow options, adjust the Blend Mode (Multiply), Angle (120), Distance (20), Size (8). Click OK.

Step 13
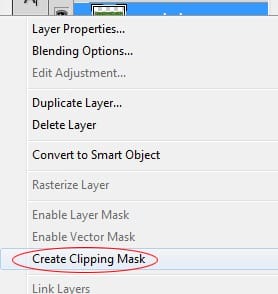
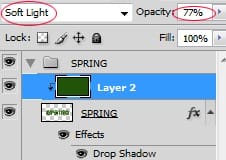
Create new layer above SPRING. Select it and pick the Paint Bucket tool. Choose colour : RGB (33/83/8) and fill the layer with the colour. Now right-click on the layer and choose Create clipping mask again. Now, still on the same layer, change it’s blending mode to Soft Light, and opacity for 77%. It looks much better now. You may close the group SPRING for now.
Step 14
Ok. We’ve already got the title. Now it’s time to add some extra effects to it. Create a new Group below SPRING, and name it “SPLATTERS”. Extract all splatter images, and open 11.jpg in Photoshop. When you’ve got it, we must now extract it from non-transparent background. In order to do that, go to Select\Color range, then pick the black background colour from the document using eye-dropper tool and set the Fuzziness to 24.

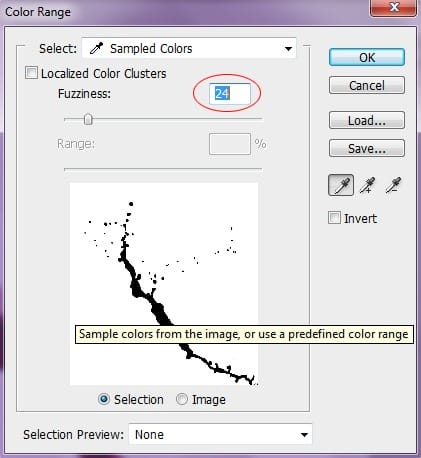
Click OK then choose Select\Inverse (shift+ctrl/cmd+i).

However it looks like there are some places, where the selection needs to be improved, as it looks awful. Some black areas were included in selection.

To fix that, go to Quick Mask Mode (Q), and start painting with black colour to cover bad areas.


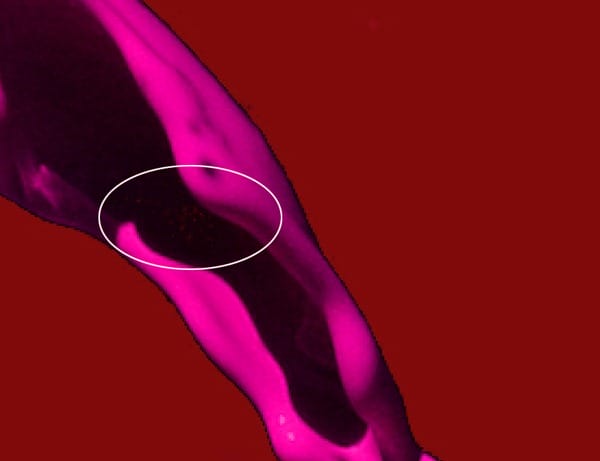
In this mode the imperfections are very well visible, so it won’t be a difficult task. Selected area is red. Sometimes you may need to paint some areas with white colour, to deselect – see example below.
When you finish, exit the Quick Mask Mode (press Q again) and go to Select\Refine Edges.
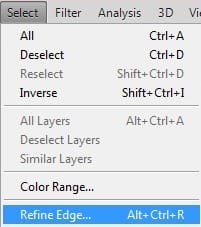
Use the following settings: Radius: 1 Smooth: 2. Other parameters should remain with value 0.

Then press ctr/cmd +a, ctrl/cmd + c and switch back to our document. Select the SPLATTER group and press ctrl/cmd + v to paste the first splatter. One thing more to do with this one is to change a bit it’s colours – go to Image\Adjustments\Hue & Saturation, check Colorize and enter values: Hue:337 Saturation:100 Lightness:+18.
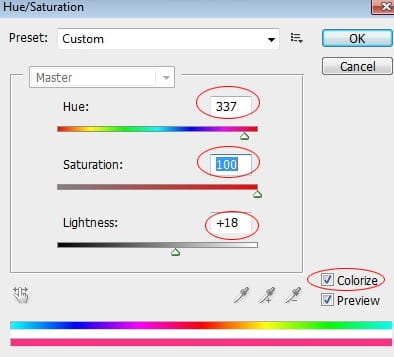
It looks much more vivid now. You may now transform and move it to place it in the desired position in our composition.
9 responses to “Spring Wallpaper”
-
While I appreciate this tutorial, I would have appreciated a heads-up about the amount of time it takes to mask out the tossed paint remnants. I’m in the third hour of doing that and I don’t see it finishing up very quickly. Well, I guess you get what you pay for!
-
Fix the stock file please :)
-
Finally we have images after a long wait! Thank you very much!
-
Voilà ce que ça donne http://sta.sh/01325gjin1j1
-
Voilà ce que ça donne http://sta.sh/01pcoera8h8j
-
Fix the images, please :(
-
Fixed! Thanks for letting us know about the broken images :)
-
-
why no image??!? plz fix ittttt its along time im waiting for it
-
problem on loading images… :( plz fix it


Leave a Reply