
Step 3
Again cut out the other lawn on the house image.

Move the duplicate to the areas where needed.
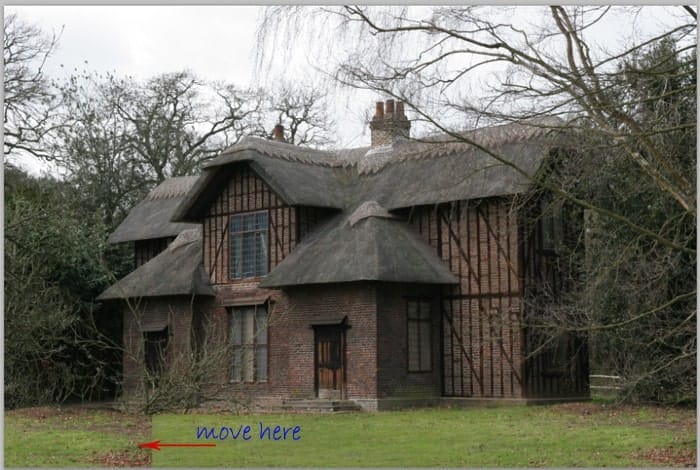
Mask out some part of the cutout. Here is the result I created.

Step 4
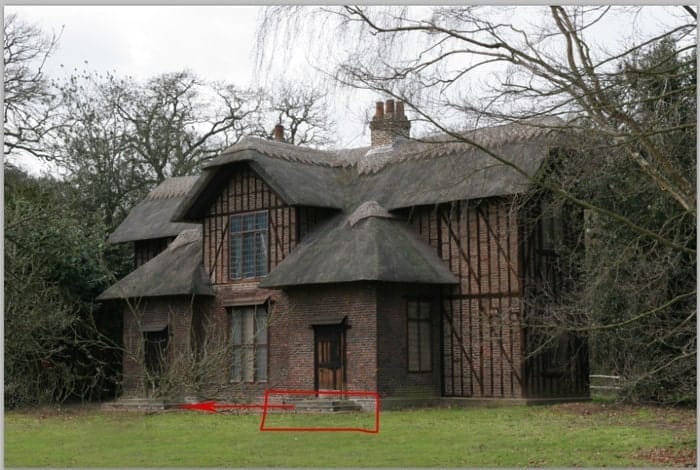
In the next few steps, we will proceed to clean up the twigs in front of the house. We just do repeating the same simple steps as in previous steps like cutting out some parts, moving, and masking. This time we will cut out the terrace in front of the main door. Move the cut out to the front of the second door. Remember to mask some parts where needed.
Step 5
Do the same ways to cover the twigs in front of the wall. Cut out the brick of the wall. Use the cut out to cover the other brick where the twigs are visible. Mask some part of the cut out to make the transition of the images well blended.
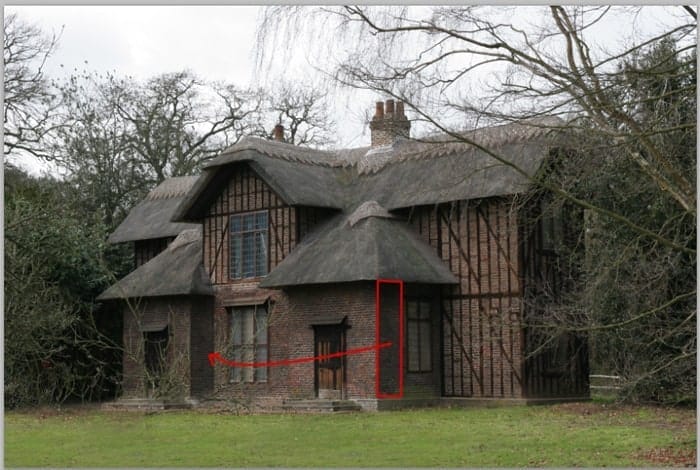
Do the same way to cover the other brick.
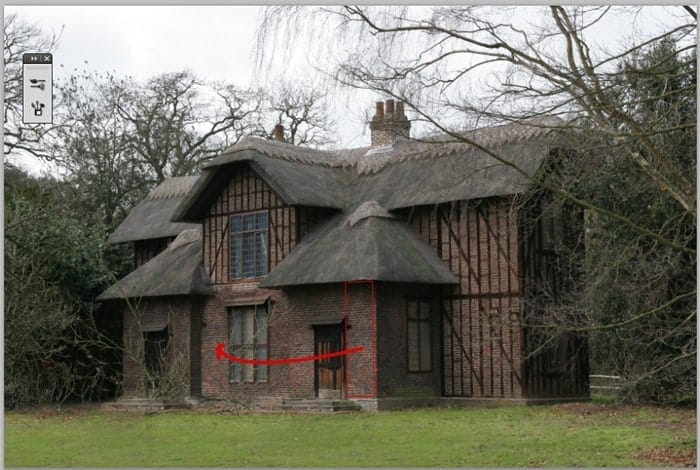
Duplicate (Ctrl+J) the cut out and use the duplicate to cover twigs on the other bricks.

Step 6
Proceed to clean the rest of the twigs in the second door. We can simply cut out the main door and use the cut out as the replacement of the second one.
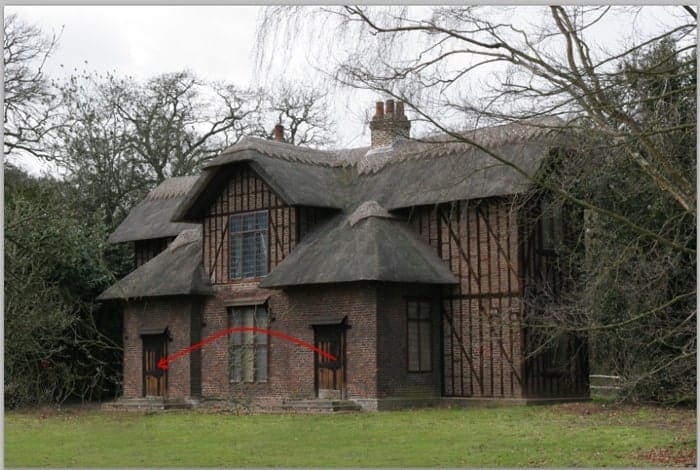
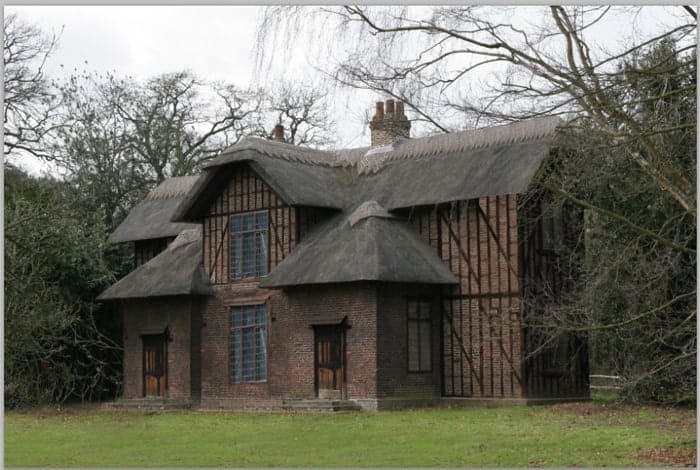
Here is the result I created after cleaning the twigs on the roof, replacing the lower window with the upper one, adding some shadow on some areas where needed. To add some shadow, we can paint over the part where the shadow should fall. Follow the original house image to define it. Use black color stroked with a very soft round brush with low opacity of 10-15%. After finding the desired result, select all the house layers and hit Ctrl+E to merge them into a single layer. Name the layer house.
Step 7
Now we will add a background for the scene. Firstly we should erase the cloud background of the original image as indicated in the redlined part.
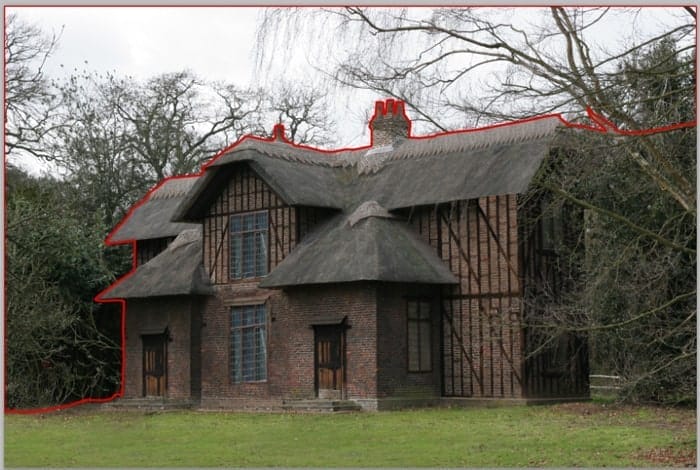
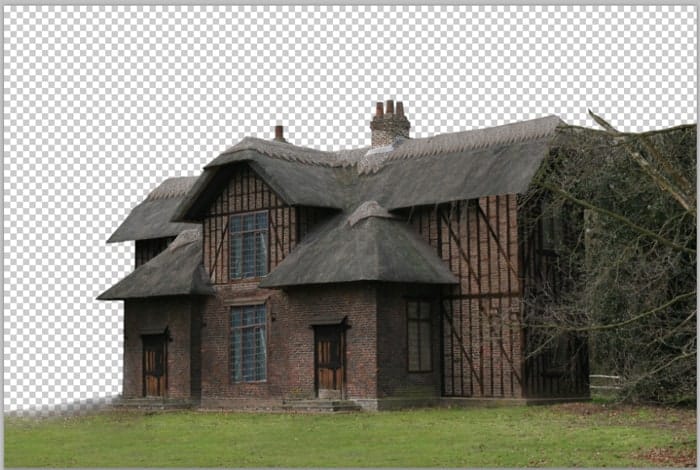
Again to do this purpose, take the pen tool (P). Select the mentioned part to be erased. After selecting the part, hit del on the keyboard to delete it. Here are the results for your inspiration.
Step 8
We will give the house a more sharpening look. To do this, give this layer some filter: an unsharp mask. While being active on the house layer, go to filter > sharpen > unsharp mask. Set the filter like the one shown in the screenshot.
12 responses to “Create Gloomy House Scene in Photoshop”
-
totally helpful:)))
-
How do I “Mask some the edges of this layer”? I have cut out the section of grass as instructed, but there is a line on the edge of the cut out that I have not been able to remove or blend so the line is not seen. Guidance would be appreciated.
-
Step 21 – #fdg601? (cs 5.1 doesn’t appear to be taking the ‘g’ in this color?) is this my mistake?
-
I believe that’s a 9 – not a g.
Sorry for the confusion! I’ll update step 21 to clear things up.
-
i had the same problem
-
-
I am working on this tutorial and thus far this is great!!!! I do have a few little questions and that is like in step 28 where the value in the radius appears to be 3,7 ? what is that suppose to be with a comma between the two numeric values?
-
It should actually be a period; not a comma. So the correct value is 3.7 and not 3,7.
-
-
The second time I do a lesson and find new secrets. Excellent lesson. There is much to learn, very useful. I’ll come back to it and do a third time. Thank you very much. It’s my pic http://j-p-g.net/if/2015/09/15/0335689001442323082.jpg
-
Wonderful tutorial with detail. Thanks.
-
Stunning lesson. THANKS!
-
I’ll try it ^-^
-
Que Maravilla de Foto


Leave a Reply