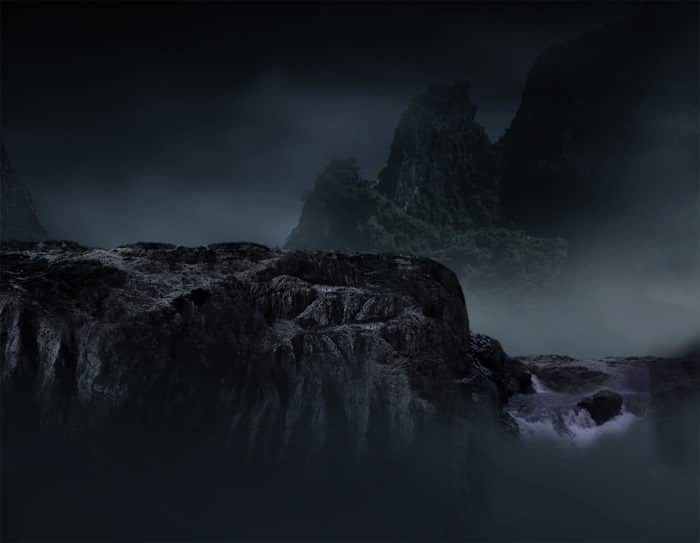
Step 33
Duplicate the more rock folder. Flip it horizontally and place the duplicate on the right side of the original.

Step 34
Now it is time to add the waterfall. Open the waterfall image in the main document. Place it in front of the two more rocks. Scale its size.
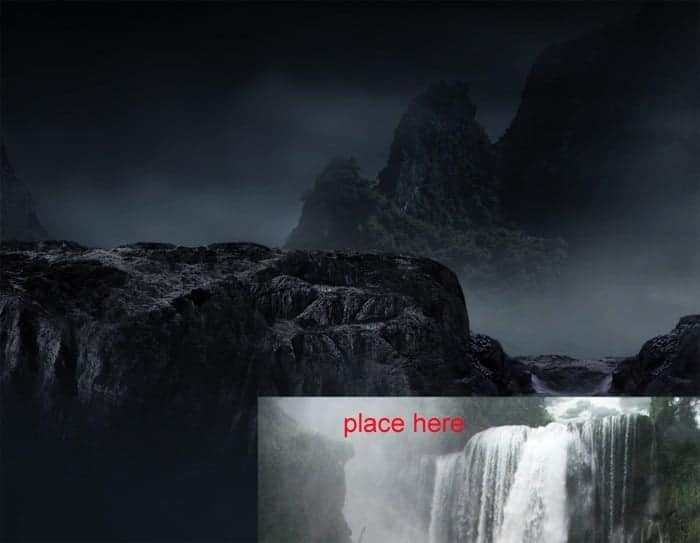
Mask the unneeded part and give it two adjustment layers with clipping masks..

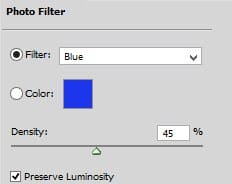
Duplicate the hue/saturation layer two times and set the original layer and the two duplicate as the ones set in the previous layers.
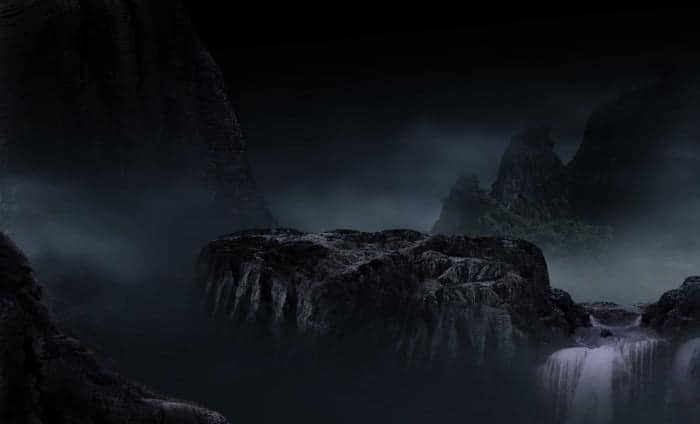
Step 35
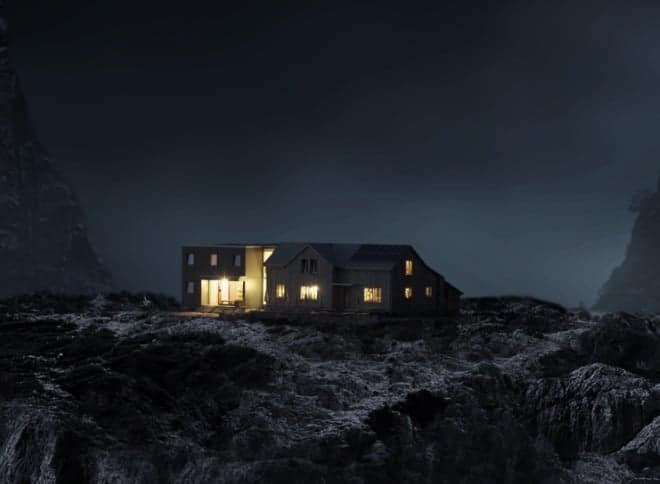
Proceed to add houses in the middle rock. Open the house image and cut out it.

Add the cut out to the main document, scale its size, mask unneeded part, and give it an adjustment layer:

Here is the result:

Step 36
Now we will add some mist to some areas in the scene. Firstly we should set the brush by which we are going to paint the mist on the scene. Take brush tool and open the brush preset panel by clicking the brush icon in the brush options bar.

When the brush panel shows up, set the brush tip shape as the one below:

Next, set the shape dynamics:

Scattering:

Transfer:

Here are some examples of the white brush stroke on dark background:

Step 37
Create a new layer under the middle rock layer. I named the layer misty. Set this layer to soft light blending mode at 100% opacity. On this layer, start stroking the brush with white color to add some mist.

Duplicate the mist layer and set the duplicate to overlay at 100%. Select all the mist layers and group them in one folder. I named this folder misty.

Next, add more mist to the other part of the scene. We can do this purpose by just simply duplicating the misty folder some times and move the duplicates to certain areas in the scene to add the mist. Or we can paint over more mist with the brush set before.

Step 38
Proceed to add tree to the scene. Open the tree image. We will extract the tree from its background. Go to select > color range. This will open the color range option box. Sample color from the background of the tree image by point out the eye drop icon on the background and click it to sample the color. Set the fuzziness to about 167. Hit OK.
27 responses to “How to Create a Marvellous Night Landscape with Waterfalls”
-
the download link won’t work
-
Thanks Zach! It’s fixed now
-
-
Very awesome tut here. Sometimes I wanna make my images a little more “fantasy”, but I always feel like I lack the creativity.
-
stunning
-
i am triying to remove background
-
Great article! Thank you!
-
thank you
-
I was unable to get the 2 waterfalls as my security wont let me and the Rock6 was not sure which one you wanted…really want to learn this but am having issues ~ thank you
-
wooooooooooooowwwww awesome
-
awesome and unique collection of sequence photography i love it.
Thank for sharing. -
sorry, i didnt get step 16…i hit -100 on HS but the color changed to totally black n white! whats wrong?
-
this is what we call it “creative mind”
-
This is amazing! I’m going to try it out soon! Thanks Dek.
-
AWESOME.PERIOD
-
You did an excellent job of step by step tutorial with pics which helped me understand why and the reason for each.
Thanks ;) -
I like your tutorial a lot!
But, sorry if it sounds dumb, how do i copy-paste the cut out into the main document (step 3)? It doesn´t work with ctrl+c/ctrl+v…
-
firstly select the cut out (hold-press Ctrl and click the thumbnail of the cut out layer. when it is selected, hit Ctrl+C and then be active on the main document, paste (ctrl+v) the layer on it.
-
-
very good tutorial I love your technique
-
thanks for share
-
Excelente tutorial, el modelo nolo encuentro, saludos desde España
-
Hola malissimo,
Aquí lo puedes encontrar: http://photoshopworld.ru/lessons/507/old_man.jpgUn saludo desde Francia
___
Btw, thank you for this tutorial. This is impressive. And I learnt new useful techniques.
-
-
how do you get of masking??????????
-
If you see red than press Q to get out of quick mask. If you dont see red, just click on the left thumbnail of your layer… the left one not the right thumbnail.
-
-
pathi thane sollirukinga
-
This is a magnificent masterpiece. Excellent explanation. Thank you very much.
-
Duuuuuuuuuuhhhhhhhhhhhh!!!!!!!!!!!!!!!!!! Mwanangu jembe unatisha kinoma
-
I like yer tut… good

Leave a Reply