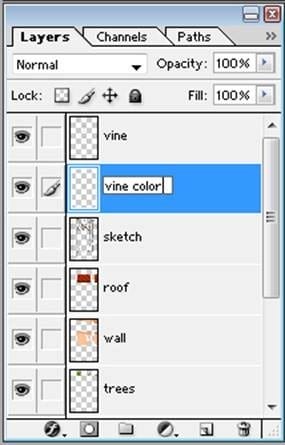
Step 25
Fill in the vine with color #386000.

Step 26
Add shadows to the vine with color #294300, using a soft-edged opaque brush.
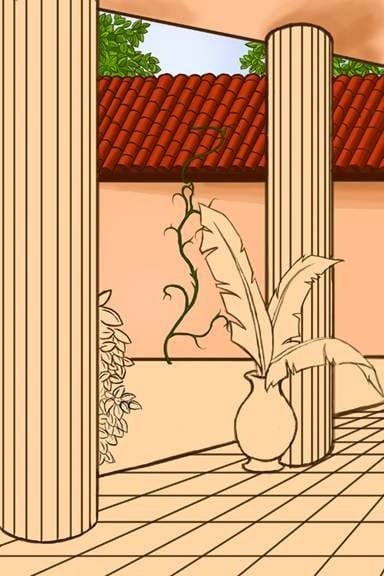
Step 27
Using the same brush, add a highlight to the middle of the vine with color #6DBA00.

Step 28
On “trees” layer, block in the ground area with color #B17235.
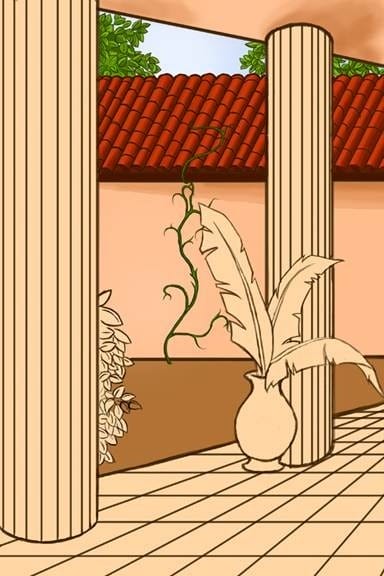
Step 29
Add shadows to the ground (especially under the roof and under the bush) with color #632500 (30% opacity).

Step 30
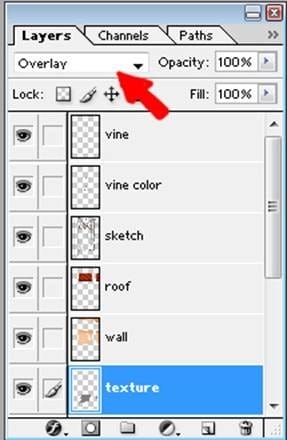
Make a new layer and name it “texture”.
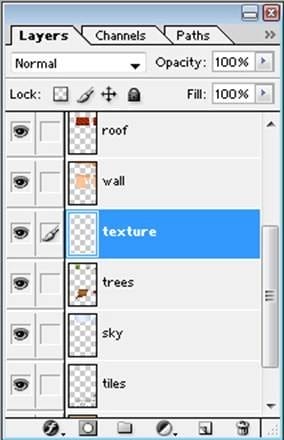
Step 31
Go to edit ? fill ? 50% fill

Step 32
Go to Filter > Noise > Add Noise. Set to 5% and the filter settings to gaussian and monochromatic.
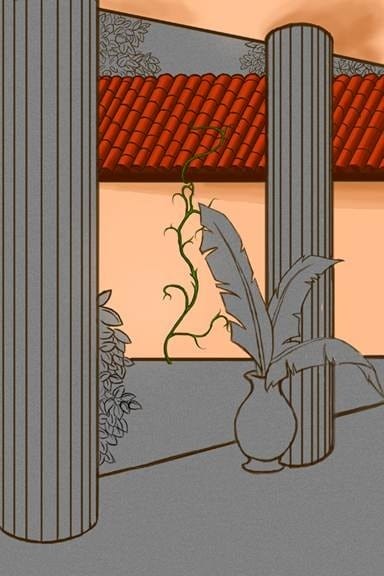
Step 33
Erase the gray that overlaps things other than the ground.
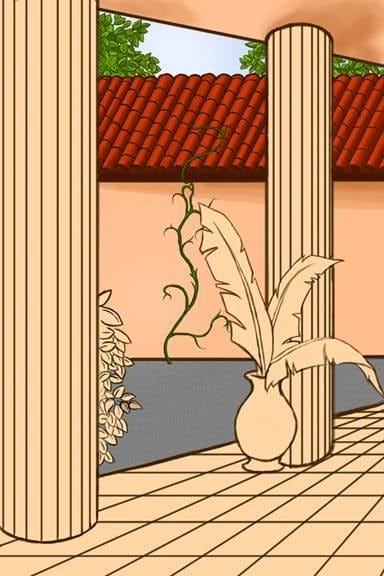
Step 34
Change the blending mode to overlay.
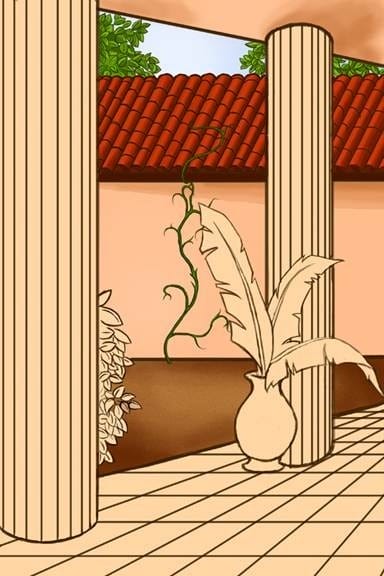
Step 35
Now make another layer above the “roof” layer.
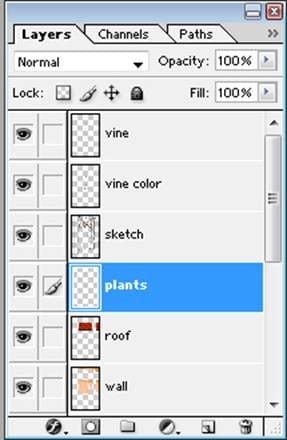
Step 36
Fill in the palm leaves with color #423B00, and the stem with color #7F6C04.
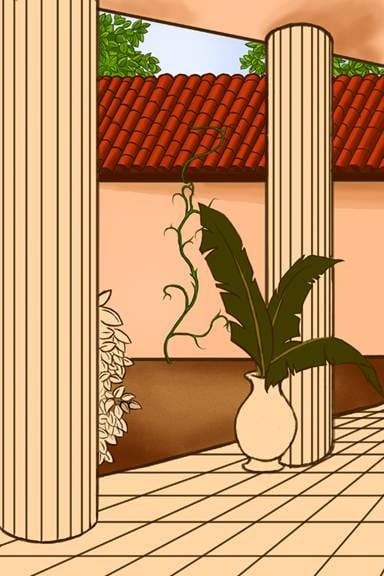
Step 37
Using a 15% opacity hard edged brush with color #756C04. To create the effect of individual leaves, draw leaves branching out from the stems.
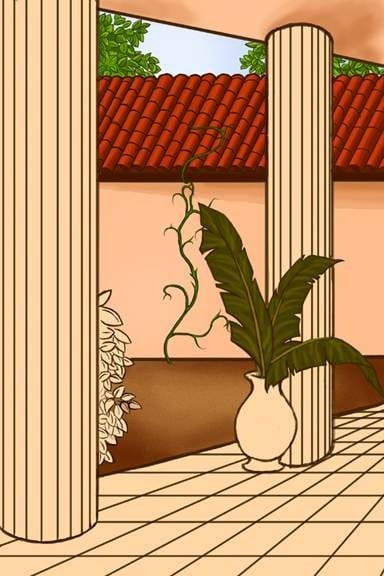
Step 38
Add shadow between the little leaves by using the burn tool (shadows mode, 8% exposure).

Step 39
Add vertical shines to the leaves by using the dodge tool (midtones mode, 56% exposure). There is a horizontal shine across the leaf that is to its side.

Step 40
Block in the leaves to the bush with color #156D00 using an opaque, hard edged brush.

Step 41
Add shadows to the leaves with color #092F00 (soft edged 60% opaque brush).

Step 42
Highlight the leaves using the dodge tool set to 31% exposure.
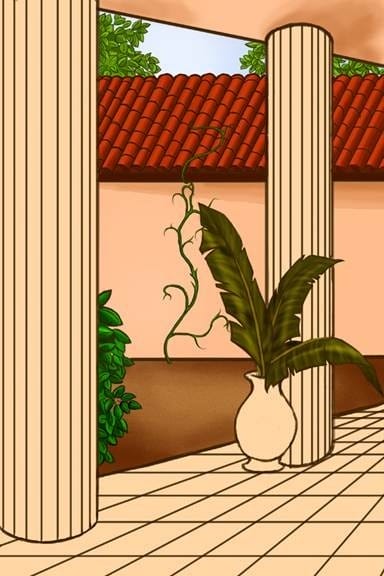
Step 43
Make a new layer beneath the “plants” layer.

Step 44
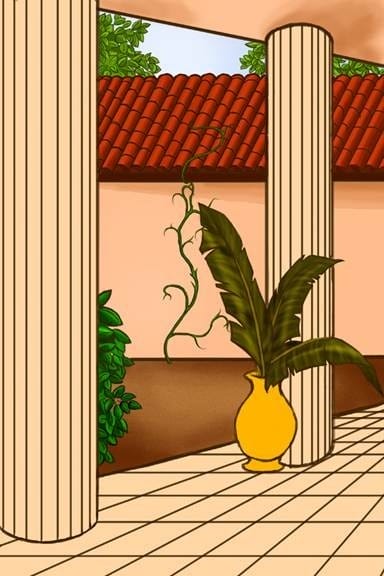
Block in the pot with color #FFB400.
Step 45
Use the burn tool on highlight mode and 23% exposure to add some basic shadows around the pot. The darkest areas will be on the left side, and underneath the main part of the pot.

Step 46
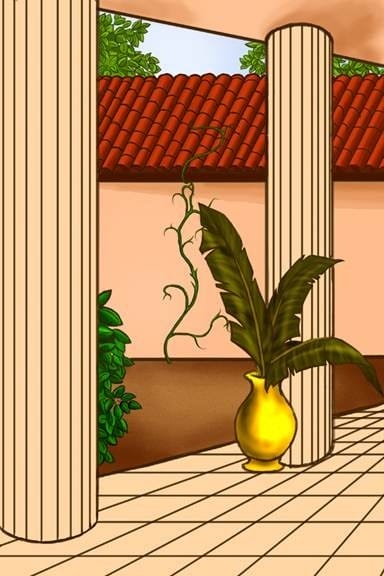
Highlight the very top, middle, and bottom of the pot using the dodge tool on it’s last settings (step 42).
Step 47
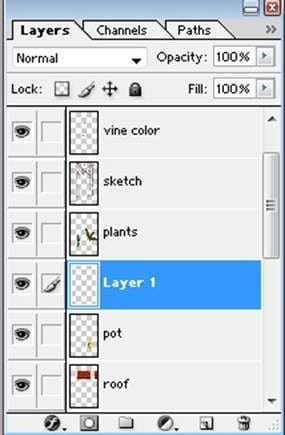
Make a new layer above the pot. This will be merged down later.
Step 48
Fill in the entire pot area with black (color #000000).

Step 49
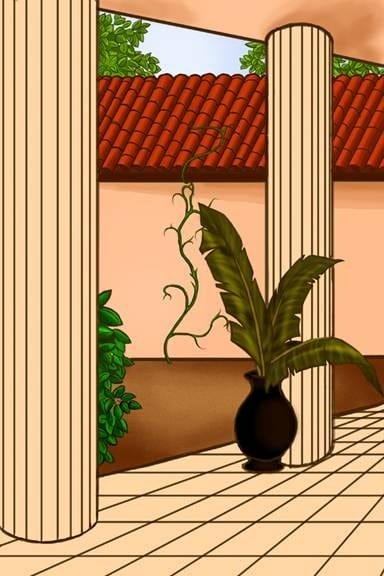
Add highlights to the black by using color #2B1000 (soft-edged brush, 50% opacity)
Step 50
Highlight it even more by using the dodge tool set to highlight mode and 64% exposure.


Leave a Reply