Make skin look perfect in one-click with these AI-powered Photoshop actions.
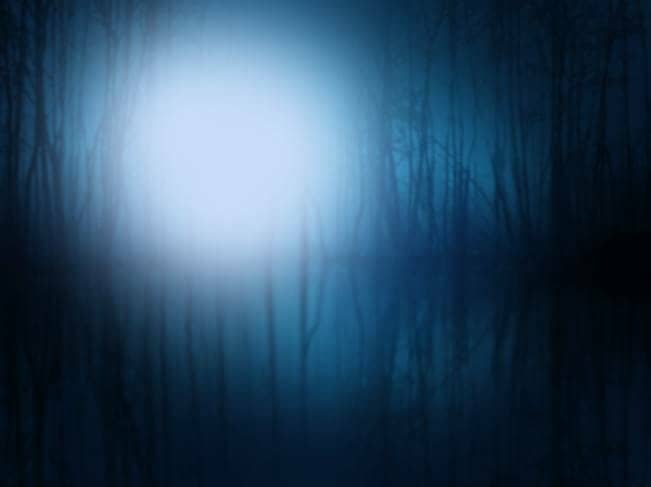
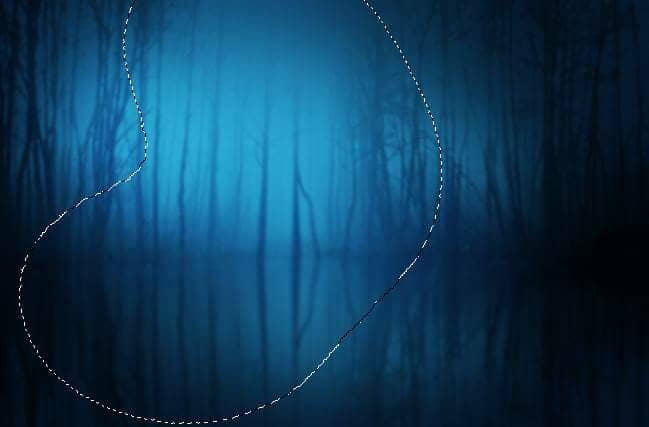
Step 9
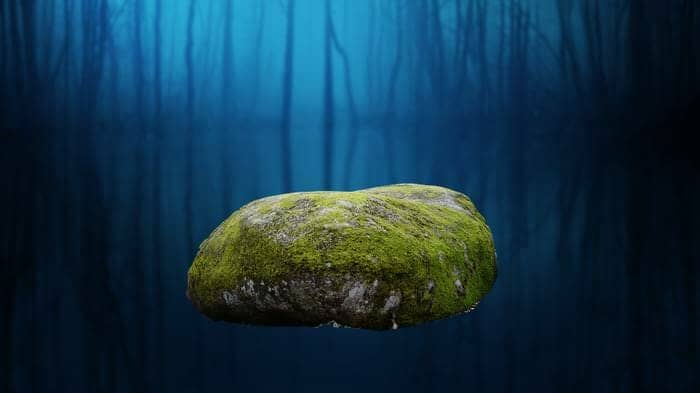
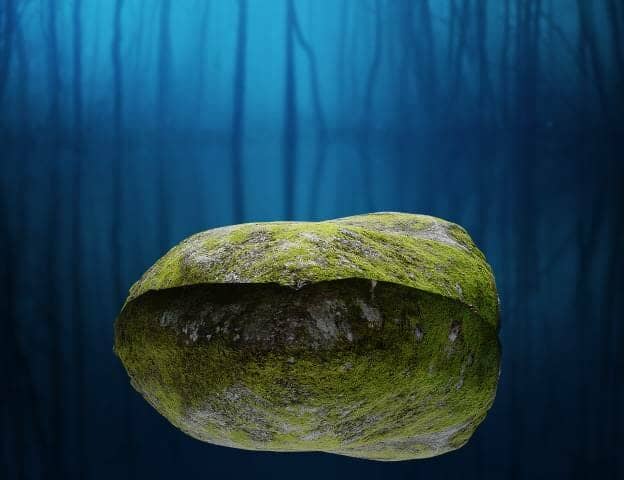
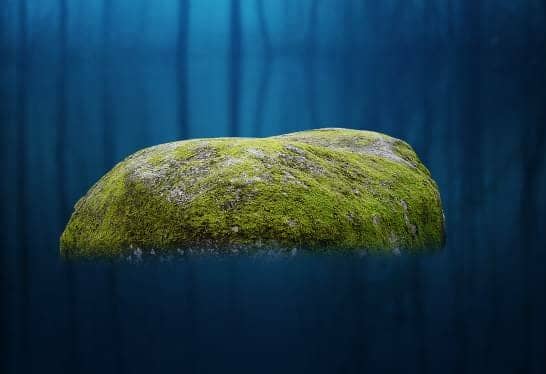
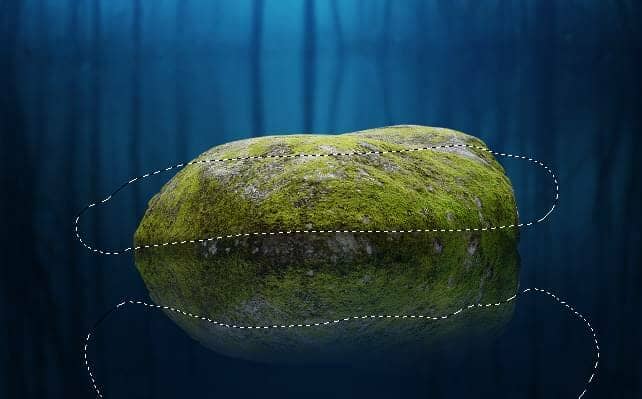
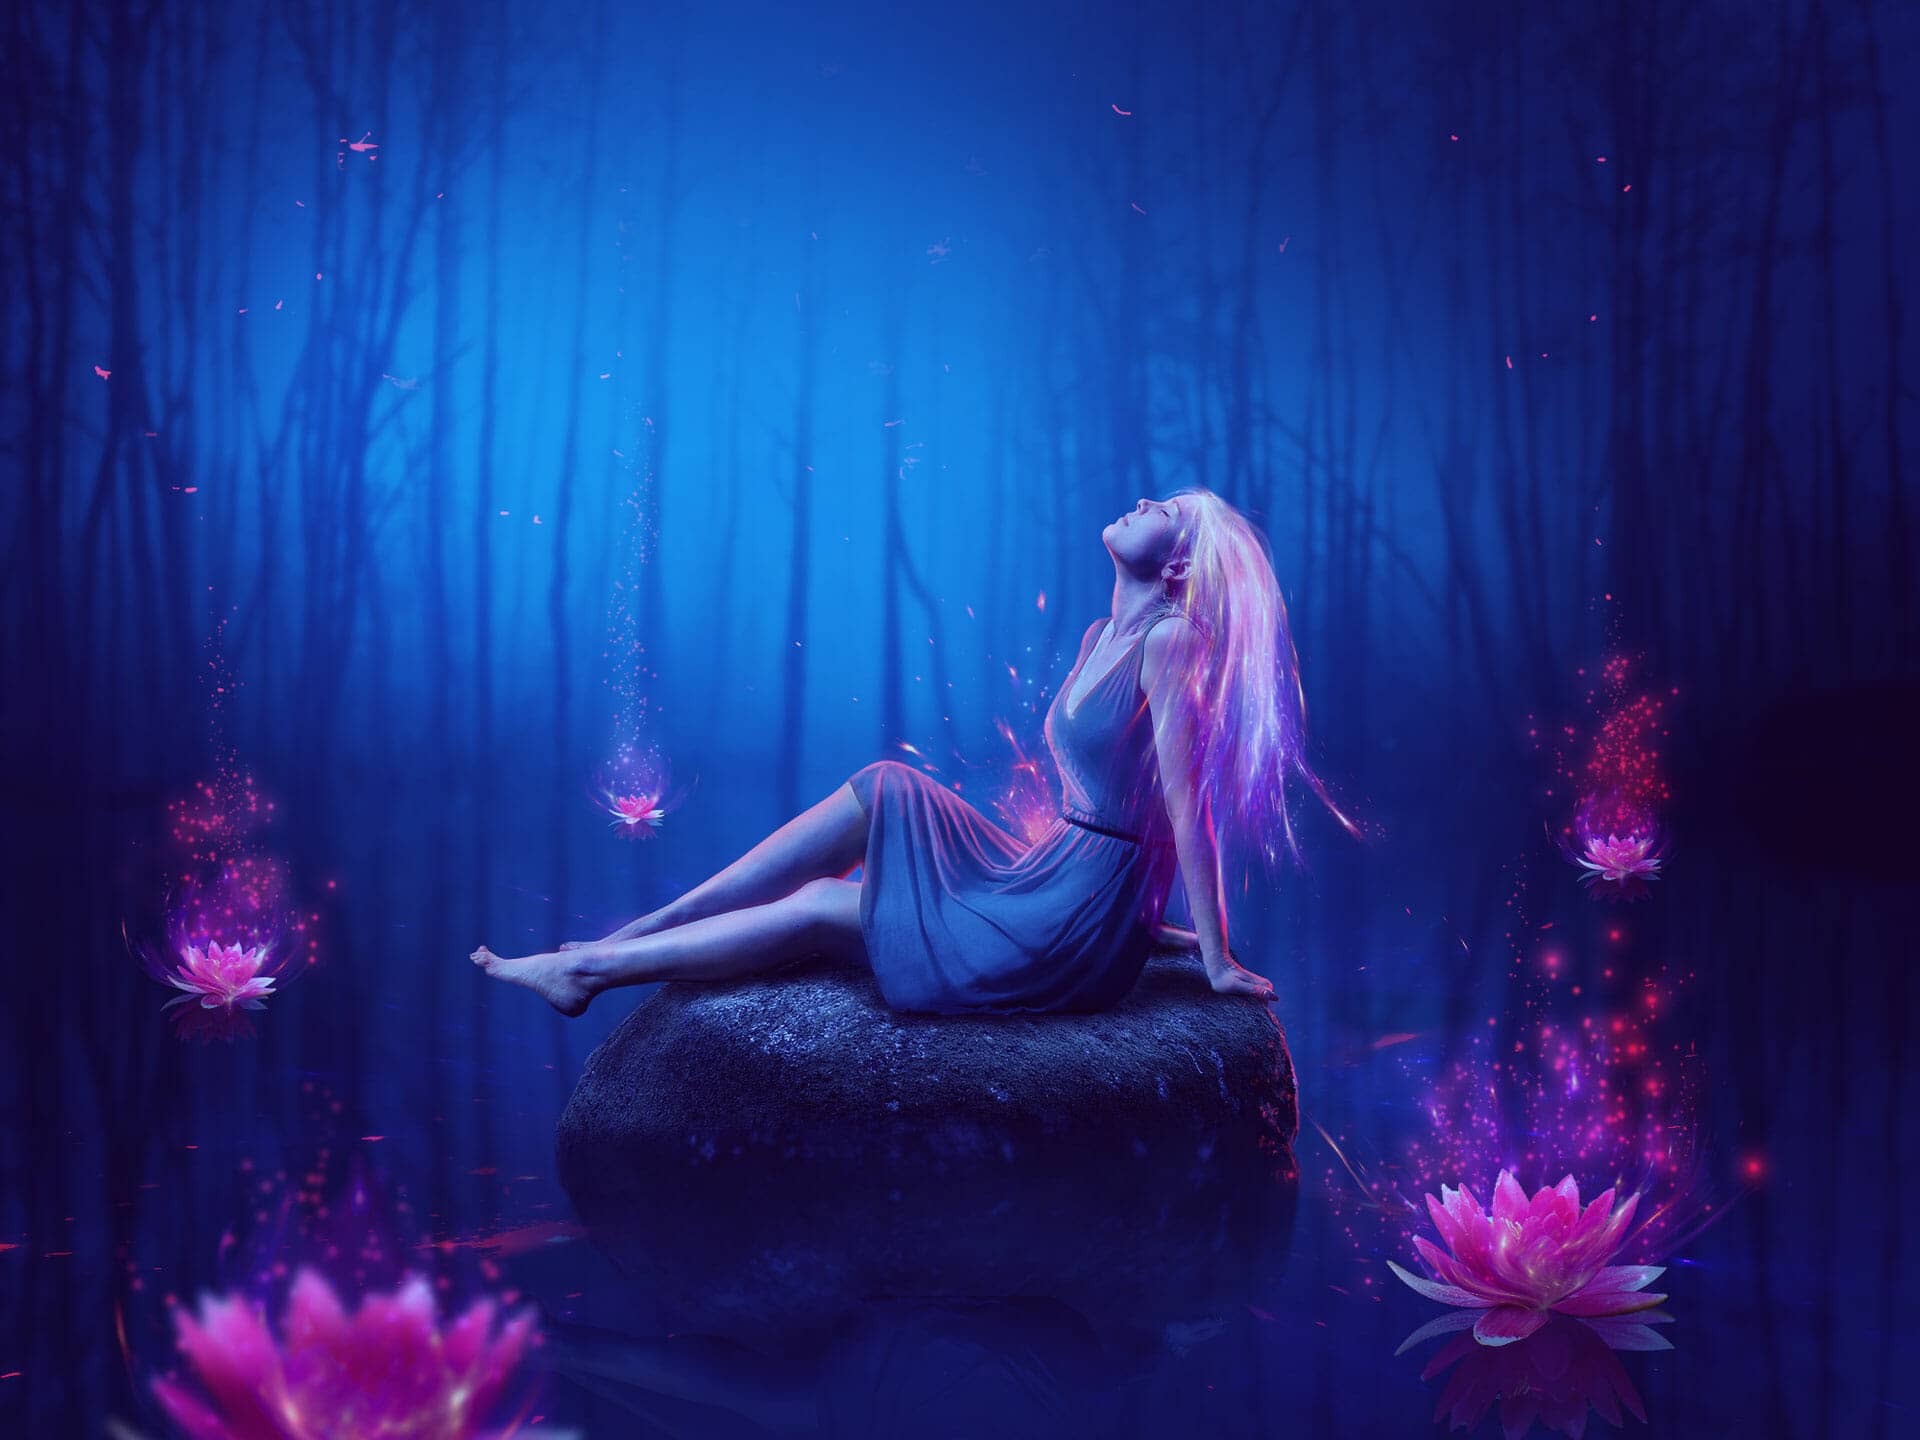
Open the rock image and cut it out to add to the middle of the lake and convert this layer to a Smart Object. Duplicate this layer and flip it vertically and then move it down a bit to make the reflection of the rock. Lower the opacity of this layer to 90%.
Step 10
Add a mask to each of the rock and its reflection layers and on the rock one, use a medium-hard black brush to erase half of the bottom to hide it below the lake's surface.. On the reflection one, use a medium-hard black brush to erase the bottom which covers the rock and use a soft black brush with the opacity about 20% to reduce the visibility of the top.
Step 11
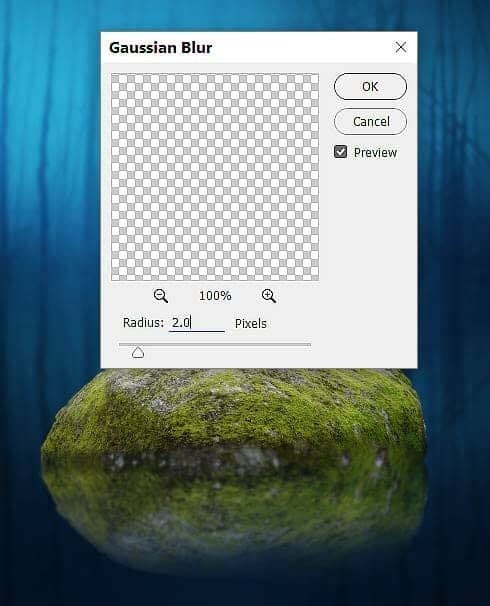
Apply a Gaussian Blur of 2 px to the reflection layer to make it soft and blur.
Step 12
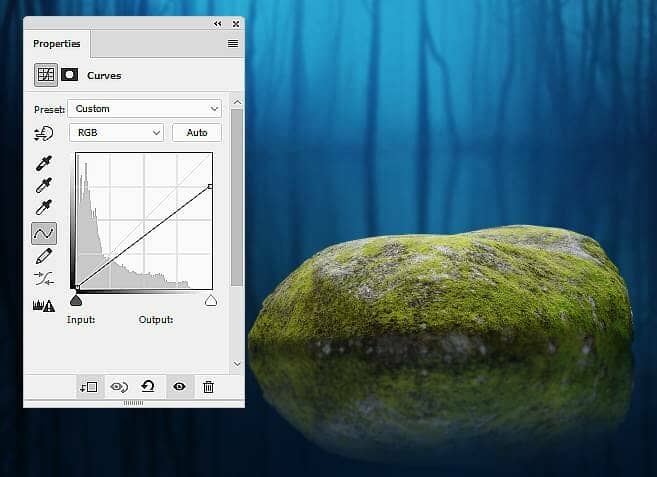
Create a Curves adjustment layer above the reflection one and set it as Clipping Mask. Reduce the lightness a bit to make the reflection less visible.
Step 13
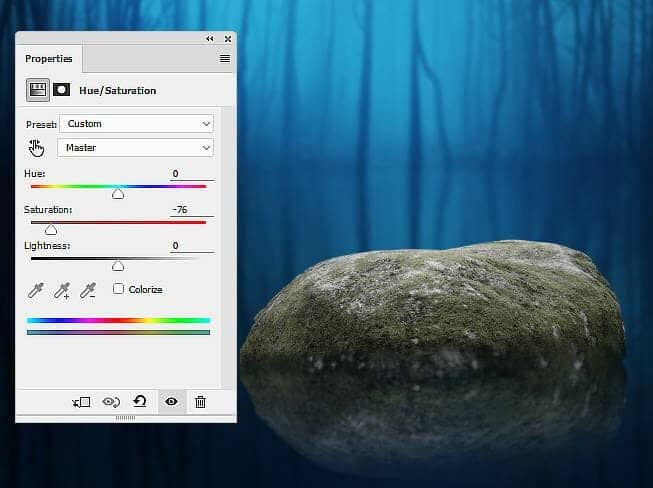
Select the rock and its reflection ones and hit Ctrl+G to make a group for these layers. Change the group's mode to Normal 100% and make a Hue/Saturation adjustment within this group. Bring the Saturation values down to -76:
Step 14
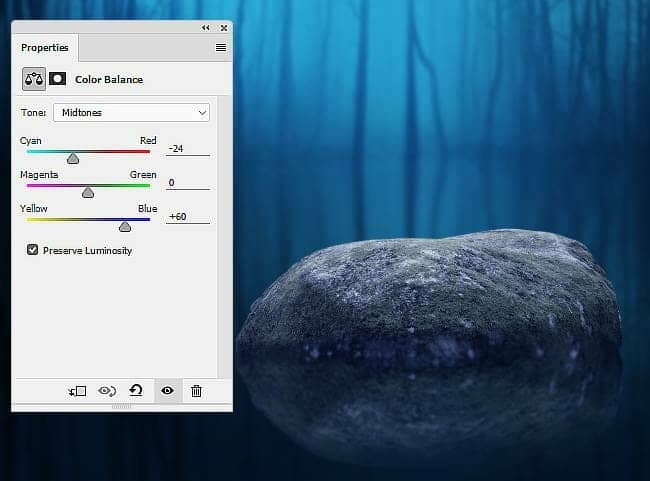
Make a Color Balance adjustment layer and change the Midtones settings:
Step 15
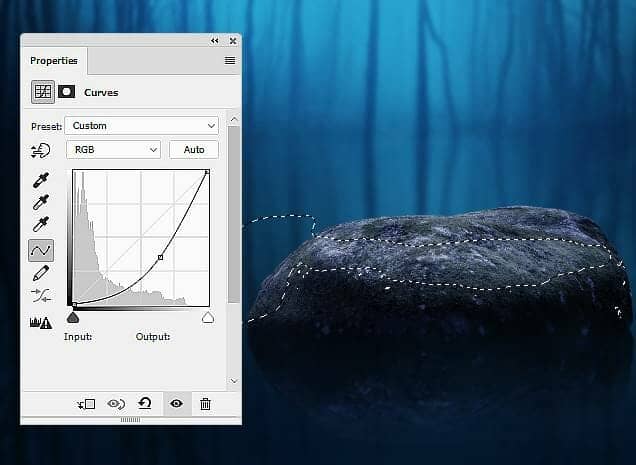
Create a Curves adjustment layer to make the rock's bottom and the reflection darker. On this layer mask, paint on the rest to reveal the lightness on the top and some small details on the right of the rock.
Step 16
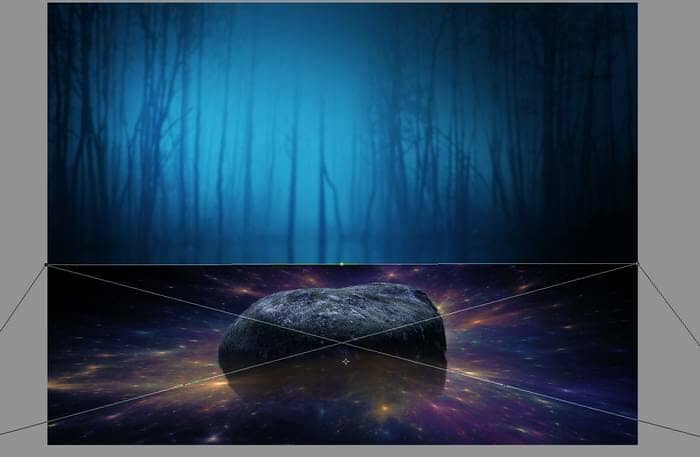
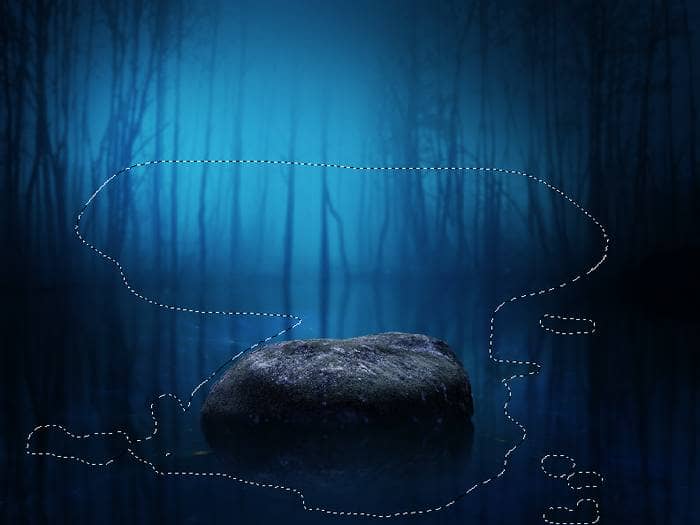
Open the light image and place it onto the lake's surface. Use the Free Transform Tool (Ctrl+T) to distort this image as shown below. Set this layer below the rock one and change this layer mode to Color Dodge 100%. Add a mask to this layer and use a soft black brush to remove the hard edges and reduce the effect's visibility:
Step 17
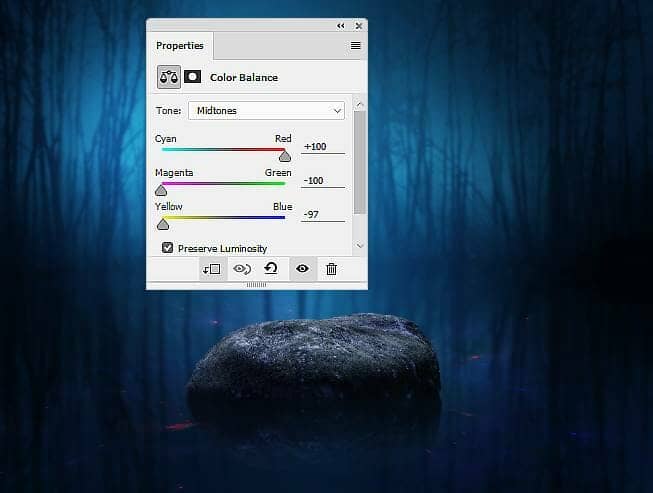
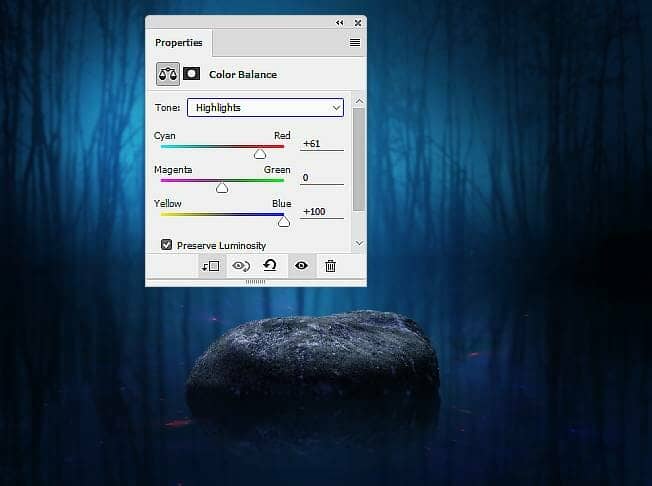
Create a Color Balance adjustment layer (set as Clipping Mask) and alter the Midtones and Highlights values:
Step 18
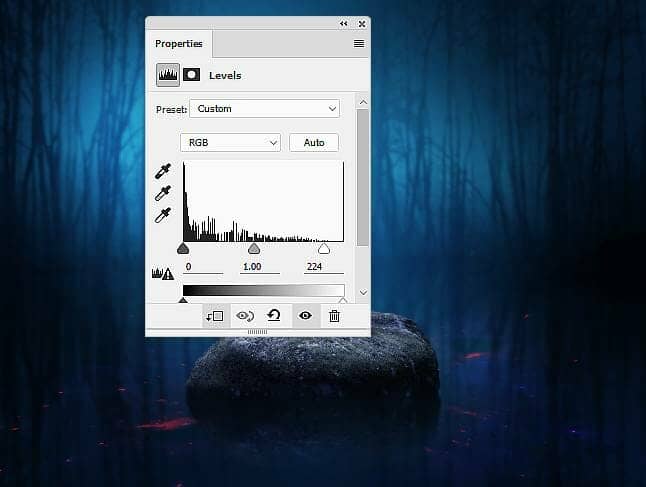
Make a Levels adjustment layer to increase the visibility of some small details on the lake's surface a little.
Step 19
Open the water lily image and cut out the flower to add to the right of the rock. Duplicate this layers four times to arrange around the lake's surface. Apply a Gaussian Blur of 6 px to the biggest flower on the foreground.


4 comments on “How to Create a Fantasy Lake Scene with Adobe Photoshop”
I tried and failed
All images, (girl, brightness, Lotus everything) added so that we can easily find and work
Please rock image add.
Sorry about that, the rock image has been added. https://pixabay.com/photos/stone-forest-nature-landscape-3962/