Make skin look perfect in one-click with these AI-powered Photoshop actions.
Step 41
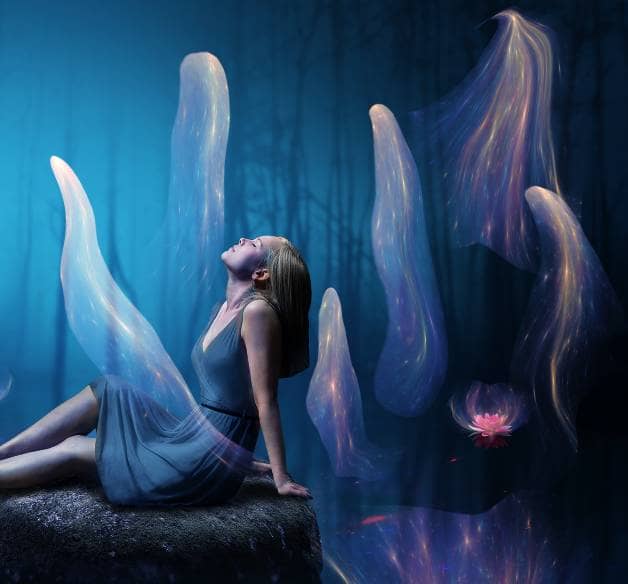
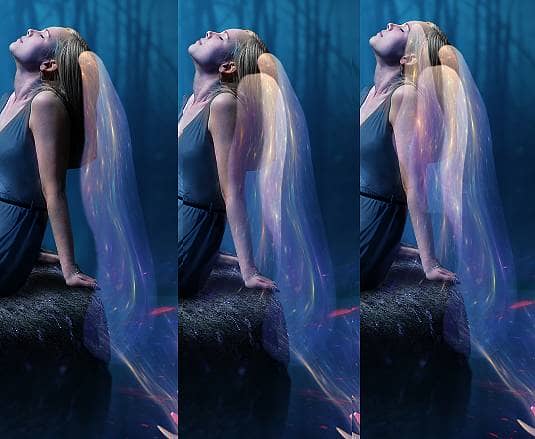
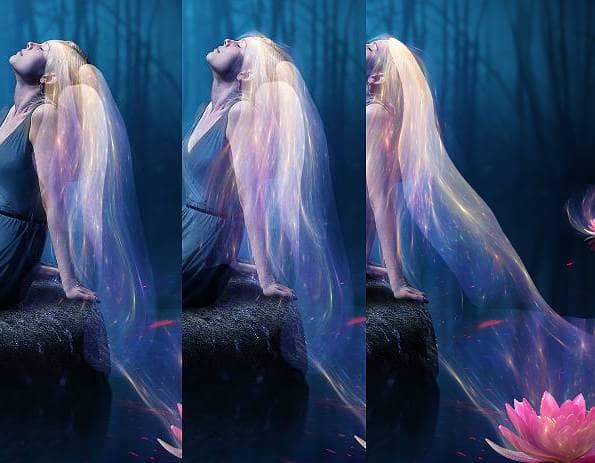
Add a mask to some of these hair layers to soften the hard edges.
Step 42
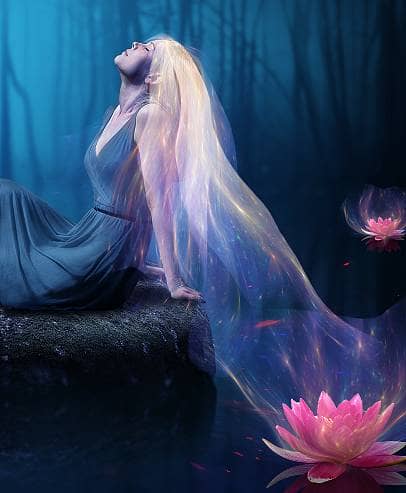
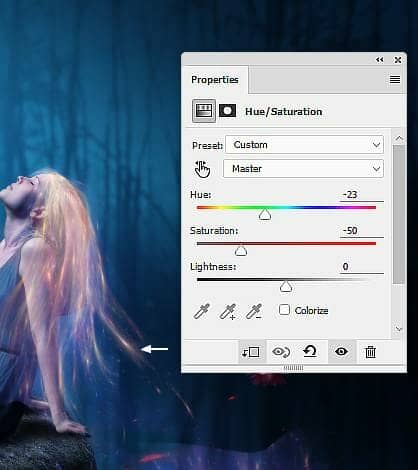
Use the Levels and Hue/Saturation adjustment layers for some of the hair layers to remove the white edges and change the color of the hair a bit.
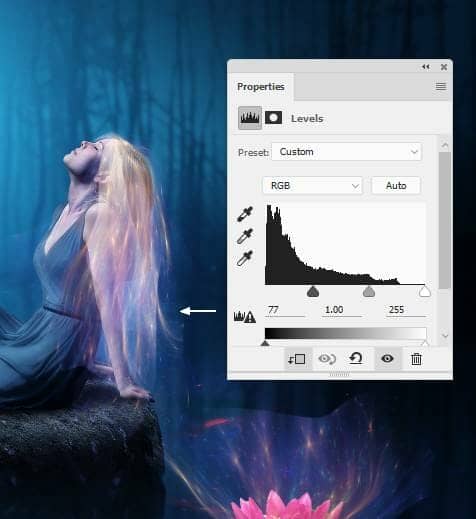
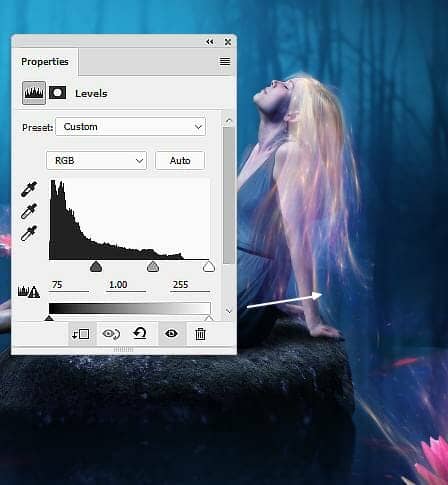
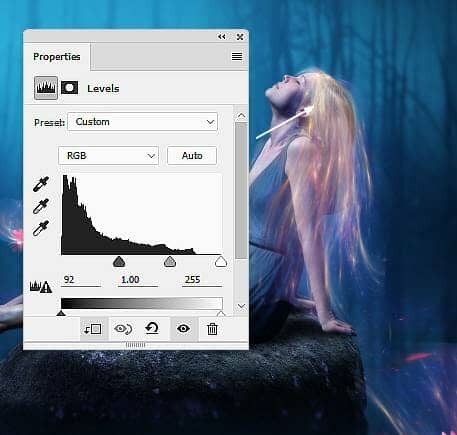
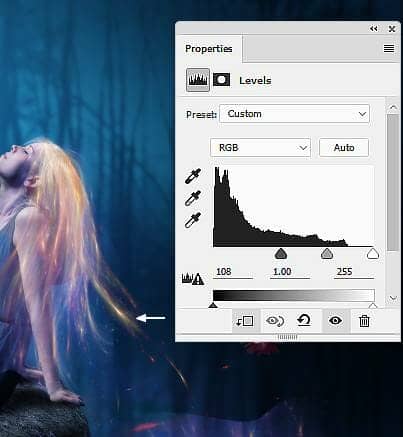
Step 43
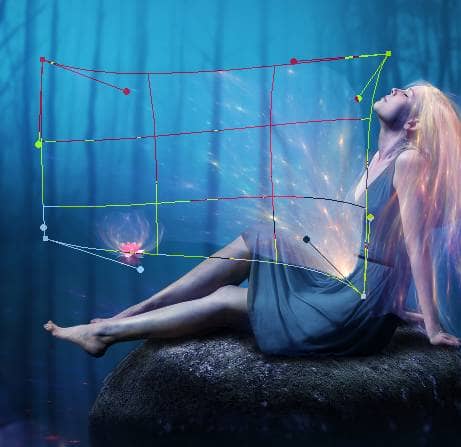
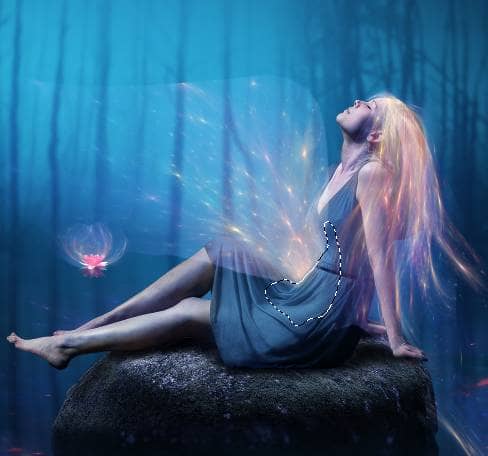
Use the Lasso Tool to select a part from the original light image (feel free to choose the part you like) to add to the model's body. Change this layer mode to Screen 100% and use Ctrl+T with the Warp mode to bend this part as the screenshot below shows. Add a mask to this layer to erase the part on the body.
Step 44
Make a Color Balance adjustment layer to change the color of this part.
Use a Levels adjustment layer to remove the hard edges of this part completely.
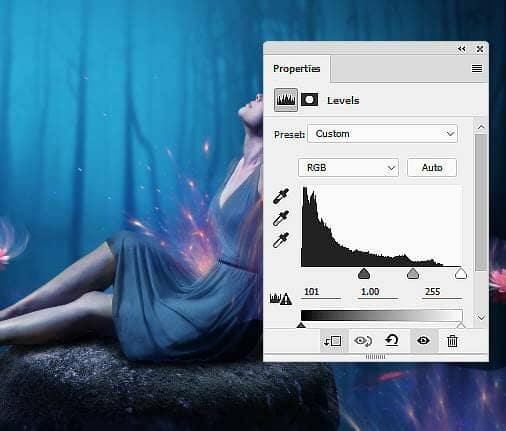
Step 45
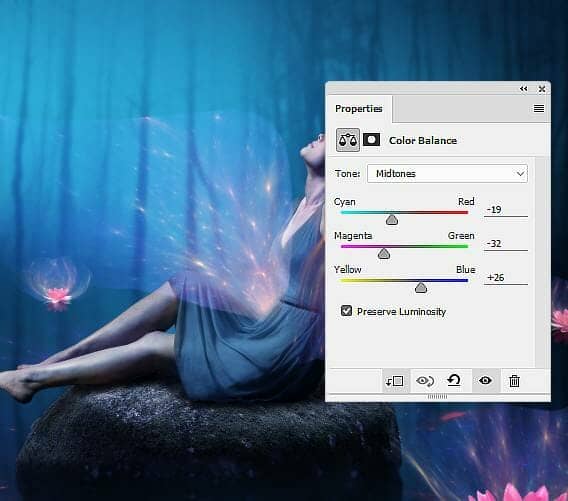
Create a group for the light effect layers and their relatives ones and change the group's mode to Screen 100%. Make a Color Balance adjustment layer and change the Midtones values:
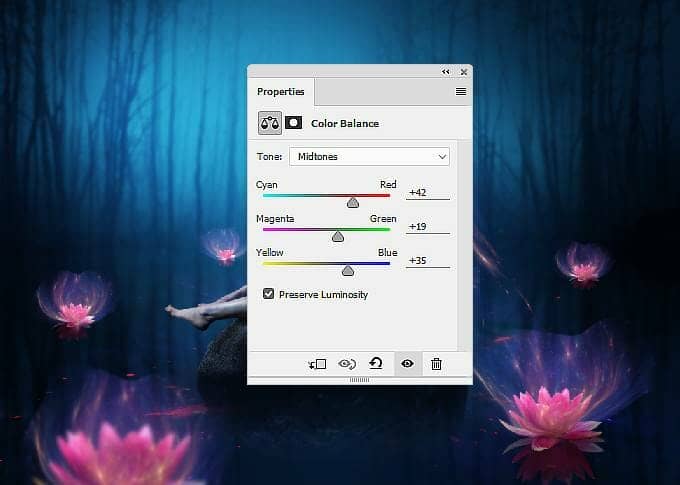
Step 46
Add a Levels adjustment layer to remove the white edges of the effect completely.
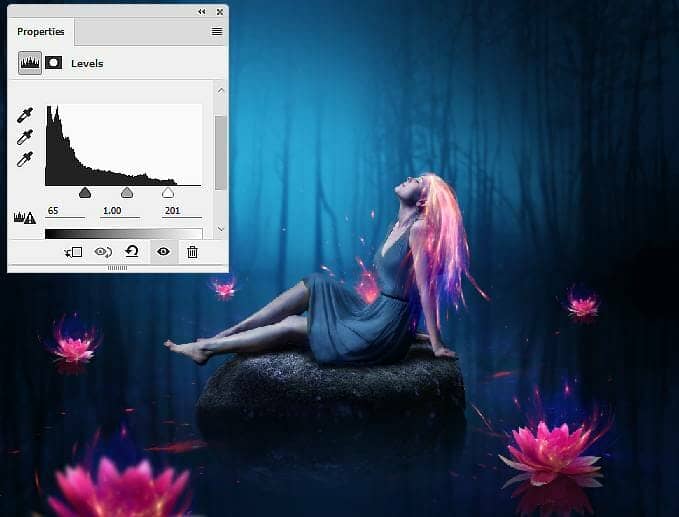
Step 47
Make a Hue/Saturation adjustment layer to change the blue of the effect.
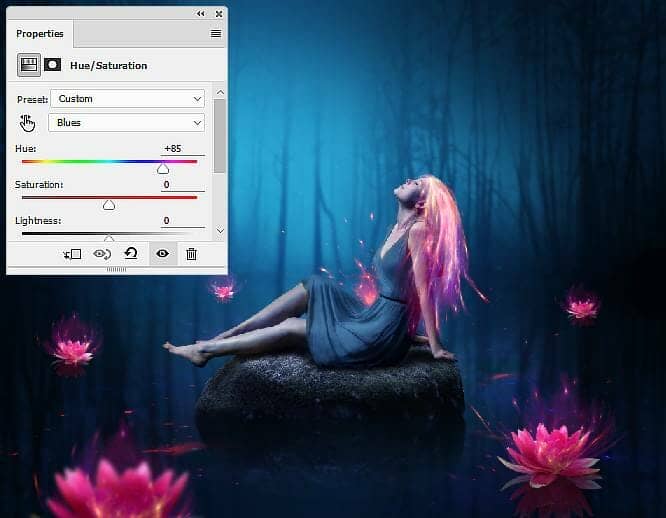
Step 48
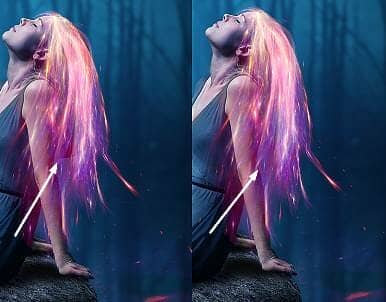
Add a mask to the model's group and use a soft black brush to erase the hard edges of the hair's bottom.
Step 49
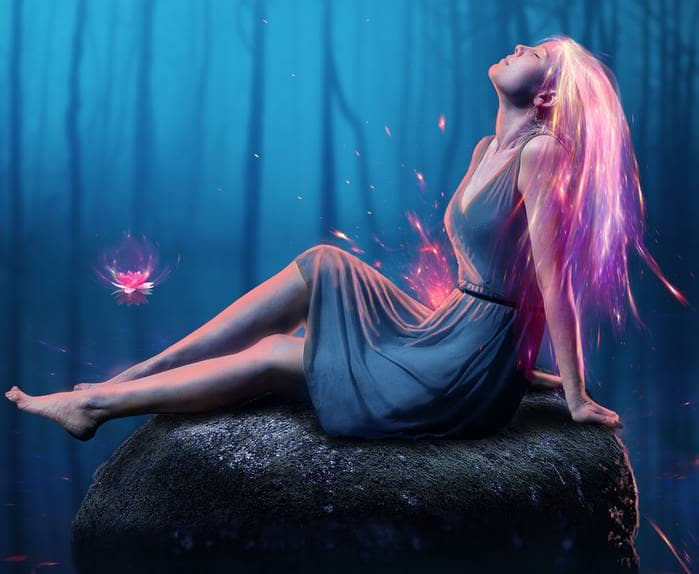
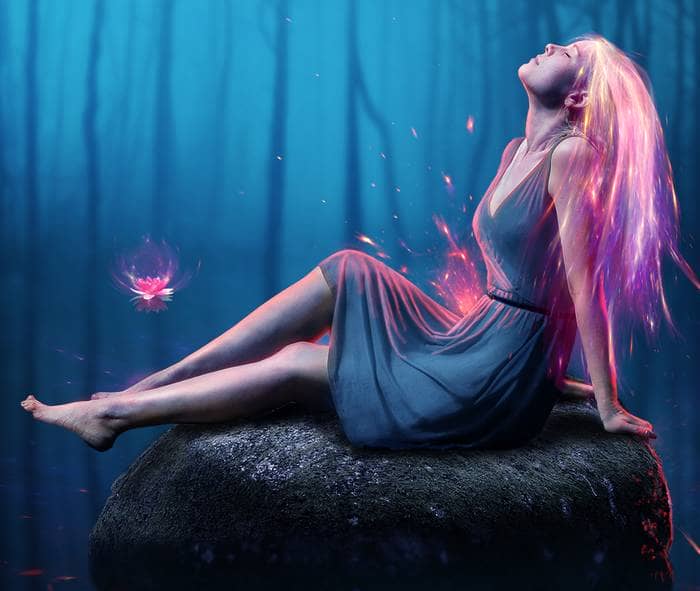
Make a new layer on top of the layers and use a small brush with the color #ff8c8d to paint the light effect on the model. and the right of the rock which is near the water lily. Change this layer mode to Hard Light 100%.
Step 50
Create a new layer on top of the layers and hit Ctrl+G to make a group for this layer. Change the group's mode to Color Dodge 100% and set the foreground to #ff8c8d. Select a small brush and press F5 to change the settings of this brush:
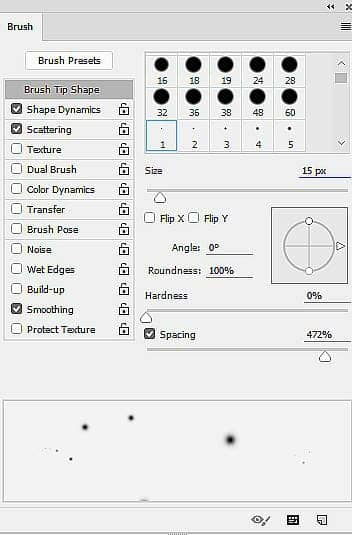
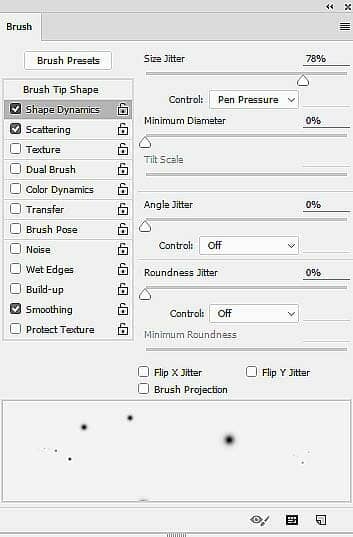
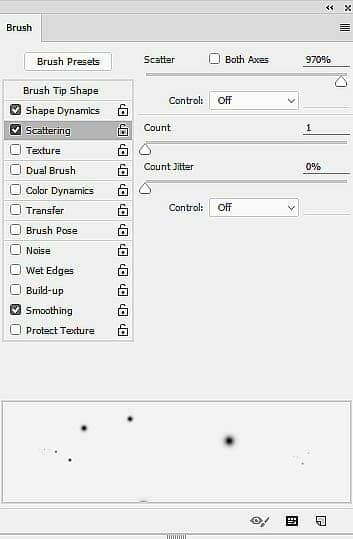
Use this brush to paint tiny dots above and around the water lilies and the light effect. Hit [ and ] while painting to change the size of the brush.
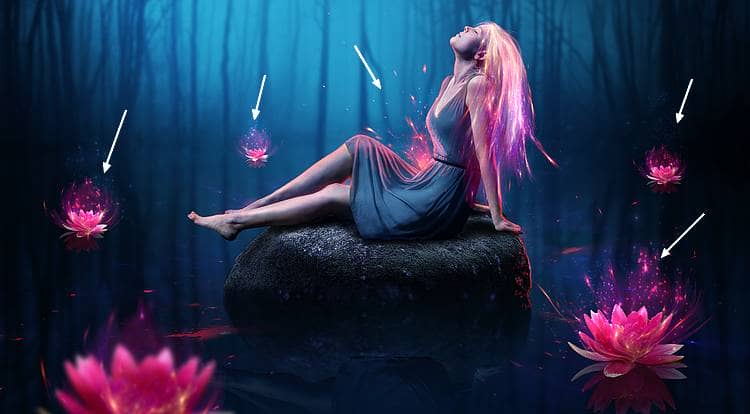
Step 51
Double click this layer, choose Outer Glow. Set the color of glow to #ff8c8d.
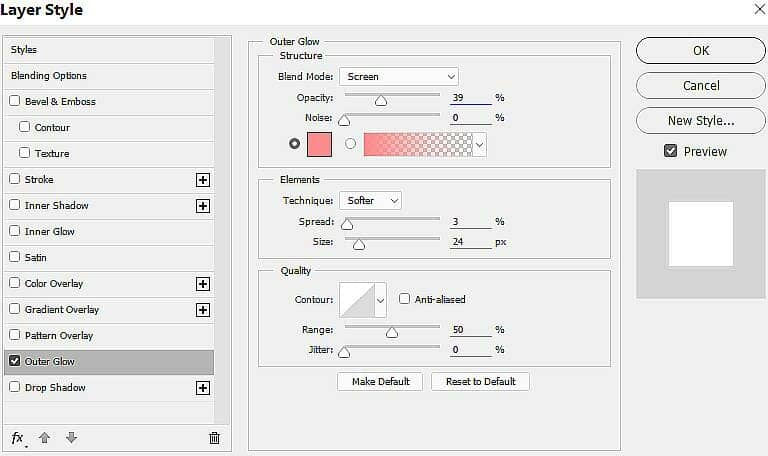
Step 52
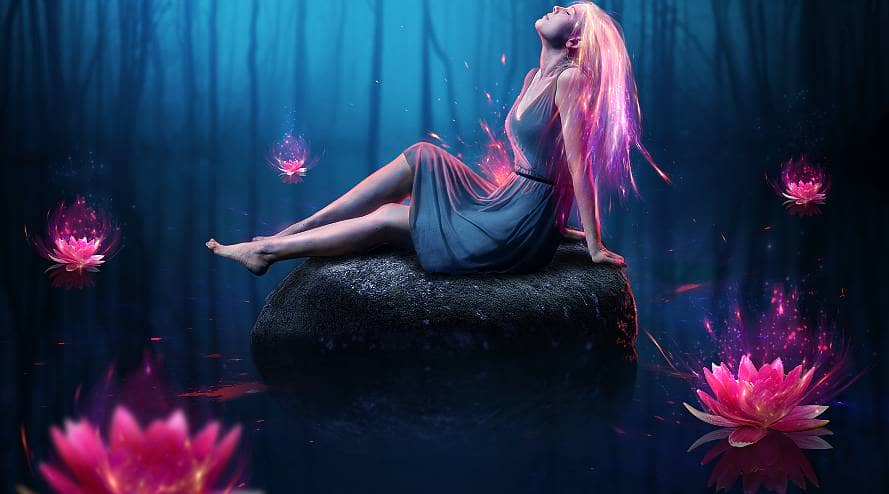
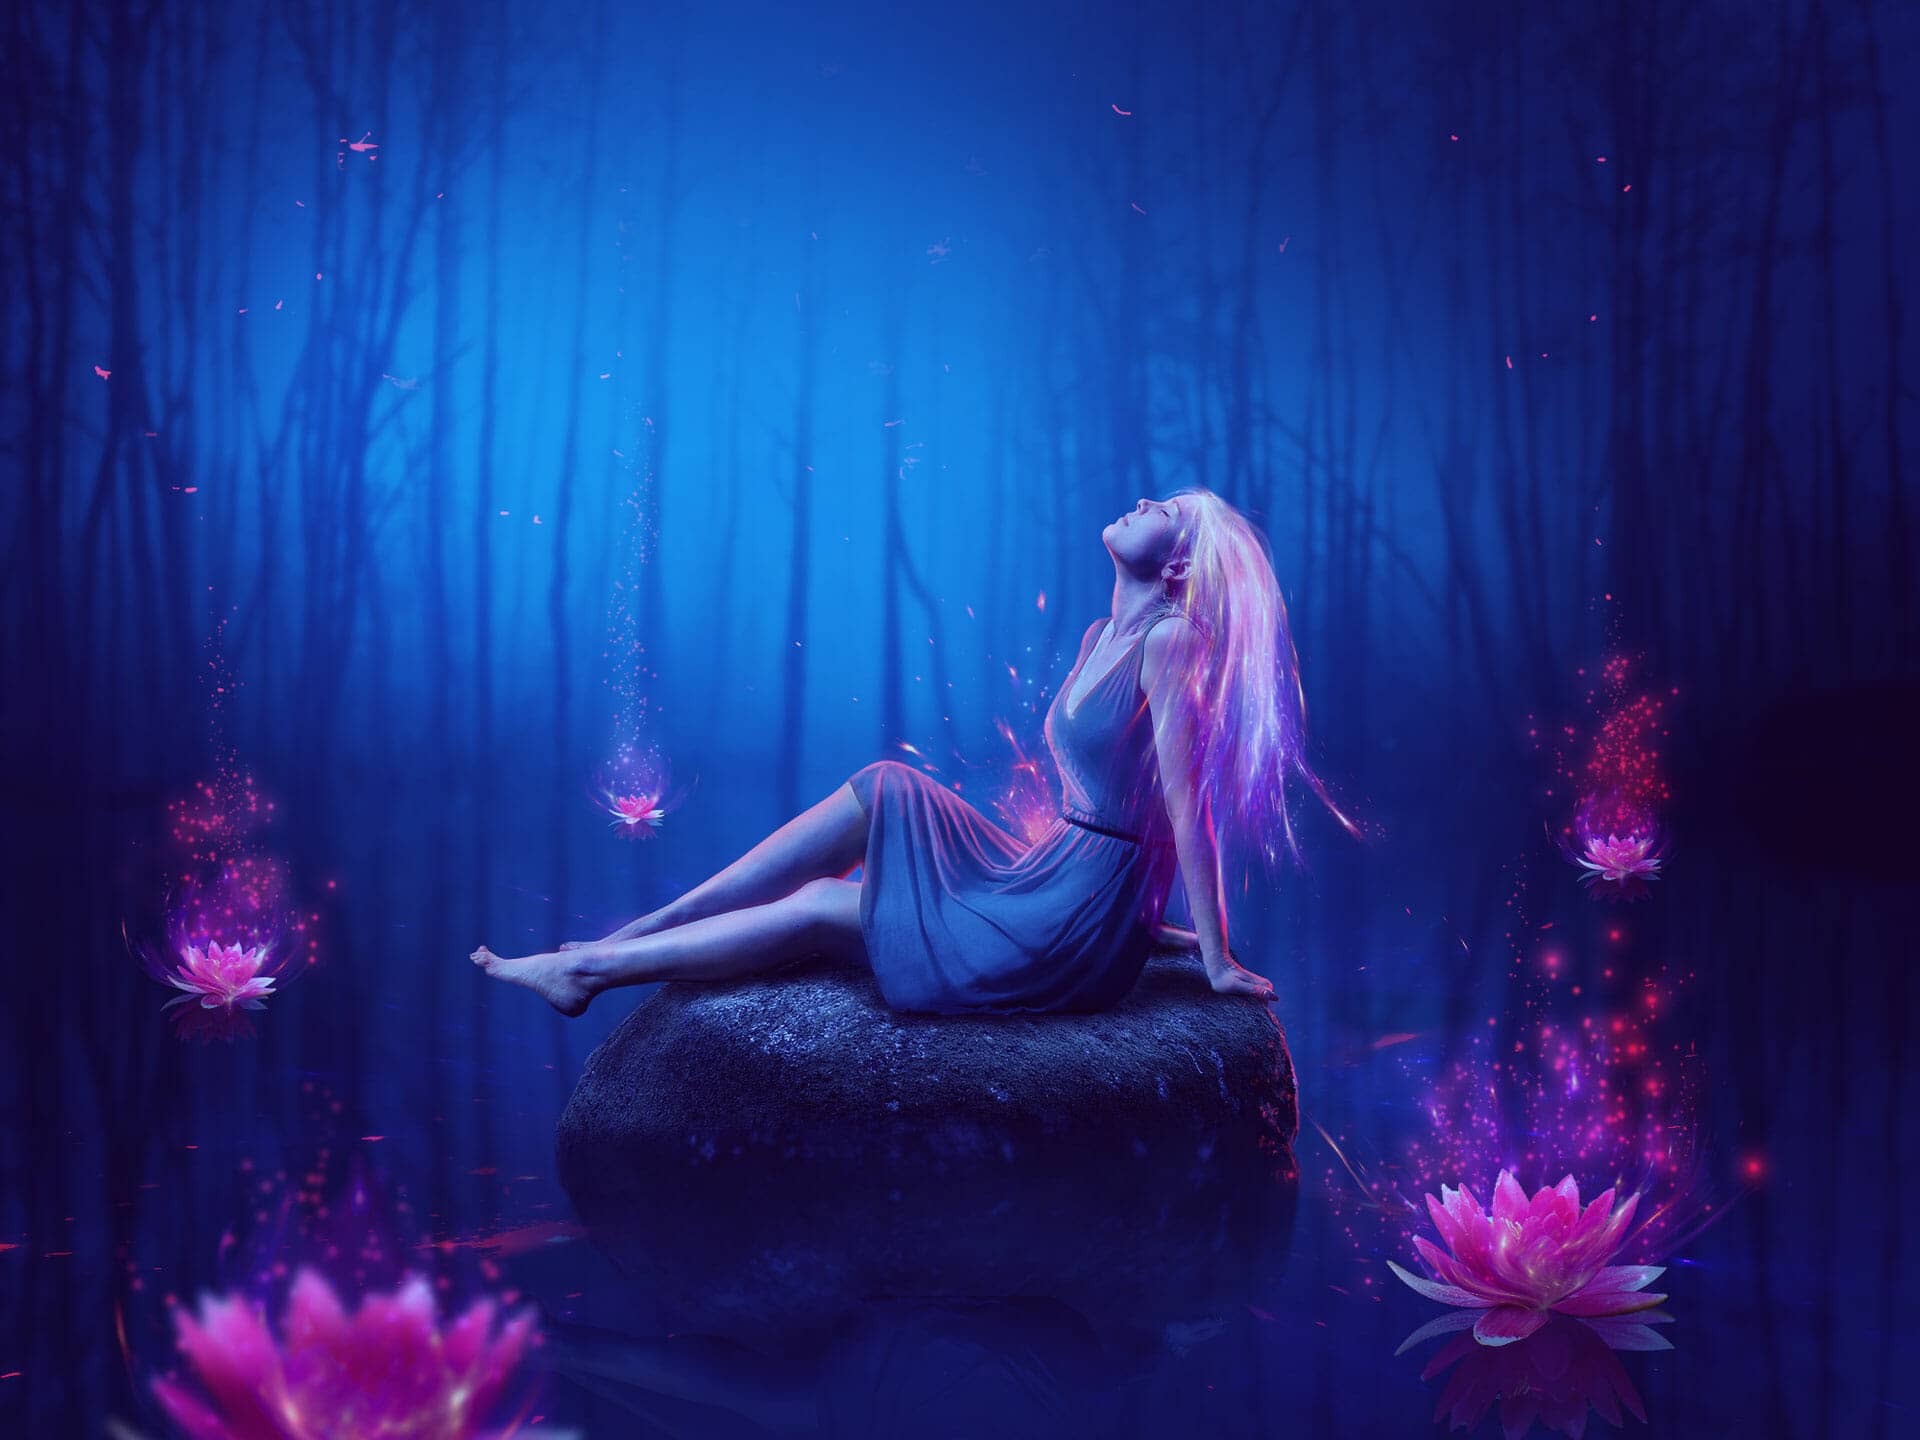
Create a new layer within this group and paint some dots on and around the biggest lily. Apply a Gaussian Blur of 3 px to this layer to make the dots fit the softness of the flower. Add a mask to this layer and use a soft black brush to reduce the visibility of the dots.

4 comments on “How to Create a Fantasy Lake Scene with Adobe Photoshop”
I tried and failed
All images, (girl, brightness, Lotus everything) added so that we can easily find and work
Please rock image add.
Sorry about that, the rock image has been added. https://pixabay.com/photos/stone-forest-nature-landscape-3962/