Download Lightroom presets and LUTs, absolutely free. Use the presets to add creativity and style to your photos.
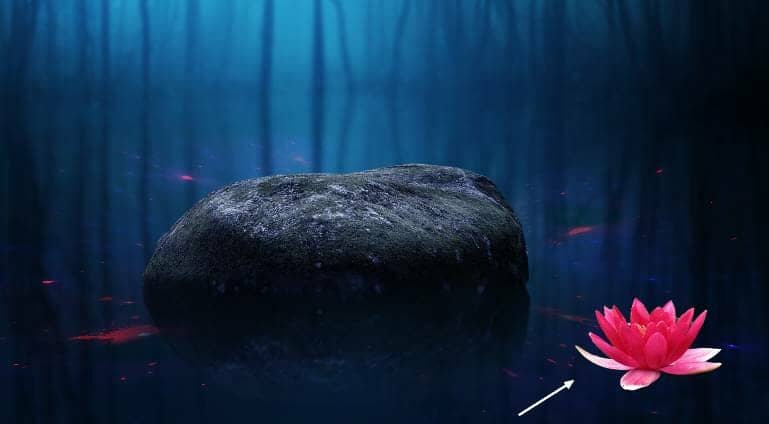
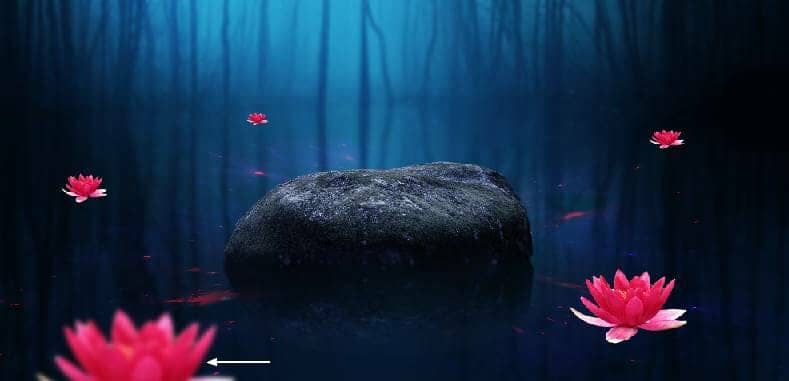
Step 20
Make reflection for the water lilies except for the biggest one as done with the rock. Lower the opacity of the reflection layers to 50%.

Step 21
Create a group for the water lilies and add a Curves adjustment layer to darken the flowers. On this layer mask, use a soft black brush to erase the dark effect on the bright side of the lilies.
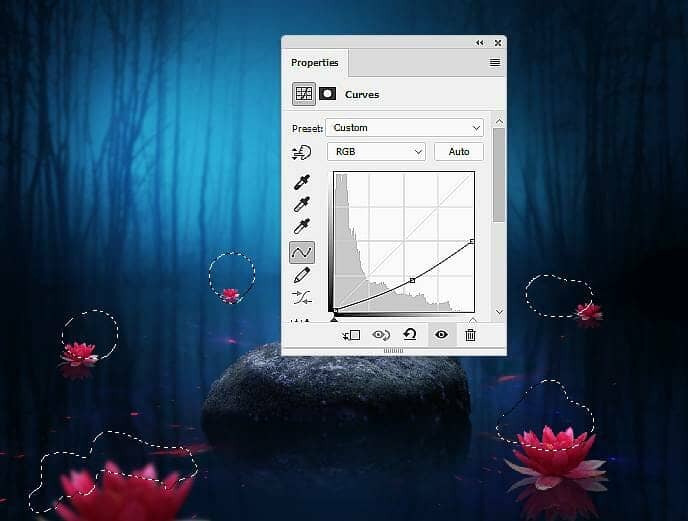
Step 22
Make another Curves adjustment layer to bring more light to the bright side of the flowers. Paint on the rest to keep its lightness.
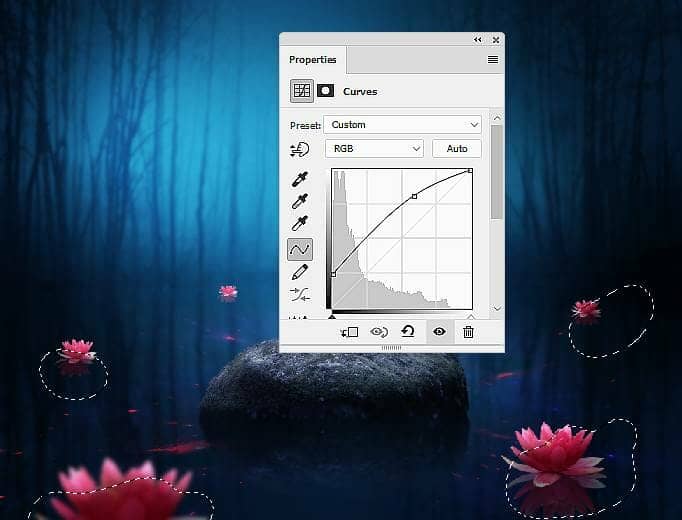
Step 23
Create a Vibrance adjustment layer to enhance the color of the flowers.
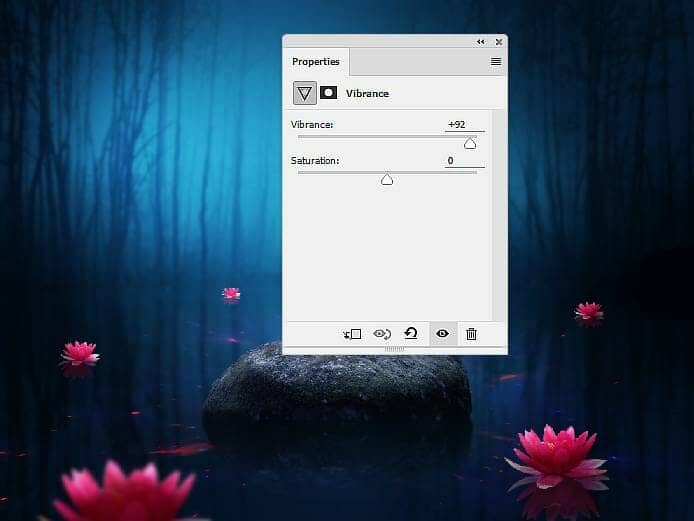
Step 24
Isolate the model from the background to add to the top of the rock. Make reflection for the model as done with the other elements and lower the opacity of this reflection to 50%.
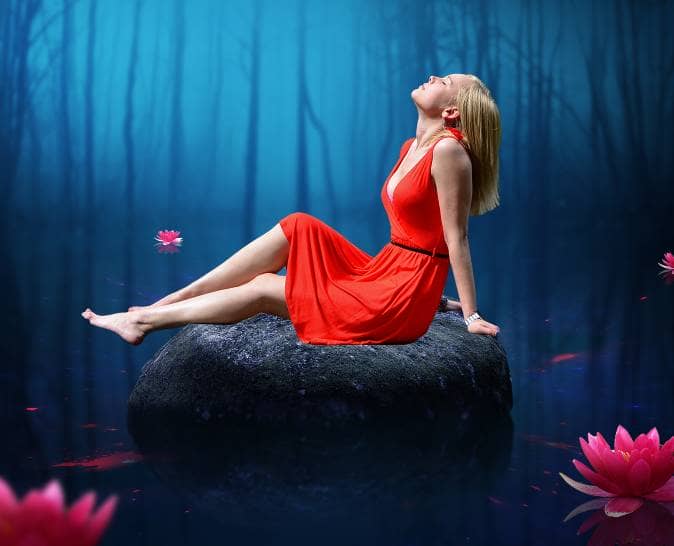
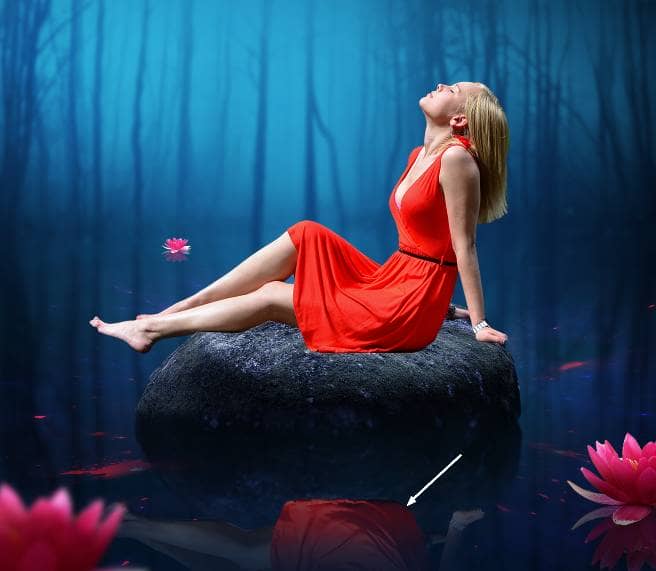
Step 25
Make a new layer below the model one and use a soft brush with the color #04070e to paint shadow for the model on the rock.
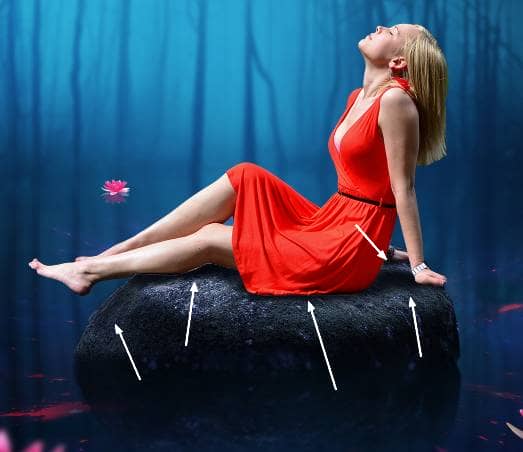
Step 26
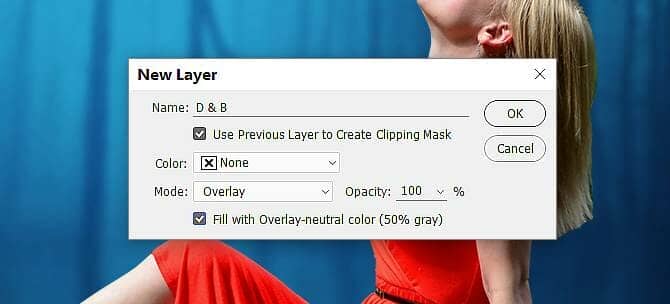
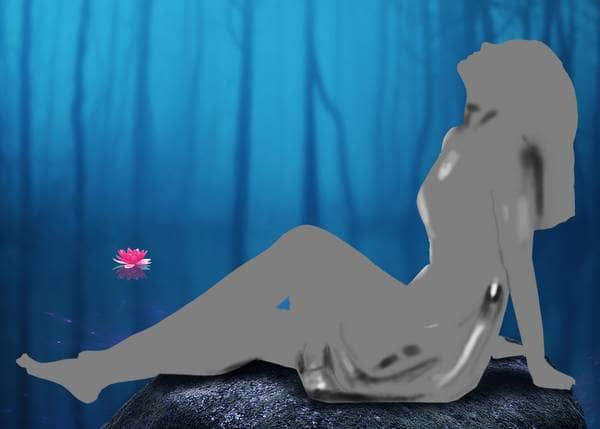
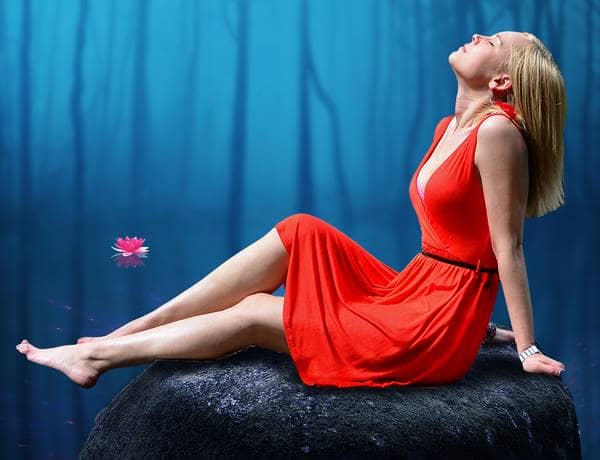
Create a new layer above the model one, change the mode to Overlay 100% and fill with 50% gray. Select the Dodge and Burn Tool (O) with Midtones Range, Exposure about 15-20% to refine the light and shadow of the model a bit. You can see how I did it with Normal mode and the result with Overlay mode.
Step 27
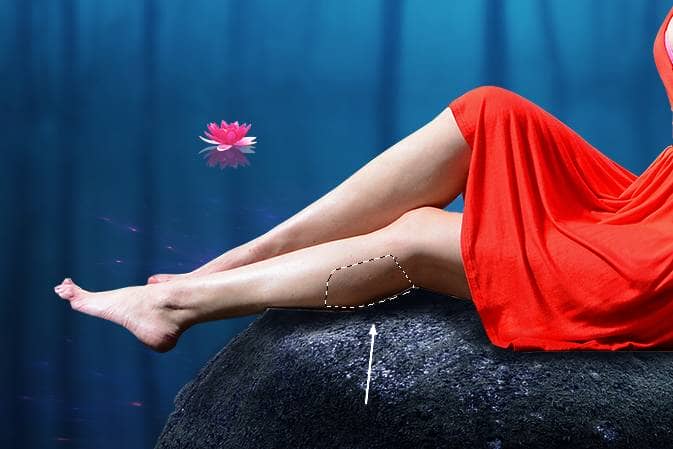
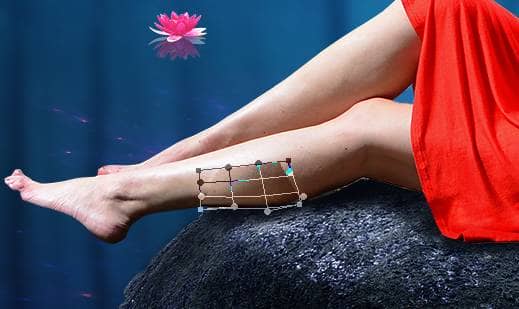
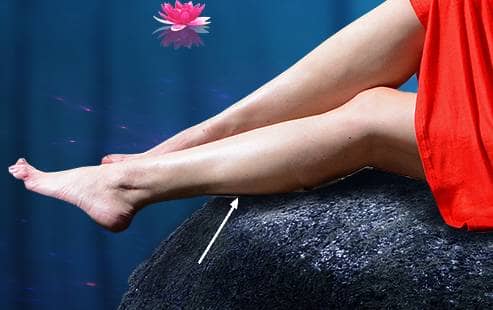
On the model layer, use the Polygonal Lasso Tool (L) to select a part on the model's thigh and press Ctrl+J to duplicate this selected part into a new layer. Move this part to fill in the missing area on the lower of the thigh and use Ctrl+T with the Warp mode to tweak this part to fit the existing leg. Add a mask to this layer to remove the hard edges of this part.
Step 28
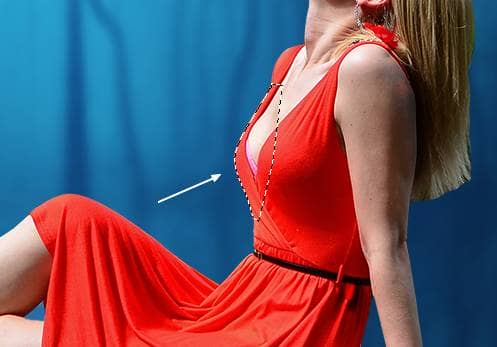
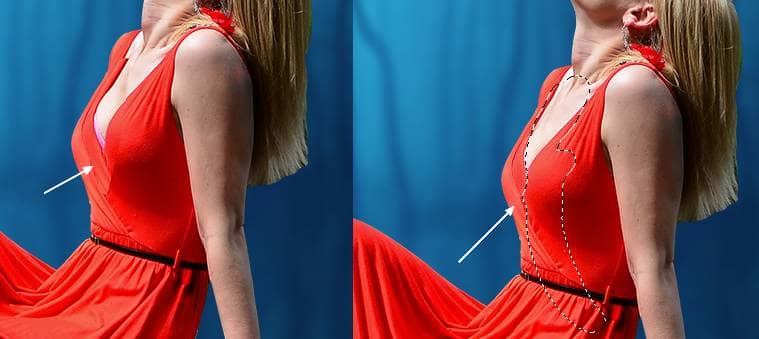
On the model layer, use the Polygonal Lasso Tool to select a part of the model breast and copy this part into a new layer as done with the leg in the previous step. Move this part to the right a bit to hide a part of the breast. Add a mask to this layer to blend this part with the existing body and dress.
Step 29
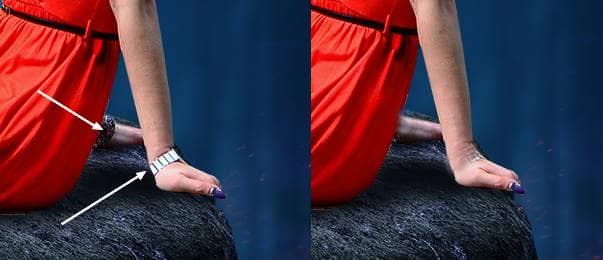
Make a new layer and use the Clone Tool (S) to remove the watch on her arms.
Step 30
Create a new layer and use a soft brush with the color #f1241c, the opacity and flow about 30-35% to reduce some shade details on the dress. Make a new layer and change the brush's color to #f95243, the opacity and flow about 50% to remove some wrinkles of the dress.
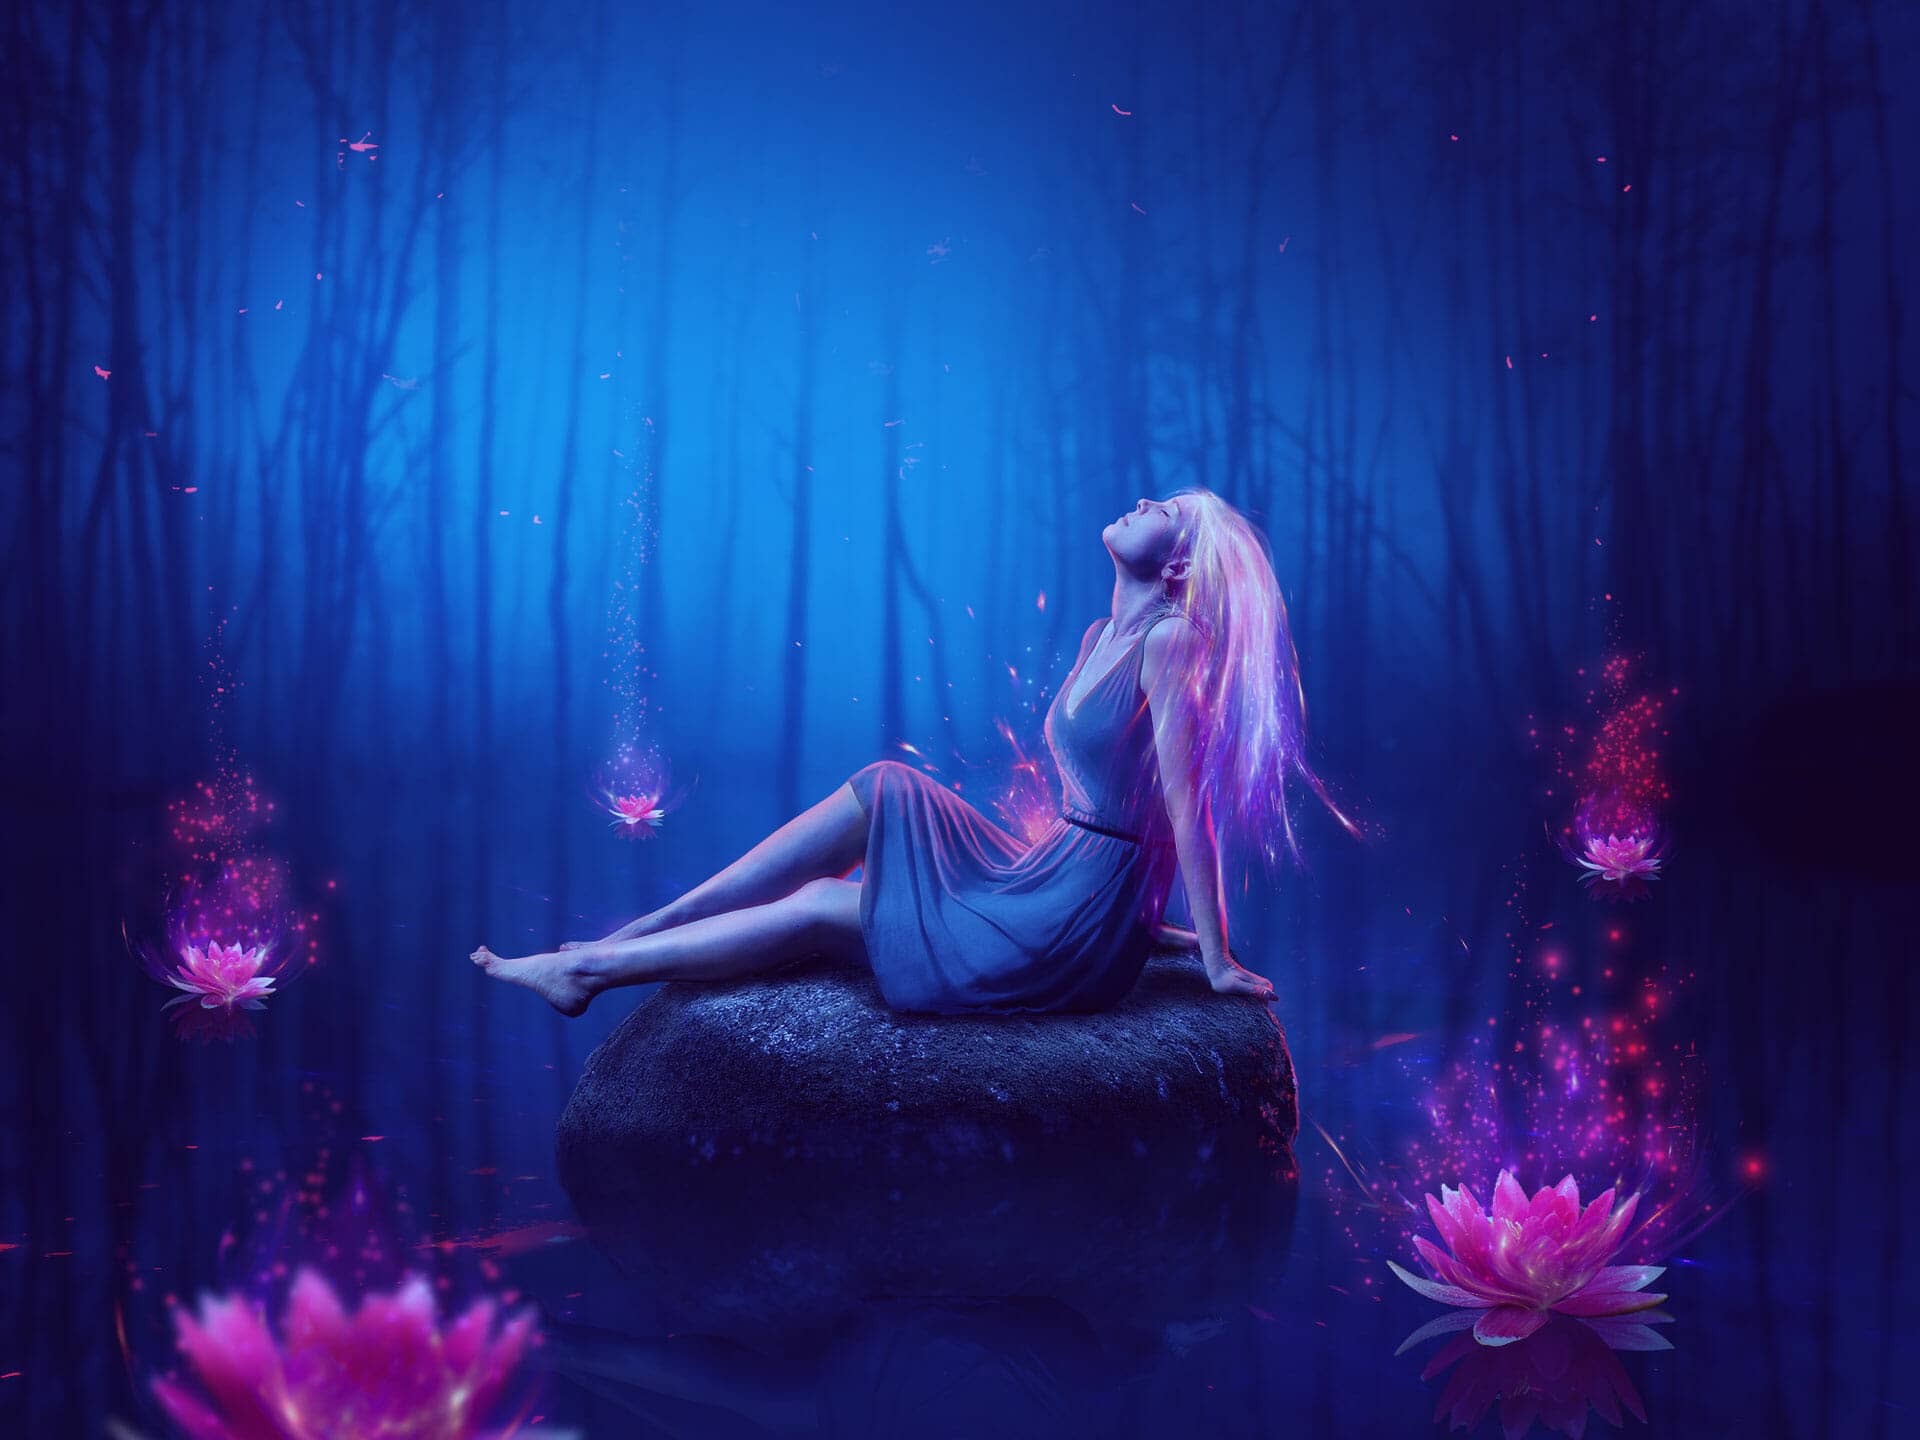

4 comments on “How to Create a Fantasy Lake Scene with Adobe Photoshop”
I tried and failed
All images, (girl, brightness, Lotus everything) added so that we can easily find and work
Please rock image add.
Sorry about that, the rock image has been added. https://pixabay.com/photos/stone-forest-nature-landscape-3962/