
“Of all African animals, the elephant is the most difficult for a man to live with, yet its passing ― if this must come ― seems the most tragic of all. I can watch elephants (and elephants alone) for hours at a time, for sooner or later the elephant will do something very strange such as mow grass with its toenails or draw the tusks from the rotted carcass of another elephant and carry them off into the bush. There is a mystery behind that masked gray visage, and ancient life force, delicate and mighty, awesome and enchanted, commanding the silence ordinarily reserved for mountain peaks, great fires, and the sea.” In this Photoshop Tutorial, we will learn how to create an elephant with a palm trunk. First, we created a sky and add Elephant with the background. Then add Tusk and Nose and add some Adjustment layers. Next is Palm and Parrot and For the last effect, we added a Camera Raw filter.
Preview of Final Image

Tutorial Resources
Step 1
Now, let’s start by creating a new image file, go to the Menu bar and click File > New, and then input the following values on their respective fields
- Preset: Custom
- Width: 3080px
- Height: 3850px
- Resolution: 300px
- Color Mode: RGB Color 8 bit
- Background Contents: Transparent

Step 2
Next, select Sky and go to File > Open and select Sky photo stock. Use Rectangular Marquee Tool(M). With the Rectangular Marquee tool, drag over the area you want to select. Hold down Shift as you drag to constrain the marquee to(release the mouse button before you release Shift to keep the selection shape constrained).
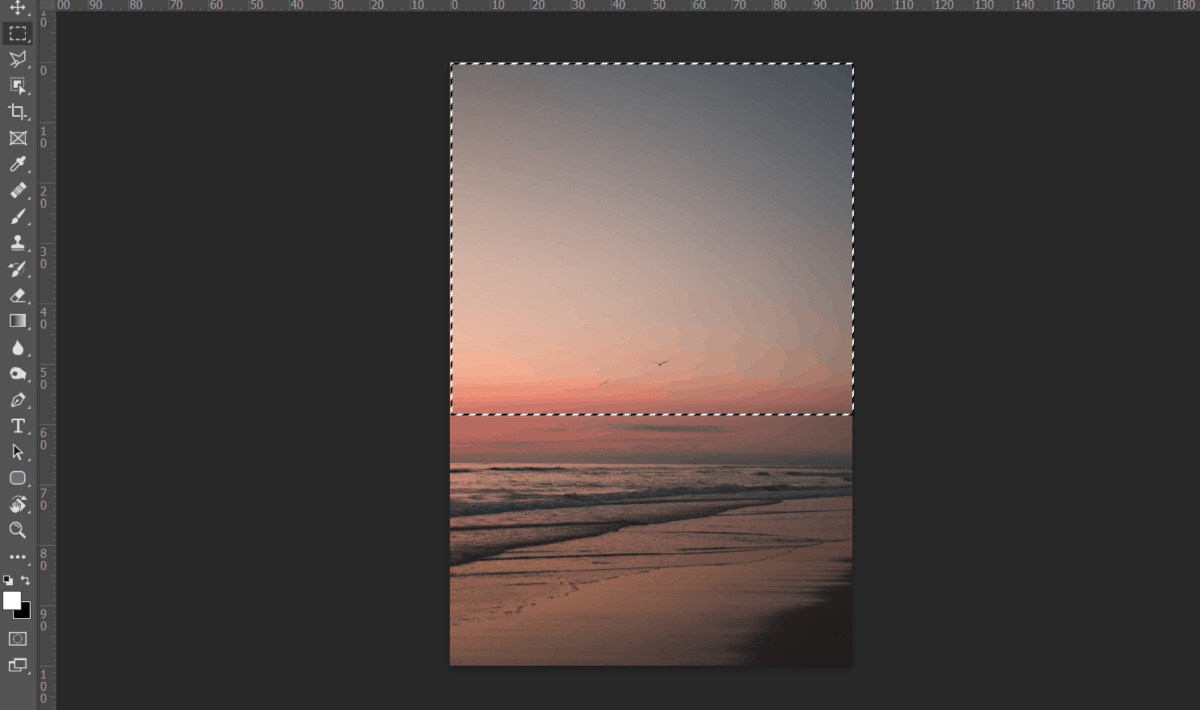
After the selection area has been created, simply copy (Ctrl / Cmd + C) and Paste (Ctrl / Cmd + V) it to our work canvas. Then position the image with the transform tool (Ctrl / Cmd + T). Hold Alt + Shift and resterize like image below. In Photoshop CC only hold Alt to resterize al sides together.

Step 3
Add Adjustment Layer “Gradient Map”

Step 4
Now repeat process from previous step and go to File > Open and select Clouds photo stock. Use Rectangular Marquee Tool(M). With the Rectangular Marquee tool, drag over the area you want to select. Hold down Shift as you drag to constrain the marquee to(release the mouse button before you release Shift to keep the selection shape constrained).
5 responses to “Learn How to Create a Surreal Scene of Elephant with a Palm Trunk”
-

beautiful artwork!
-
Sorry about the broken PSD link. It’s fixed and working now.
-
Pitty the PSD download is not working
-
problem link psd :)
-
great tuto ! just a little problem with link psd :)
Leave a Reply to DaveCancel reply