Learn how to create this photo manipulation of a city being destructed by robots and spaceships. This tutorial will show you how to composite a city using various stock photos then add smoke, fire, and explosions to it.
Preview of Final Results
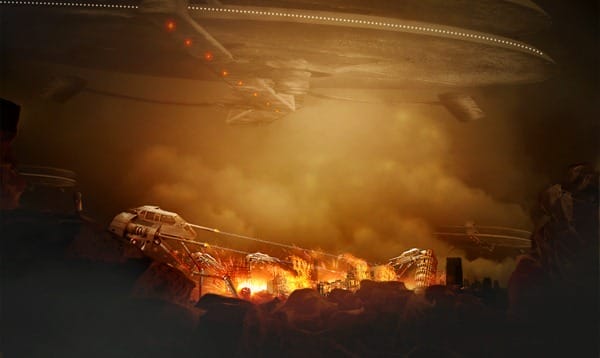
City Destruction Photoshop Tutorial
Resources
- Ruin for Foreground – Pxleyes
- city – sxc.hu
- Tower – sxc.hu
- Building – sxc.hu
- Industry and Smoke – sxc.hu
- Spark – sxc.hu
- Fire – Thanks mattthesamurai deviantart
- Flame – Thanks shaedsofgrey Deviantart
- Space craft – Pxleyes
- Craft – Deviantart
- Hoops – Pxleyes
- Old Man – Deviantart
Step 1
Open Photoshop and create a new 1280×768 pixel document (File > New).
Step 2
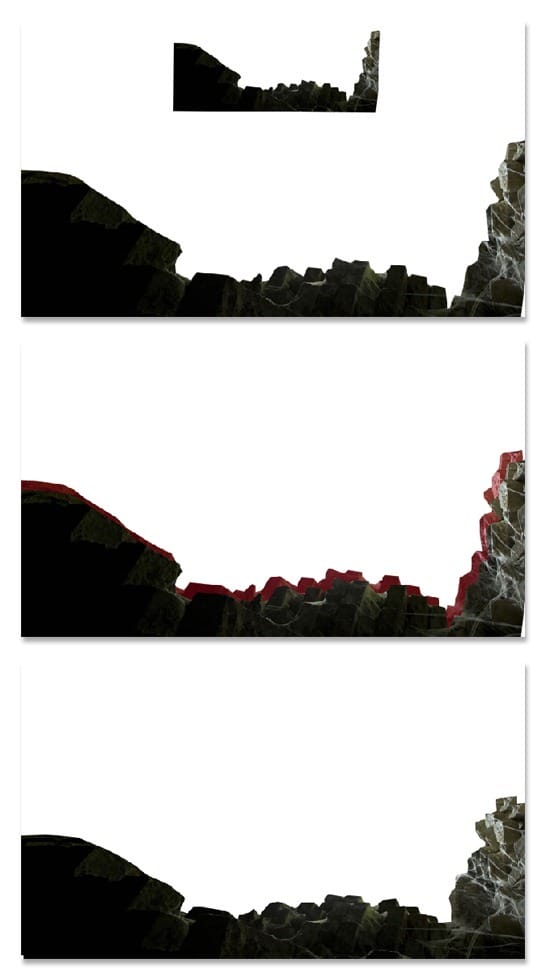
From this step on, we will manipulate the foreground for the scene. Open the ruin picture on the canvas. Rotate the picture. Take Pen tool in the tool panel. With the pen tool, we will cut out some part of the ruin picture to be used in manipulating foreground. Trace the part of the ruin in the picture (marked in red in the illustration picture). When the path is closed, right click on it to show the path command option and choose Make Path selection. Finally hit Del to delete the other unselected part.

Step 3
Next, scale the cut out to fit the canvas. Duplicate (Ctrl+J) it some times as needed and place the duplications in the position where needed. If we have had the desired result, merge the layers to make them a single layer. I named this layer main forground. Please see the illustration picture to see the result I created.
Step 4
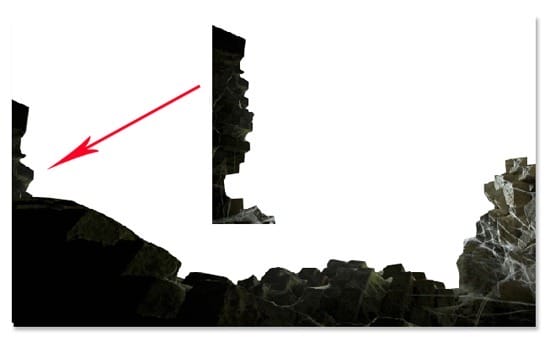
Add more ruin to the left part of the canvas. I named this layer left foreground. Now we have done the foreground. Select the layers for the foreground. Hit Ctrl+G to group them. I named this group foreground.
Step 5
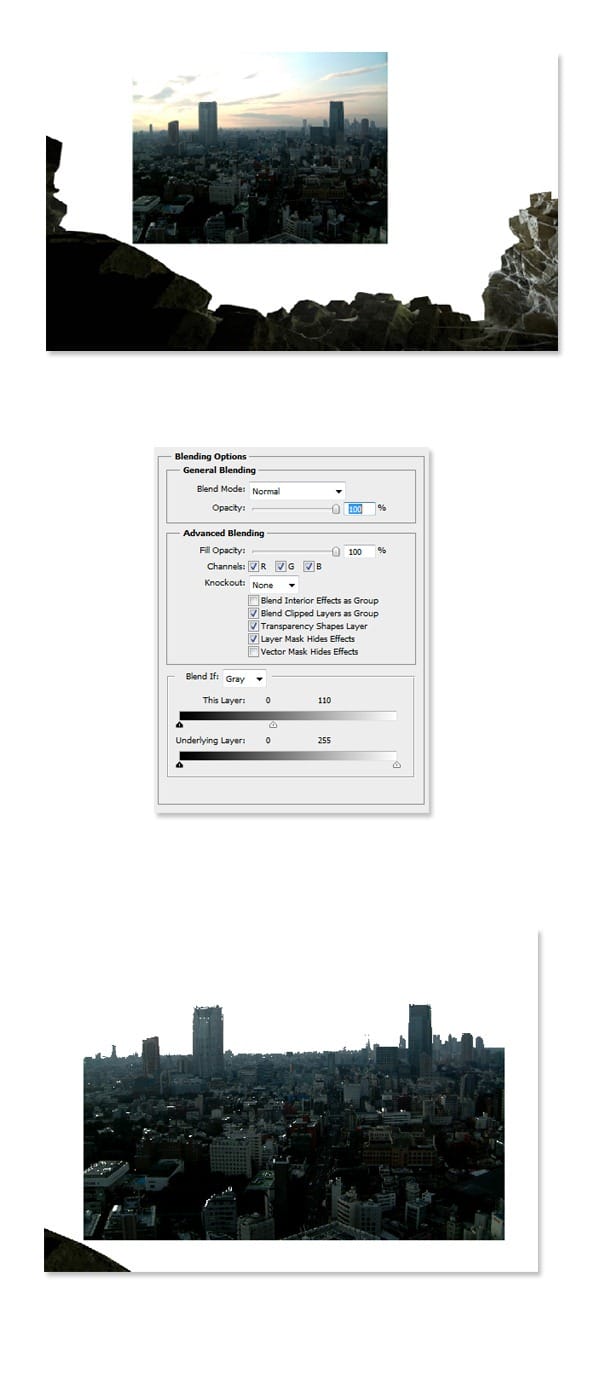
After creating the foreground, proceed to manipulating a destroyed city to the canvas. Open the city picture in the canvas. This will be a new single layer in the layer panel. I named this layer city. Put the cursor on the city layer and then double click on it to show Blending Options window. Go to This Layer. There are two sliders on it, the black one and the white one. Click the white slider to the left at 110. Please see the result I created in the illustration picture.
Step 6
What I did next was locating and scaling the city to fit the canvas. I duplicated the city layer and set the duplication layer to Overlay Blending at 100% opacity. Finally, I kept the blending of the original layer at Normal and reduced its opacity at 43 %.
4 responses to “Create a City Destruction Photo Manipulation in Photoshop”
-
I would definitely be interested in getting that set!
-
Very Nice. Thanks for tuts.
-
thanks this is beautiful work my frend….
-
Nice one pal…


Leave a Reply