Make skin look perfect in one-click with these AI-powered Photoshop actions.


Step 4
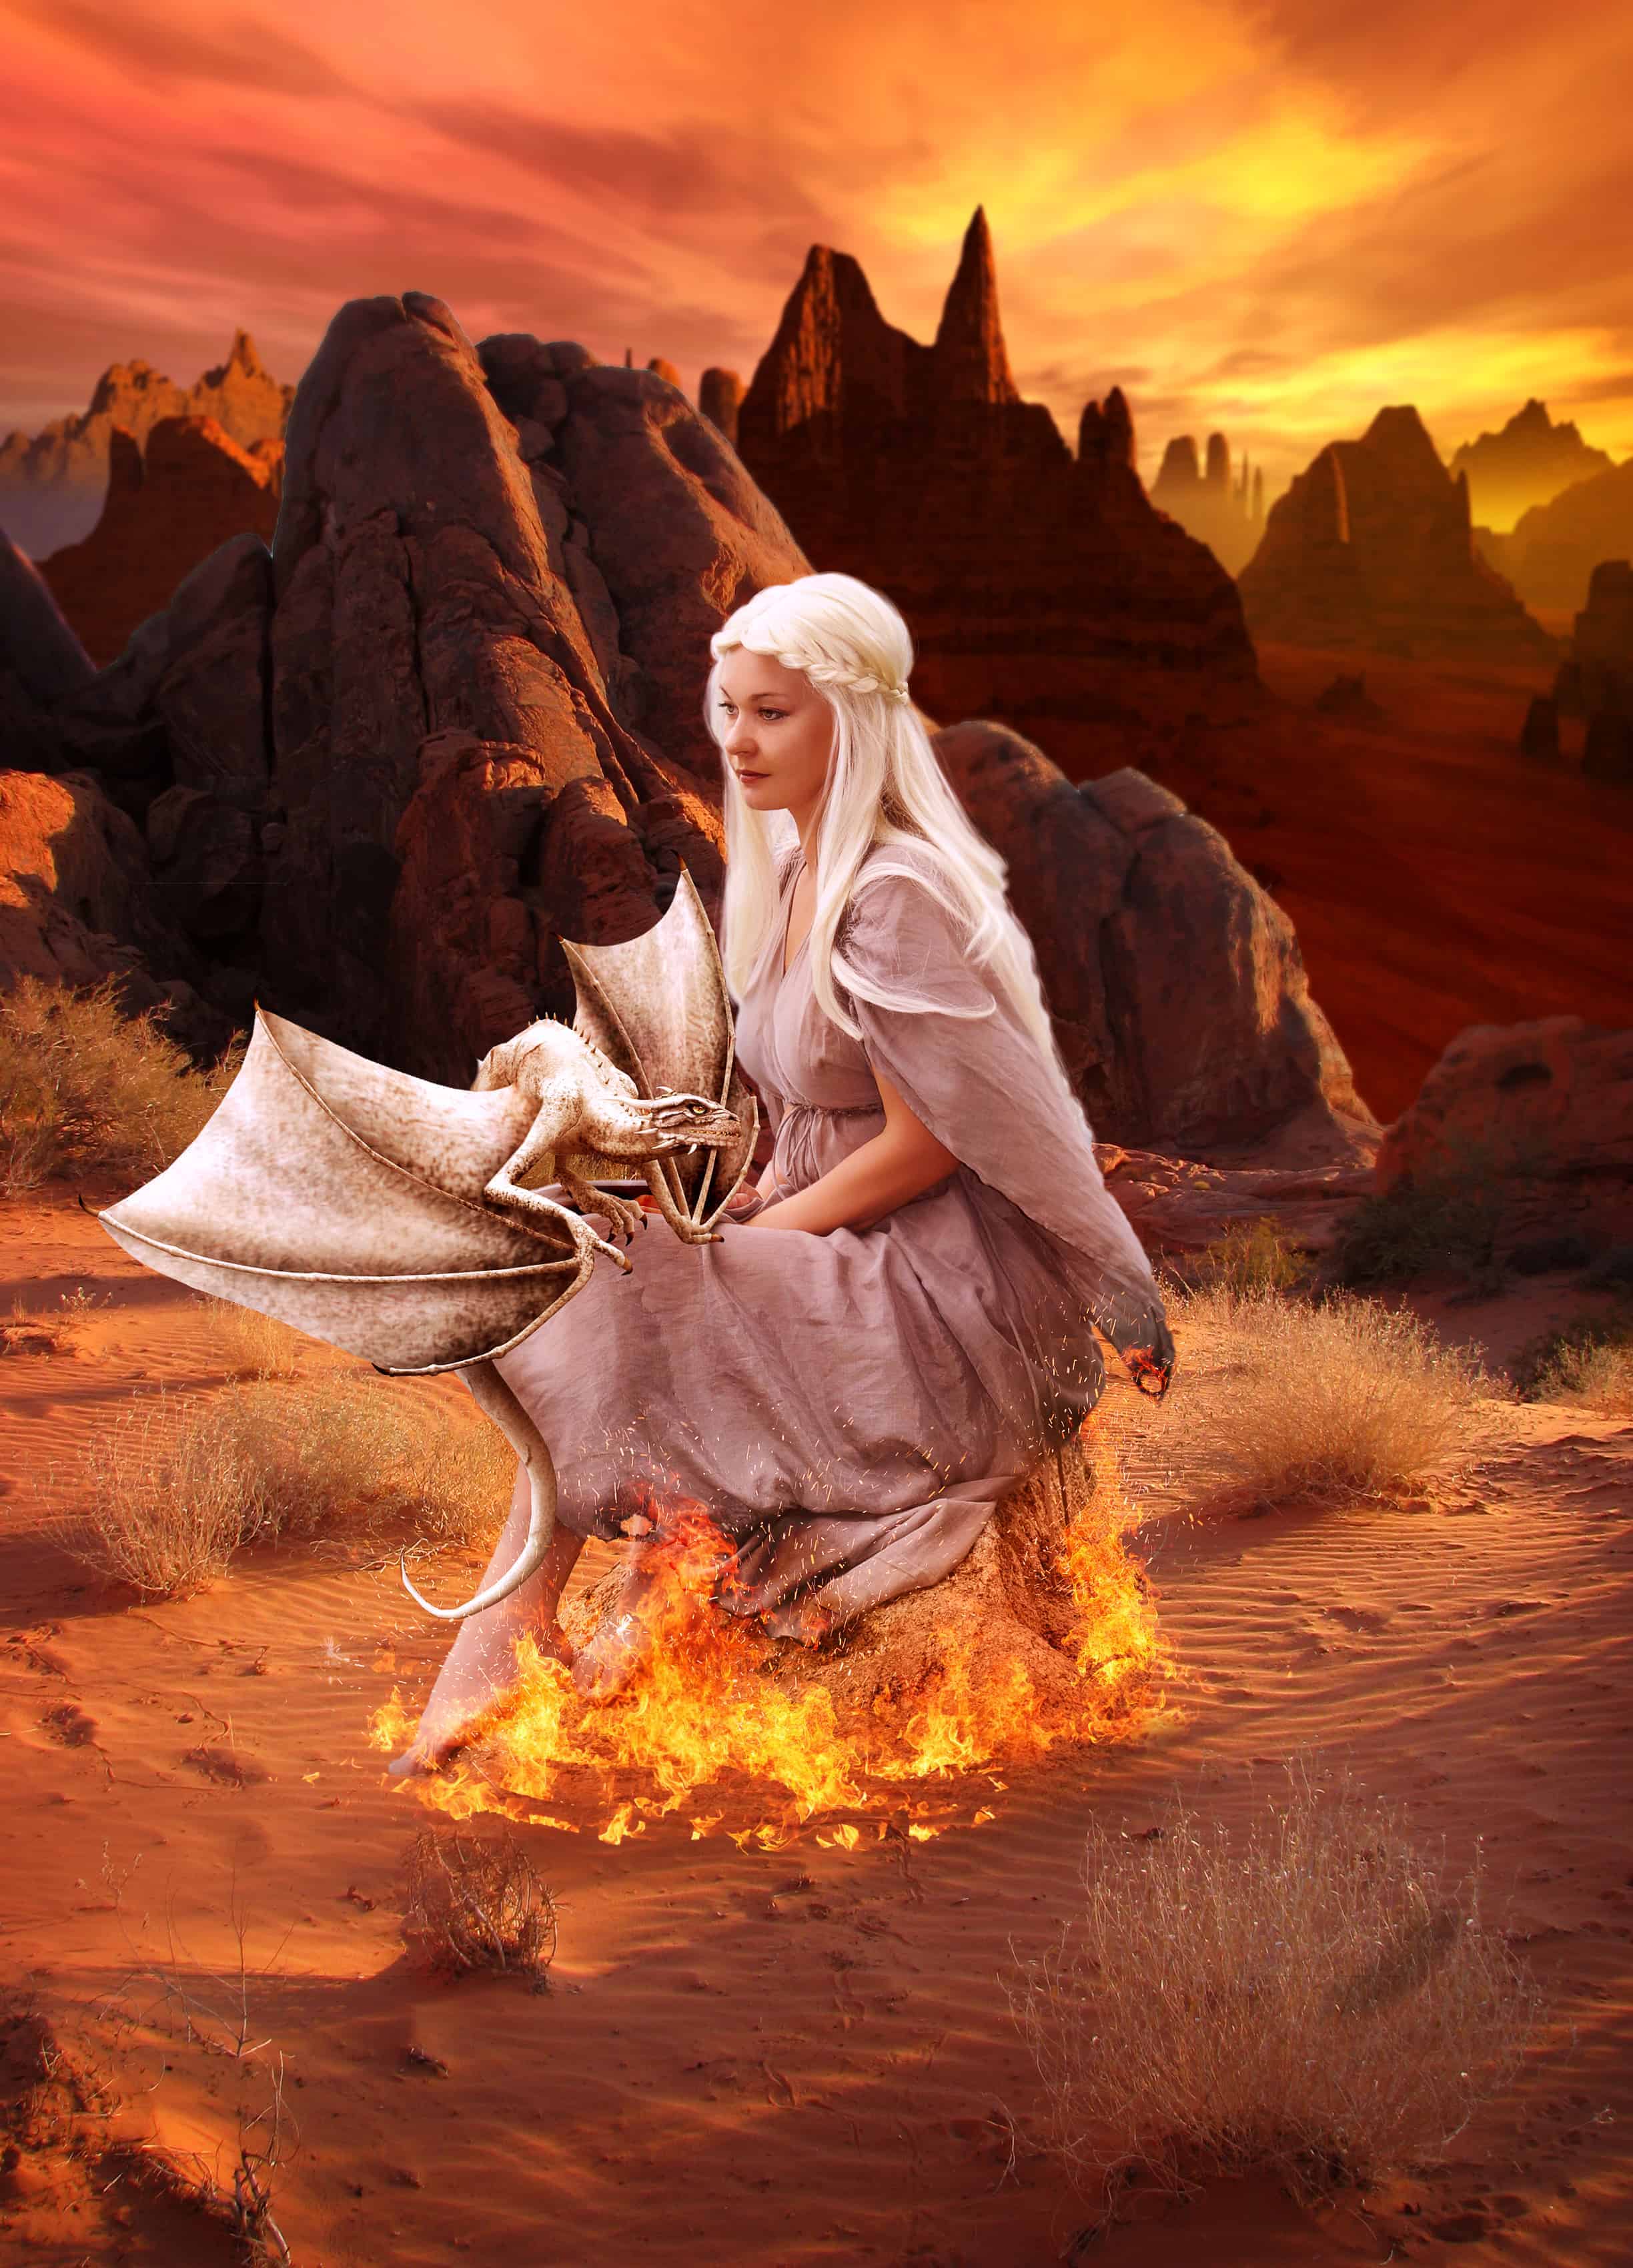
Now we correct little things like giving the hair a smooth shape and bluring the edges to melt the stock with our background by using the blur tool. After that it's time for painting the hair in. I recommend a graphic tablet for that, but if you are very good with the mouse it should not be a problem. For hair I always use https://www.deviantart.com/art/Hair-brush-set-145384302. Zoom close into the image crtl+ and make a new layer called "hair". Use the Hair 5 brush with about 20% opacity and a small size of about 15 px. Now hold alt and take a hair color right at the edge. With that paint some strands in following the hair structure. Building your hair you always has to take colors from the hair and switch from darker to lighter. Using pure white you can paint in some highlights. You can paint those highlights also in her hair to give it more complexity. With a small brush and more opacity (4 px, 40%) you can paint some single hairs so it do not look so straight.


Step 5
Let's give her skin a smooth and painted like touch. For that covert the Model layer into a Smart Object (That will apply the mask to the model so you should be happy with the rock). With that use the Surface Blur filter with 15 px and 15 steps. It will look odd, but when we painted it only at the skin it will look good. Invert the Smartfiltermask and with a soft white brush paint in the effect (20 % opacity) only to her skin. On top of the layers (over the curve layer) make a new layer called "light". Paint with a soft white brush and 20 % opacity some white light on her cheeks, nose and flat. Set it to "soft light" and set the layer opacity to about 65 % depending on how much you want the effect in. On a second light layer empazise the tip of her nose and some light parts with white soft brush in overlay mode and 20 % opacity.


Step 6
10. On top of the cliping mask layers set a adjustment layer with bright/contrast (7/19). Also we need to fit her more to the color tone of the desert. For that we make a new layer over the hair layer and set it to softlight, 42%. Use the pinsel and with alt use some sky colors to paint over hair. Empazise her egdes and see that her back has to be more lightful, because the sun comes from behind. Now make a new ajustment layer, color balance and invert it mask to paint it's effect on our model with white on the black mask. The last light step is giving her a shadow. As you can see in our desert stock, the shadows fall long over the sand from right to left. So take with pinsel and alt a shadow color from the sand and paint with a middle soft brush from our model on the stone to the left image edge. Experiment with the layer opacity until it looks like the other shadows. Now dublicate the layer set it on soft mode and lower the opacity until you have a good result.


8 comments on “Create a "Game of Thones" Inspired Photo Composite”
More info on ok? who agrees?
Thanks so much for that:)
toi muon lm quen ban of ban
Absolutely love anything related to
Agreed
This is not good. There's no depth, no color alterations to blend elements together. Just not good.
Now anyone can post a tutorial here, even if it is poorly done.
100% agree!
Remember it is the most popular site!
Totallt bullshitx-(