Turn any photo into a dot grid artwork with these Photoshop actions. You'll get great results with dots that change size. They get larger in brighter areas and smaller in darker areas. Free download available.
Add new adjustment layer Levels on the top of all layers and set the Input Levels on 0; 0,75; 255.
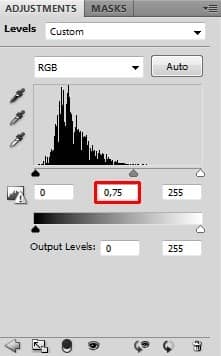
As in some of the previous steps you don't want to have the whole picture that dark. To hide the adjustment grab the Pain Bucket Tool (G) and fill the layer mask with black color. Now grab the Brush Tool (B), select some soft round brush and set the Master Diameter on about 35%. Pick white color and lower the Opacity of the brush on 10%.
Let's start with painting shadows on trees. Because light is coming from left there should be darker areas on the right side of trees.
There should also be some bounced shadow on the dinosaur. Let's paint it too.
You can get better idea below.
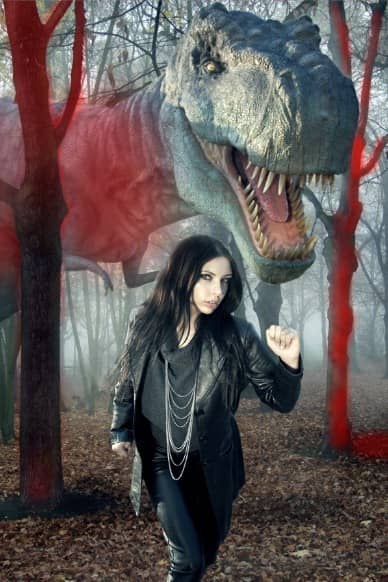
As I mentioned at the beginning of this step woman's hair should be bit darker too. Use the same setting of the brush as before and paint with white over her hair. You can see where on the photo below again.
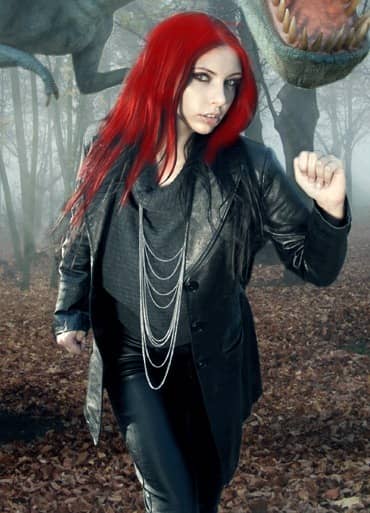
On the following picture you can see how your photo manipulation should look so far.
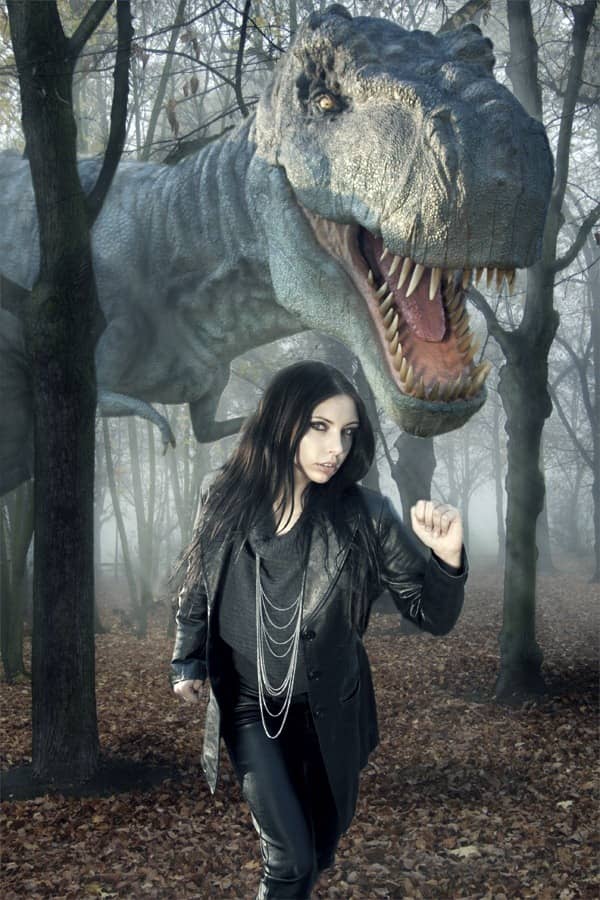
Step 11 - Texture on the Dinosaur
Right now the dinosaur looks too plastic. In this step you'll add texture over his skin to create more realistic result.
Download the leather texture from the list in the beginning of the tutorial and drag it into your photo manipulation. Place it on the top of all layers and name it e.g. BETTER SKIN.
Right now the texture is not blended well. Blending modes are great way how you can get quickly very realistic blending results. If you're not familiar with them I recommend you to try experimenting with them and see what effect you can achieve. You can not only use them to blend textures, but also to create light effects, do color changes etc. Just experiment and you'll see. But back to the tutorial...
To blend the texture properly change its Blending Mode from Normal to Soft Light. You can find that option in the upper part of the palette Layers.
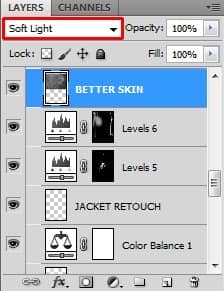
It's blended better but you still want to have the texture only on dinosaur's skin and not on the rest of the image. You can erase the unwanted parts with the Eraser Tool (E) but I wouldn't recommend you to use the Eraser Tool (E) because this way the erased parts are lost for good. Let's use the layer mask instead to only hide them (and have the ability to let them reappear any time you want).
