Turn any photo into a dot grid artwork with these Photoshop actions. You'll get great results with dots that change size. They get larger in brighter areas and smaller in darker areas. Free download available.
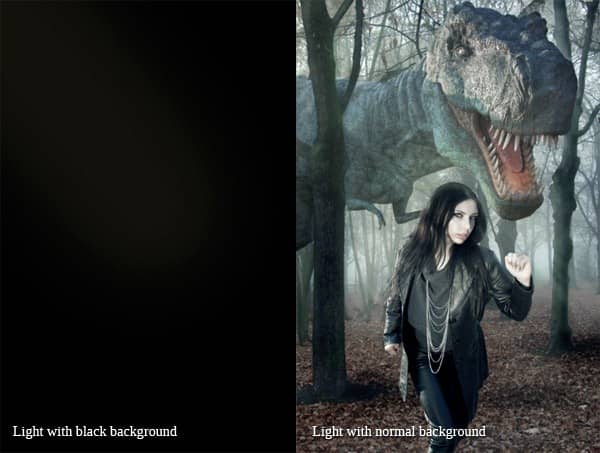
Step 17 - Toning of Woman's Face
As I mentioned in one of the first steps woman's face is very bright, right now she looks more like a vampire than a human. So in this step you'll add some colors on the skin.
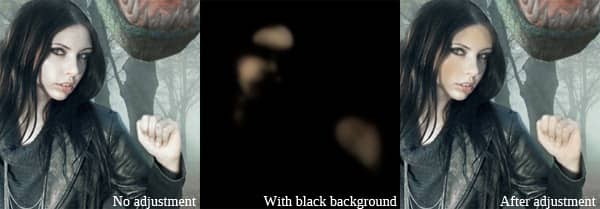
Add new layer on the top of all layers and name it e.g. SKIN TONING. Grab the Brush Tool (B), set the Master Diameter on 30 pixels and the Opacity on 20%. Pick light orange/brown color (e.g. #e0c7aa) and gently paint over the woman's forehead, left cheek and right hand.
Let's take a look at the following images. The first one shows woman's face without any retouching. On the second you can see what and where to paint, there is black background put under so you can see it better. On the third image there is woman's face after this step.
Step 18 - Adding Depth
In this step you'll create depth by adding vignette to your picture and by darkening woman's hair even bit more and part of dinosaur's head.
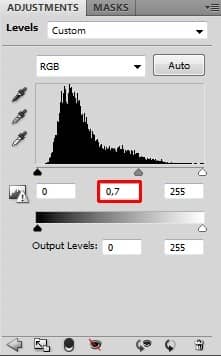
Add new adjustment layer Levels on the top of all layers and set the Input Levels on 0; 0,7; 255.
You want to adjust only part of the image. Grab the Paint Bucket Tool (G), pick black color and fill the layer mask of the adjustment layer with it. Then grab the Brush Tool (B), set the Master Diameter on about 250 pixels, lower its Opacity on 30% and paint gentle vignette around the corners of the image.
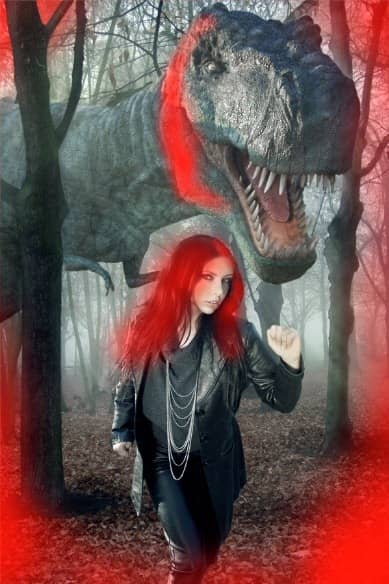
After that make the Master Diameter smaller (60 pixels) and paint over woman's hair and left part of dinosaur's head.
Let's take a look at the following photo where is highlighted with red color where you should paint.
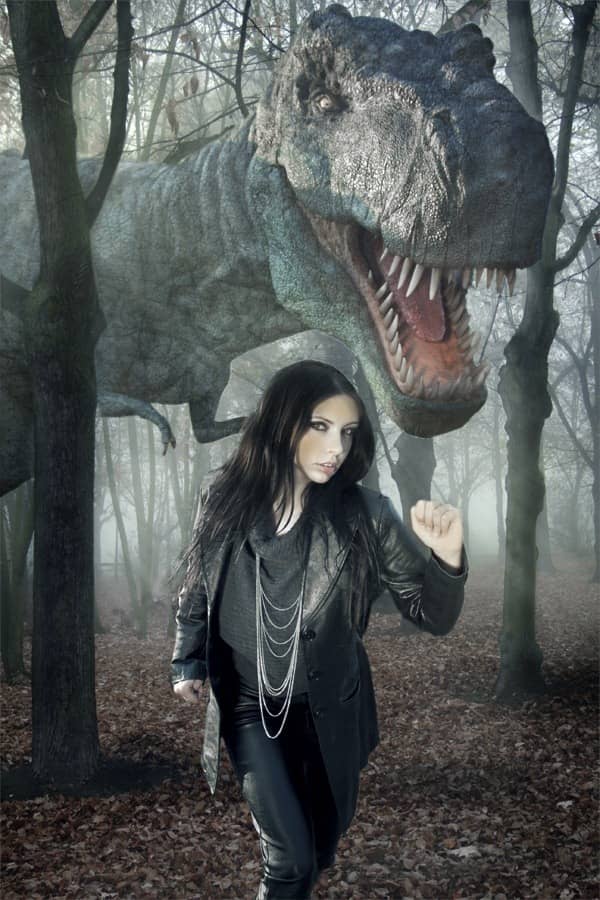
On the picture below you can see how your photo manipulation should look like so far.
Step 19 - Contrast of the Background
You're slowly coming to the end of the tutorial. There is only few more steps left. One of them is to create the background bit more contrasted. Right now contrast of the woman is higher than the contrast of the rest of the image.
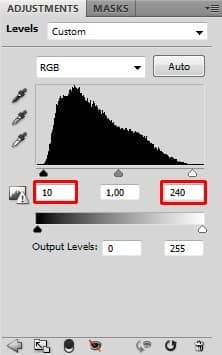
Add new adjustment layer Levels on the top of all layers and set the Input Levels on 10; 1,00; 240.
The whole picture has higher contrast but you want to let the woman same as before. Create selection of woman (e.g. with the Lasso Tool (L), the Pen Tool (P) or with the method described in the step 14). After you're done grab the Brush Tool (B), increase the Opacity on 100%, pick black color and paint inside the mask. Adjustment becomes invisible in that part.

