Make skin look perfect in one-click with these AI-powered Photoshop actions.
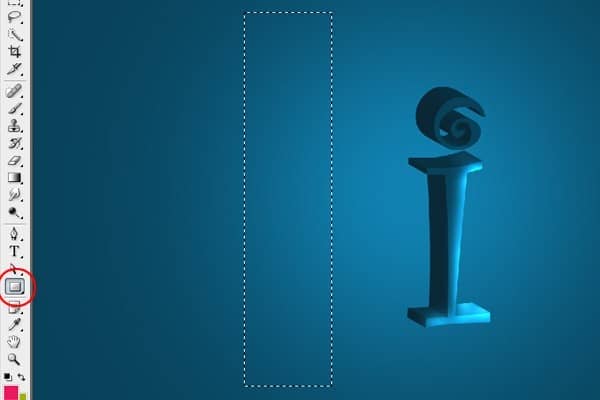

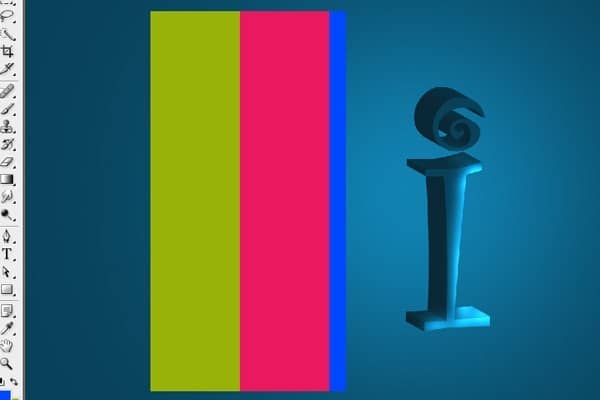
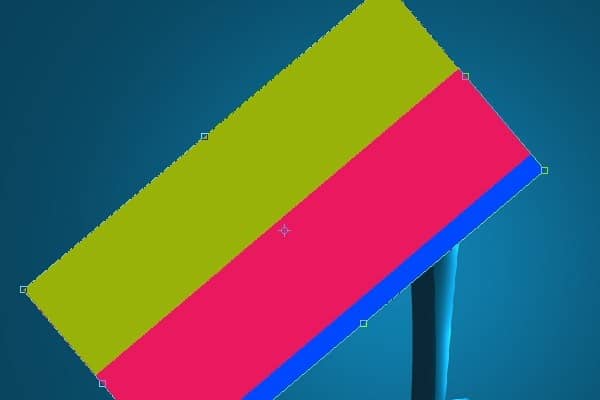
Step 21 - Adding Motion Blur
Add motion blur to the shape to make the corners of the shape smooth. Select Menu > Filter > Blur > Motion Blur and set the same setting as on the picture bellow.
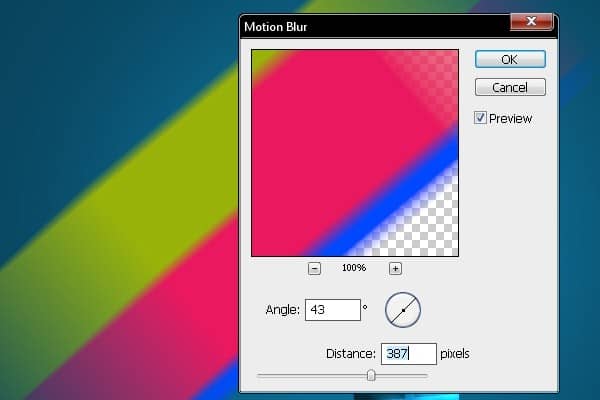
Step 22 - Adding Gaussian Blur
To make the edges even smoother you need to add Gaussian Blur. Select Menu > Filter > Blur > Gaussian Blur and set Radius on 32.7 px.
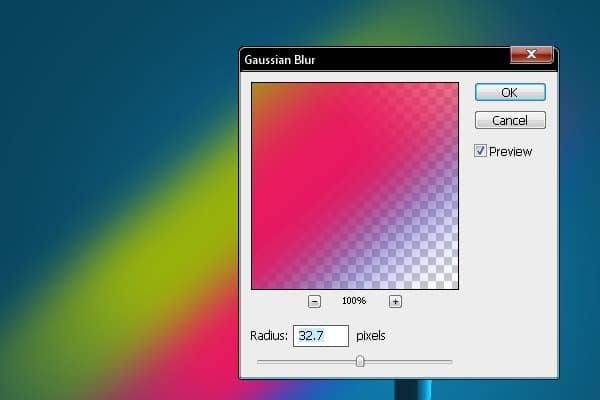
Step 23 - Blending Color With The Background
Place the colorful layer above the splash object and change Blending Mode on Hue. Now press Ctrl + Alt + G to group the layer inside the shape.
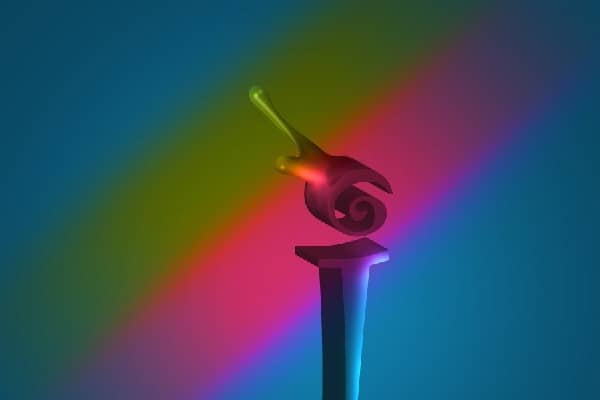
Step 24 - Adding Colors To The Dot
You want to make colorful only the dot but not the rest of the letter. Place the colorful layer above the "DOT" layer. Right click on the layer and select Create Clipping Mask. This way the colors will be visible only on the dot.

Step 25 - Adding Colors To Body Of The Text
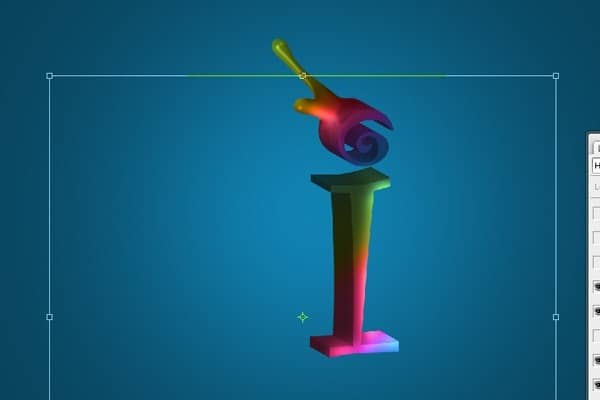
In this step you´re going to add color also to the body of the letter. Duplicate the layer with color and place it above the body of the letter. Change the Blending Mode to Hue again. Press Ctrl + Alt + G to group the layer inside the shape and then press Ctrl + T to expand the size.
Step 26 - Moving The Colors
To make the colors properly fitting grab the Move Tool (V) and move the colorful layers up and down to fit them with the letter. Below you can see how your image should look so far.

Step 27 - Creating Shadow Under the Letter
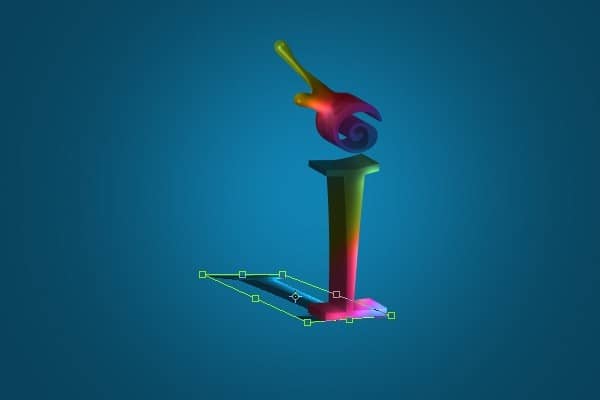
Duplicate the letter. Press Ctrl + T to make a free transform and transform it as you can see on the picture bellow. Then grab the Gradient Tool (G) and fill the shape with solid black color.

Step 28 - Adding Blur
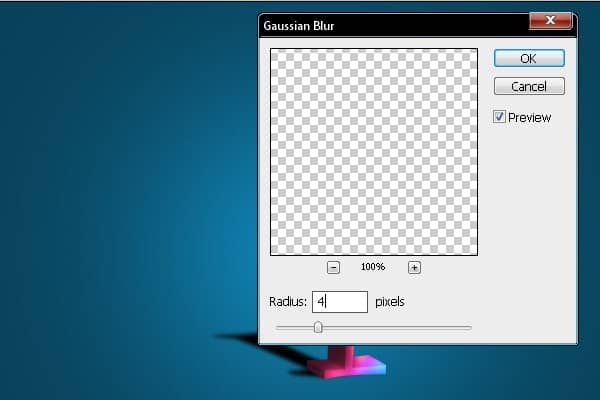
To make the shadow more realistic it´s necessary to blur it. Select Menu > Filter > Blur > Gaussian Blur and set the value Radius on 4 px. Press OK.
Step 29 - Fading The Shadow
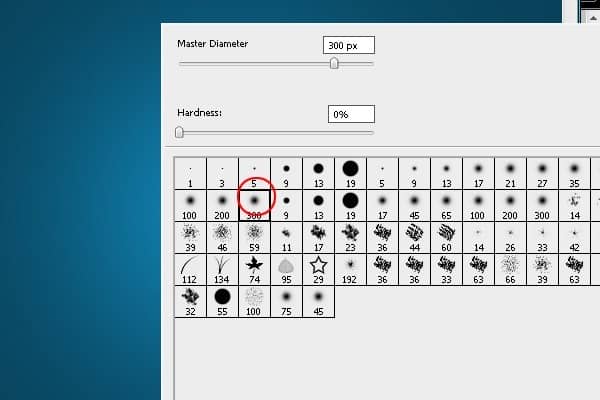
The shadow should be less visible on the opposite site. To fix that select the Eraser Tool (E). Select some soft round brush and set the value Master Diameter on 300 px. Erase the top part of the shadow.
Step 30 - Warping The Shadow
In this step you´ll warp the shadow to make it even more realistic.
Go to Edit > Transform > Warp and move with the grid as you can see on the picture bellow. Once you´re satisfied with the shape press Enter.
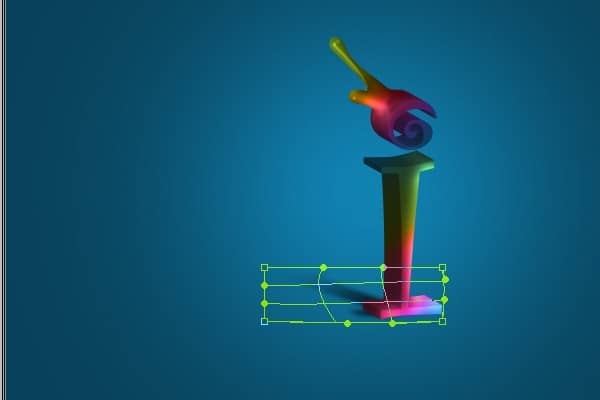
Your picture should look like the one bellow so far.

Step 31 - Duplicating The Object
In this step you are going to add more of the letters to create perspective. To do that duplicate the letter without colors several times and place these new letters similar as in the picture bellow.

