Make your artwork look like they're from an alternate universe. These Cyberpunk presets work with Photoshop (via the Camera Raw filter) and Lightroom. Download all 788 presets for 90% off.
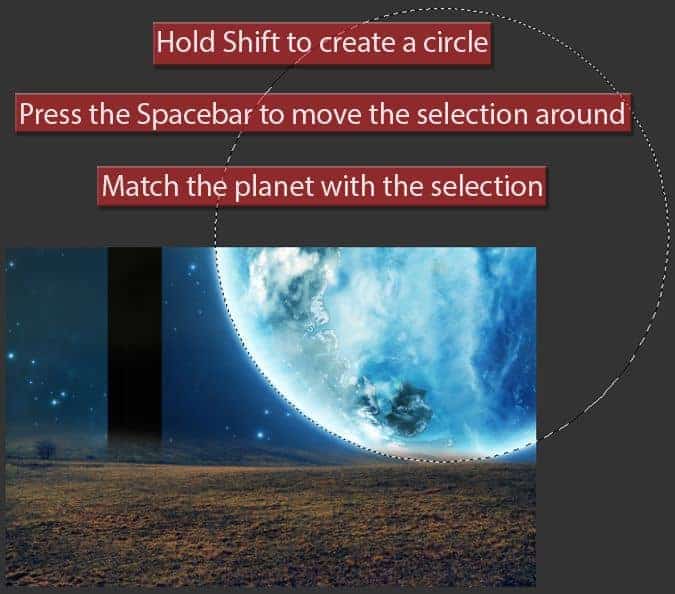
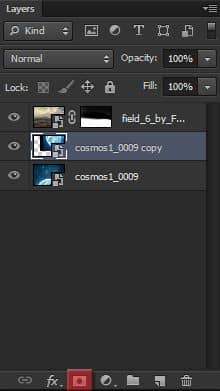
With the selection made, create a new layer mask in the image by clicking on the “Add Layer Mask” button.
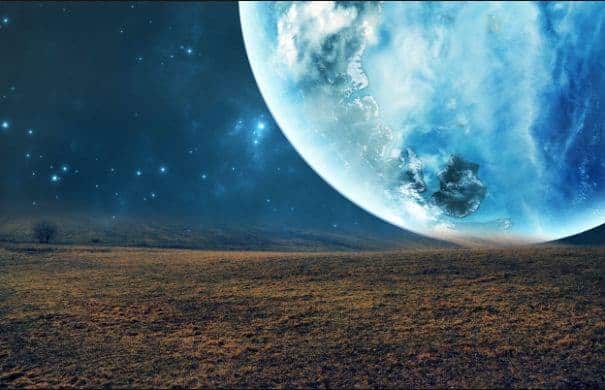
Here’s the result:
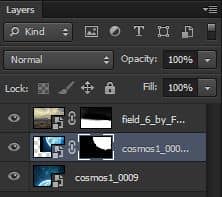
And here’s how your layers panel should be right now:
Step 5: Adding the second planet
To add our second planet into the project, follow the same process we did before. Go to File -> Place and select the “cosmos1_0001.jpeg” image.
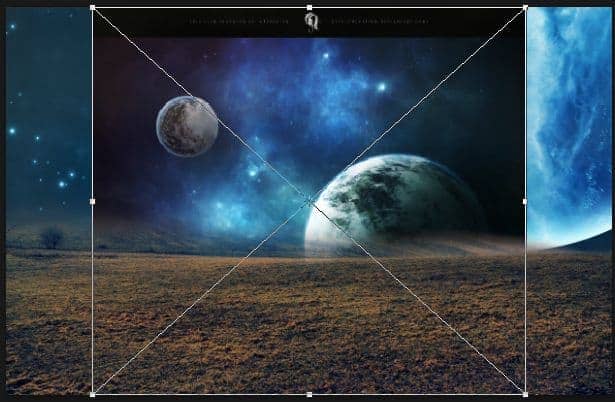
Drag the image up a little bit so we can make a selection around this new planet.
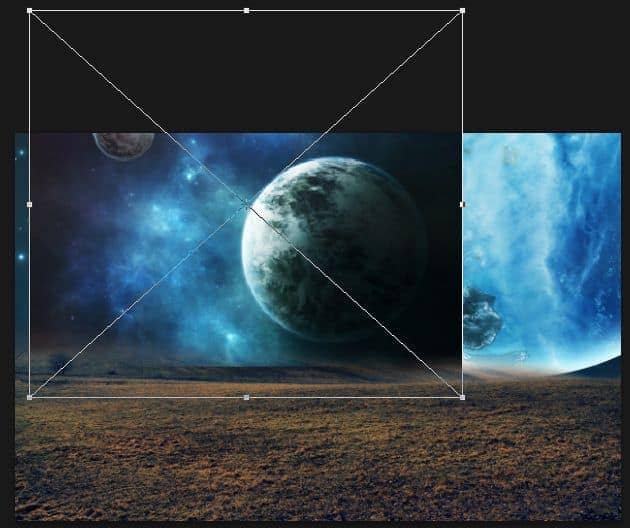
Select the Elliptical Marquee Tool again (Shortcut M) and repeat the same steps we did with the other planet to select this one.
![image030[1] image030[1]](https://cdn.photoshoptutorials.ws/wp-content/uploads/2013/07/image03011-1.jpg?strip=all&lossy=1&quality=70&webp=70&avif=70&w=1920&ssl=1)
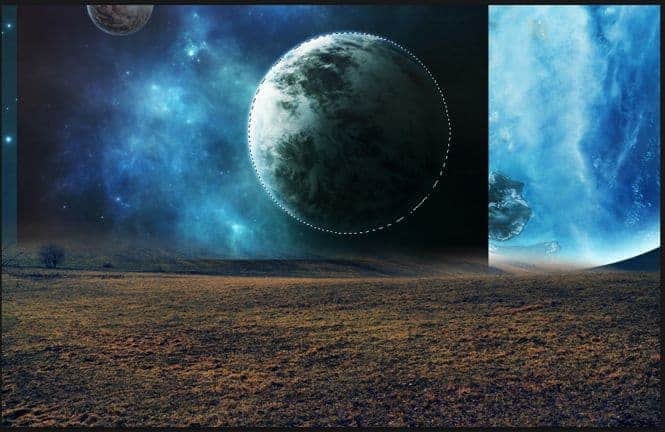
With the selection made, create a new layer mask in this layer by clicking on the “Add Layer Mask” button.
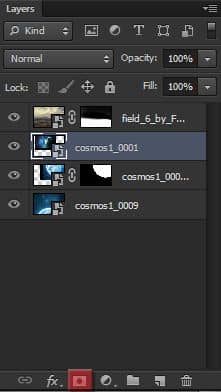

Here’s the result:
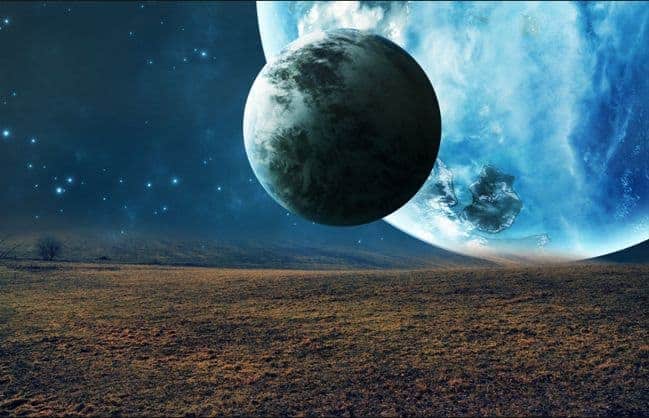
Now we’re going to have to resize, move and rotate the planet. To do that, use the Free Transform Tool (Ctrl/Cmd+T) and check the images below:
· Remember to always hold Shift while scaling to maintain the proportions
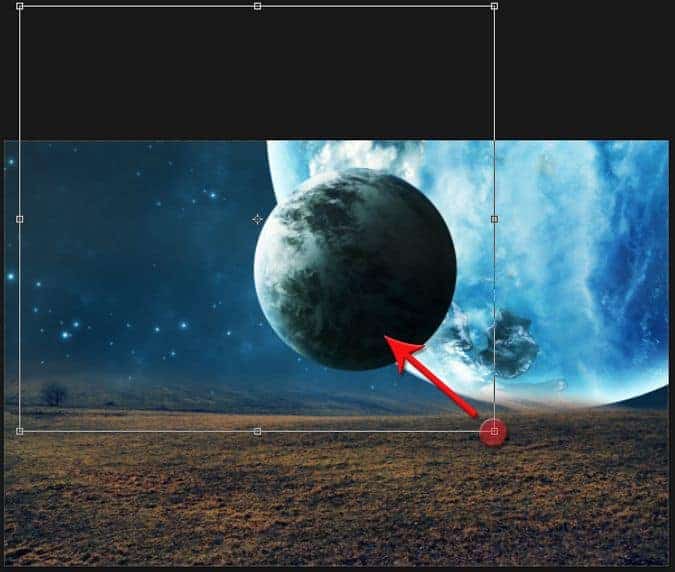
After resizing it, drag the planet to this position:
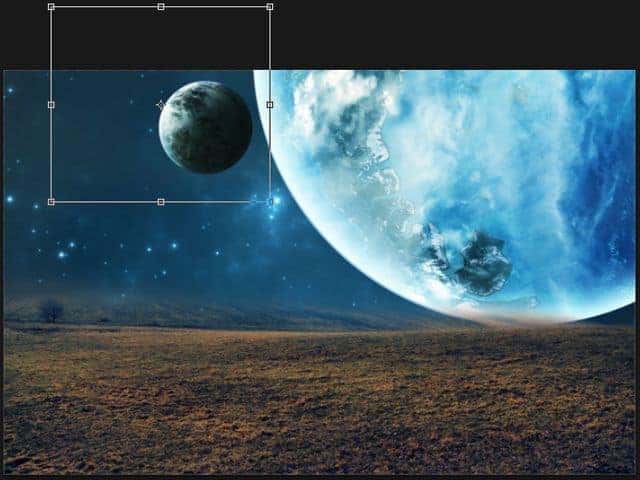
The final step is to rotate the planet. With the Free Transform Tool still activated, rotate the planet (click and drag outside the rectangle) based on the instructions in the image below:
· You don’t have to hold Shift while rotating this time
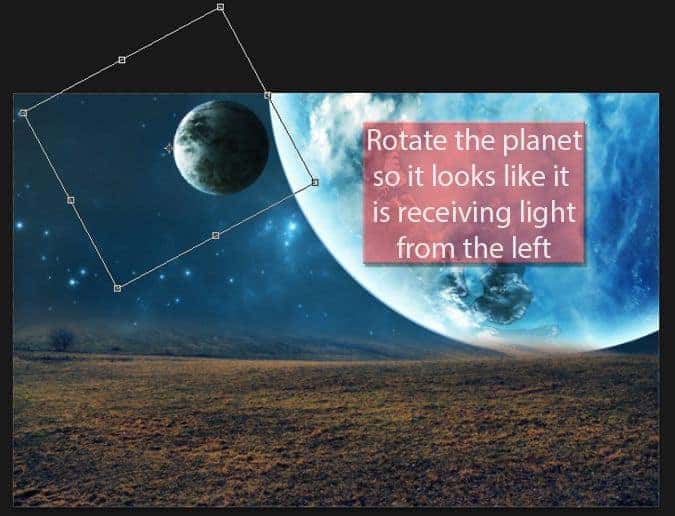
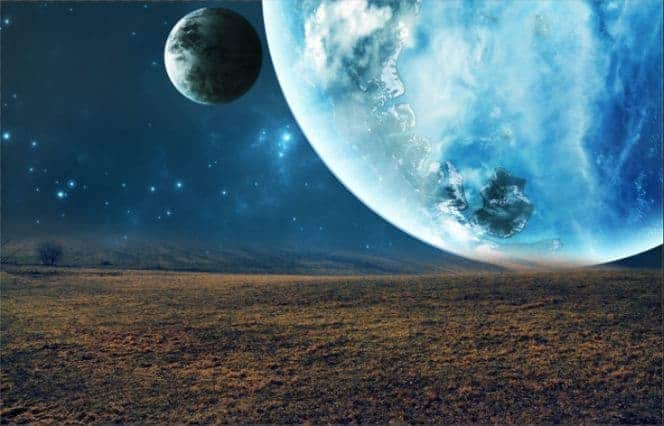
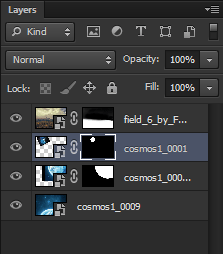
Here’s the final result in our image and in our layers panel:
Step 6: Improving our layers
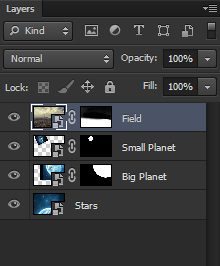
Before we continue let’s arrange our layer in a better way. To start off, change the names of all ours layers to something that represent them (so we don’t get lost in the future). To change the name of a layer simply double click on its name. Here’s how I renamed my layers:
After you’ve renamed all of your layers, select all of them (click on the first one, hold Shift and click on the last one) and drag them to the “Create new Group” button.
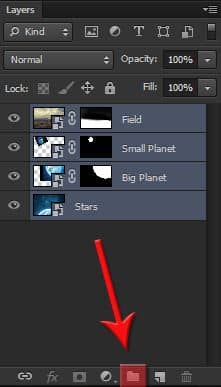
Name this new group Images (or anything else you want) and we’re good to go.
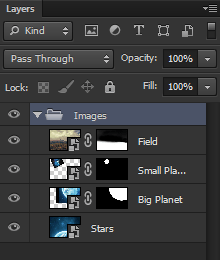
Step 7: Adding the forest
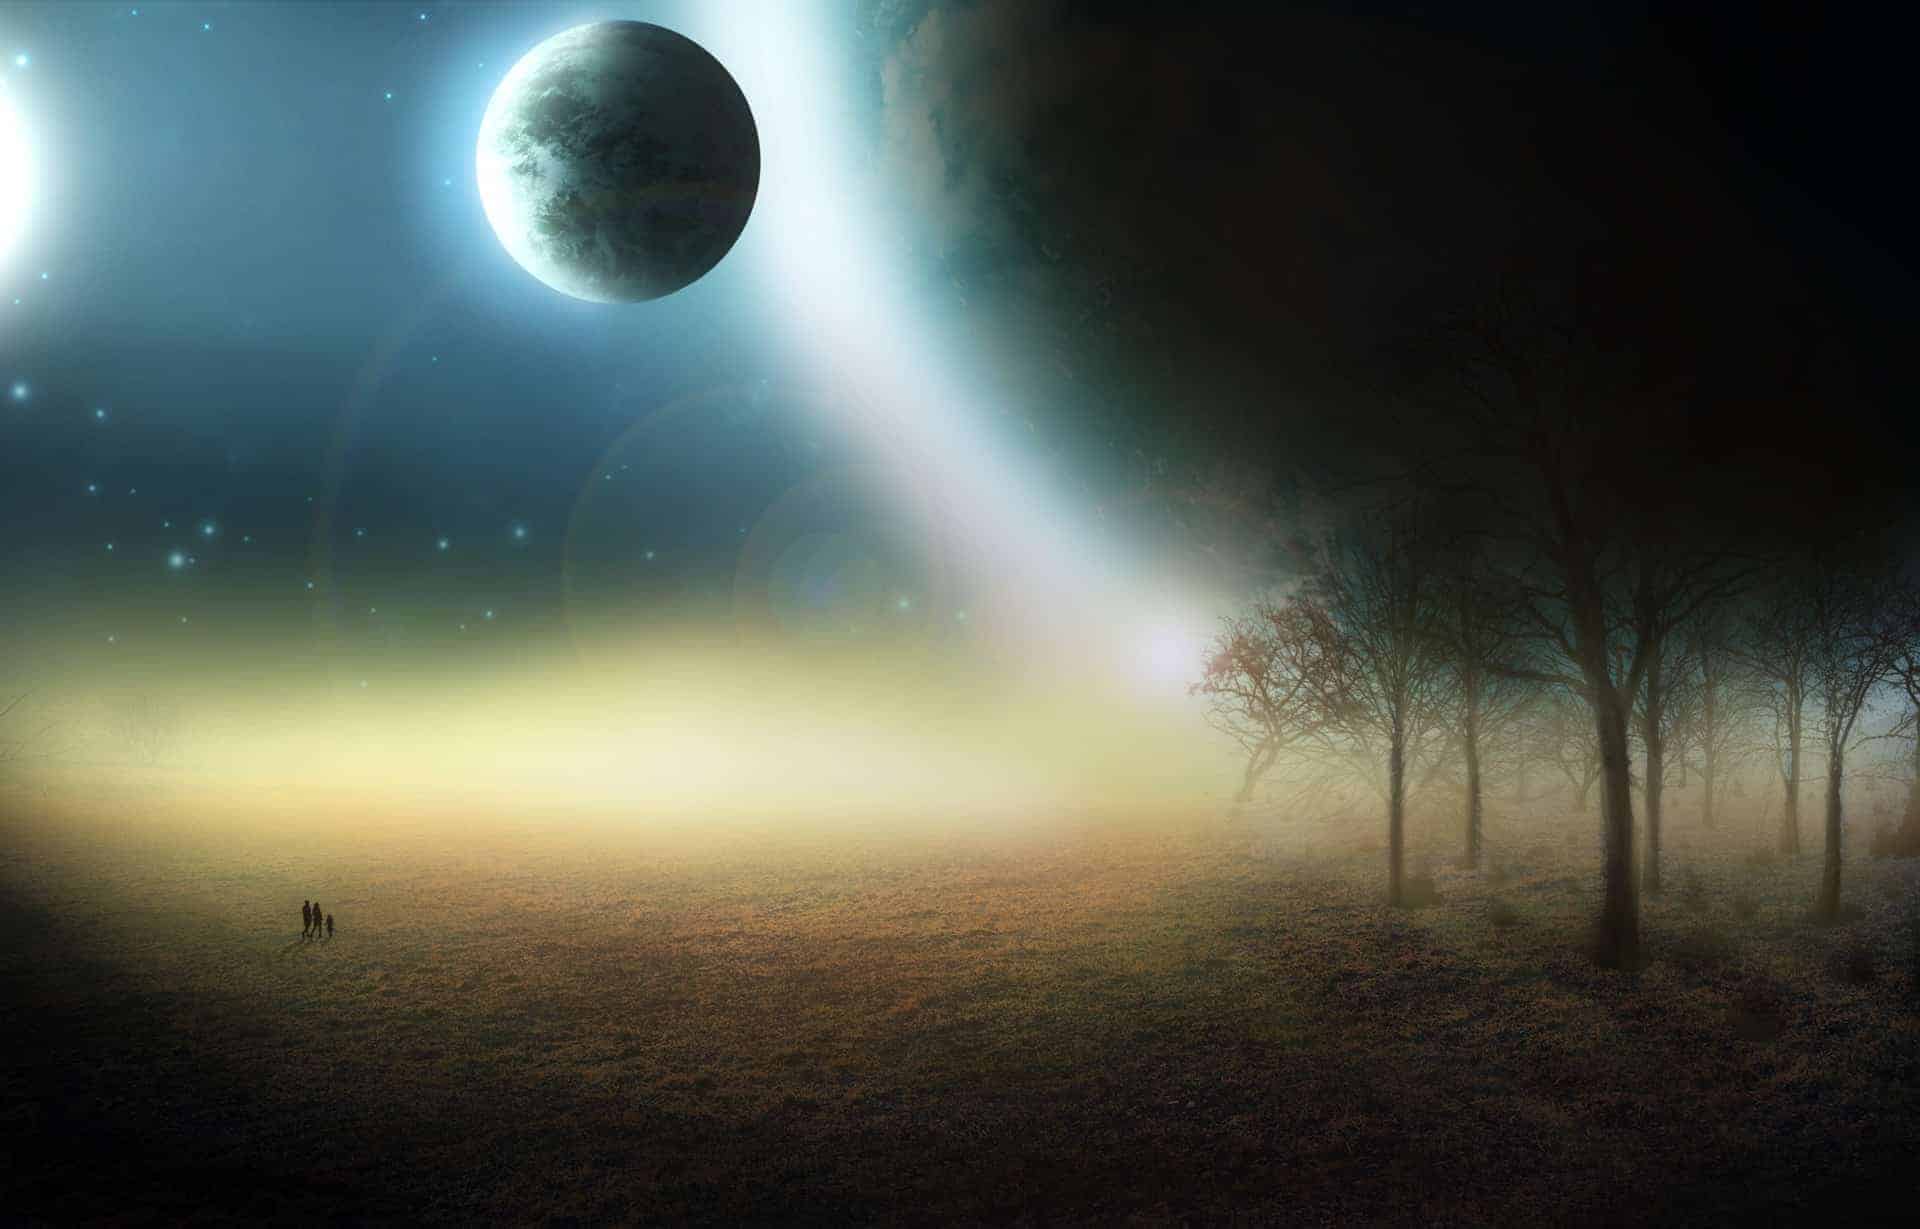
We’re done with the photo manipulation part of our project, we are now only going to work with brushes. Let’s start off by adding the forest to the right part of our image. If you’re not familiar with installing and using Photoshop brushes, I suggest you take a look at this video on how to install Photoshop brushes. So now that you know how to install new brushes into Photoshop, you can go ahead and download and install the four brush packs that we are going to need for the next steps. It’s two tree packs, one bushes pack, and one people pack. After all done, create a new layer in our project by clicking in the “Add new layer” button (or use the shortcut Ctrl/Cmd+Shift+Alt/Opt+N). Rename this new layer Forest.

16 comments on “Create a Mysterious Scene with Planets”
wow this is so emotionally amazing
How can I get the video tutorail
Very great job..............keep it up :)
Hey great tutorial it help me a lot make this http://beauduval.deviantart.com/art/Clocks-425499015 thank you
HOW CAN I GET THE BIG BLUE PLANET AND THE BUSHES? I'M PRESSING ON THE RESOURCES BUT I CAN'T FIND THEM? KINDLY, REPLY FAST.
There's no lighting effects for 64 bit systems :(
great stuff, thank you for sharing.
It says I have to buy the field image from the website. Is there anyway I could get it without a purchase?
When you are making custom brush, before you press define brush preset, do this - ( your shape will be automatically changed to grayscale mode when you'll define it as brush preset) so go to black and white and adjust object cause you won't have that opportunity after brush is created.
Hi, nice tutorial, but... I have one question.
How do you make the brush like you use in this tutorial?
it is almost without shape, some kind of transparency. Perfect to work with, especially this type of pictures.
U open picture then go to Edit -> Define Brush
If its grayed out then image size it to 2500px max width & height
Play with the opacity and brush shape. Make sure the hardness is at 0%. He is using a tablet I think, so unless you have a tablet also you will not be able to get the brushstrokes that perfect (at least, I couldn't).
Very clear tutorial with some great techniques to learn from. Thank you.
good work
nice
Either the trees are too big or the humans are too small. Layers are messy too.