
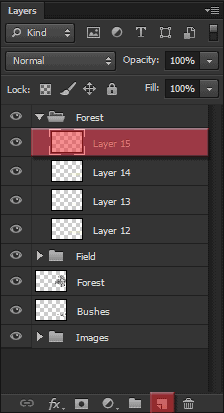
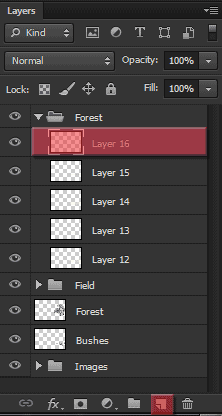
Create a new layer, place it inside the group we just created and you’re good to go.

![image076[2] image076[2]](https://cdn.photoshoptutorials.ws/wp-content/uploads/2013/07/image0762-1.jpg?strip=all&lossy=1&webp=82&avif=82&w=1920&ssl=1)


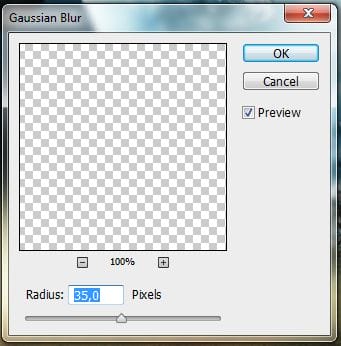
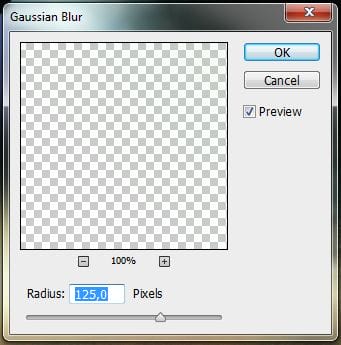
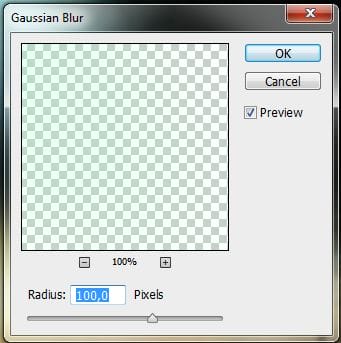
To create the effect of lighting travelling between the trees, let’s use a Motion Blur instead of a Gaussian Blur. Go to Filter->Blur->Motion Blur.

Set the angle to -28º and the Distance to 300px.

And here’s our nice little effect:






Again, don’t worry about the darkening of the image, it’s just to help you see where I’ve painted.


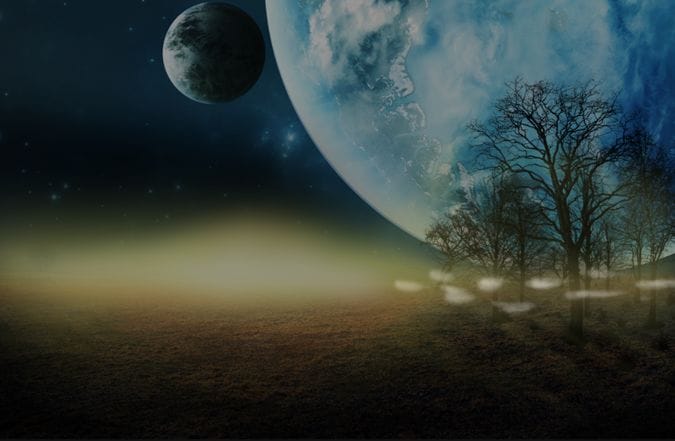


To finish off this step, let’s create a layer mask in this group so we can correct some parts of the image. Select the Forest group, and click on the “Add layer mask” button.

Now paint with black the areas that we don’t want to be affected by the lighting, like the tree trunks of the trees in the front. Check the image below, where I highlighted with red the areas that I painted.

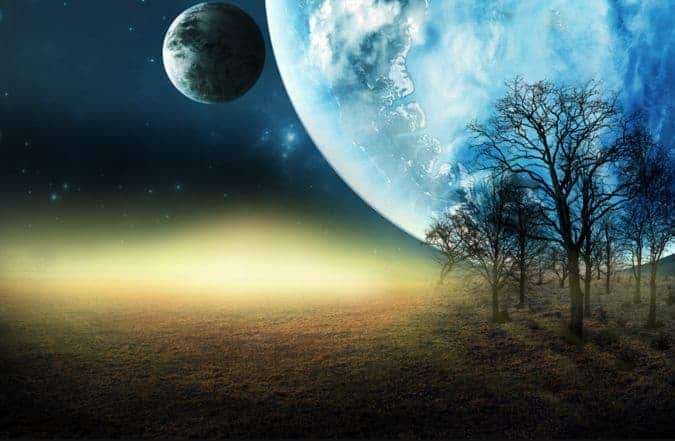
This is the result:

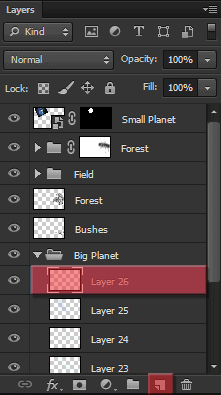
And this is how your layers panel should be looking like right now:

Step 11: Painting the big planet
I told you it was going to be tedious, but we’re heading towards the end now. Create a new group, name it Big Planet and add a new layer to it.

Now open the Images group and drag the layer “Small Planet” to the top of our layer stack.

Also, bring the Big Planet group we just created to the bottom of our layer stack, right above the Images group.

Now select the layer we just created inside the Big Planet group and stat painting!


We’re going to paint most of the planet with pure black in this step. Press D to quickly access black as your foreground color.


As you can see in the image above, we need to fix the lighting on the top of the trees. To do that, select the layer mask we created on the previous step (layer mask of the Forest group), and paint with pure black the areas highlighted on the image below:


Here is the result:

And now we can go back to our Big Planet group, create a new layer and continue with the painting.






The black we added to the sky is a little bit too dark now, so open the Field group and look for that layer. In my case it was the Layer 2.

After you find it, reduce its opacity to 75%.

And the result should be a softer black like this:
16 responses to “Create a Mysterious Scene with Planets”
-
wow this is so emotionally amazing
-
How can I get the video tutorail
-
Very great job…………..keep it up :)
-
Hey great tutorial it help me a lot make this http://beauduval.deviantart.com/art/Clocks-425499015 thank you
-
HOW CAN I GET THE BIG BLUE PLANET AND THE BUSHES? I’M PRESSING ON THE RESOURCES BUT I CAN’T FIND THEM? KINDLY, REPLY FAST.
-
There’s no lighting effects for 64 bit systems :(
-
great stuff, thank you for sharing.
-
It says I have to buy the field image from the website. Is there anyway I could get it without a purchase?
-
When you are making custom brush, before you press define brush preset, do this – ( your shape will be automatically changed to grayscale mode when you’ll define it as brush preset) so go to black and white and adjust object cause you won’t have that opportunity after brush is created.
-
Hi, nice tutorial, but… I have one question.
How do you make the brush like you use in this tutorial?
it is almost without shape, some kind of transparency. Perfect to work with, especially this type of pictures.-
U open picture then go to Edit -> Define Brush
If its grayed out then image size it to 2500px max width & height -
Play with the opacity and brush shape. Make sure the hardness is at 0%. He is using a tablet I think, so unless you have a tablet also you will not be able to get the brushstrokes that perfect (at least, I couldn’t).
-
-
Very clear tutorial with some great techniques to learn from. Thank you.
-
good work
-
nice
-
Either the trees are too big or the humans are too small. Layers are messy too.


Leave a Reply