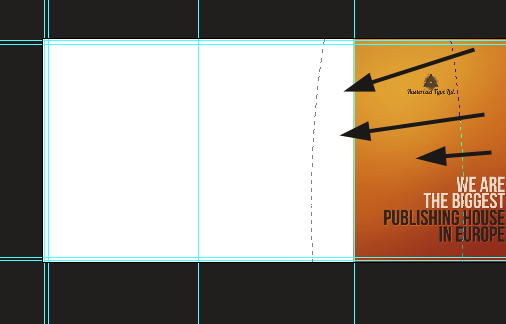
Repeat this step two or three times. You can also try out with black color.
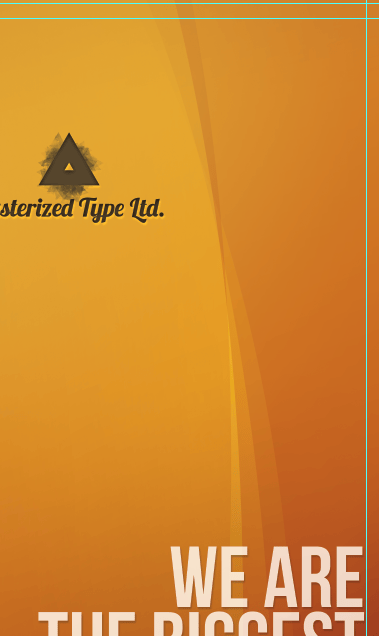
Don’t get too far with your design aspirations. Brochures should be simple and informative. Also, avoid fancy backgrounds for your text could be hard to read.
Step 7 – Page 6
Back page- the perfect place for some map or contact info. All the tri-fold brochures that I have made in my life was in that concept. Occasionally there are some company photos. Just keep it simple. I think that for a lot of people it is intuitive to look for contact info on the last page. Make a selection in between our guides. Make sure that you have active snapping.

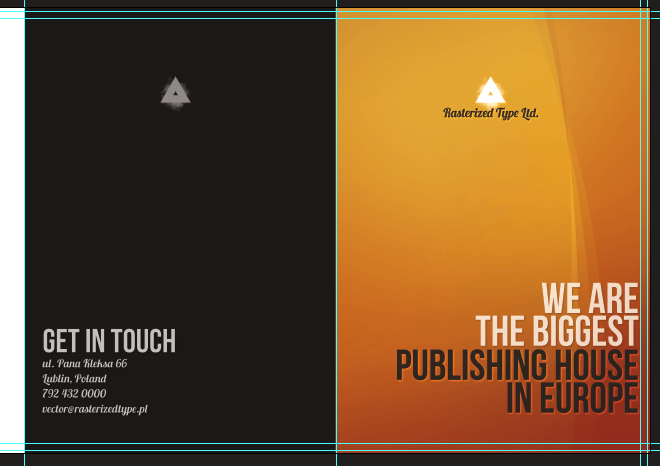
It will help you a lot in working with guides and in precise designing. Fill the layer with dark, grey color. Then add some text- that’s it. I don’t want to overload this page. Get advantage of Character panel and play with typography, for it is very important part in print design.
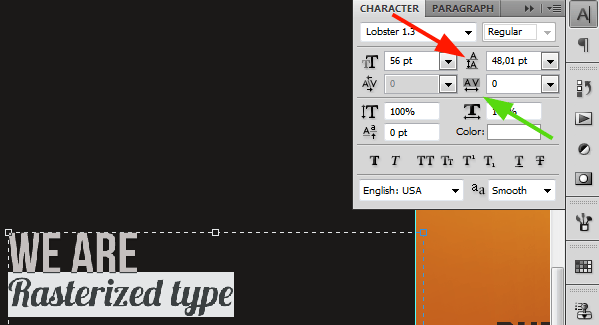
Under the red arrow you can set the leading of currently selected line (or lines). Under the green arrow you can modify the tracking of the characters (spacing between them). Sometimes you want to spread the whole text, just select it then and change tracking. These options are very useful, so play with them a bit for now. Below is the finished page.
Step 8 – Page 5
It is almost last page. However, this will be probably the first page that you will see while opening the brochure. It is good to place some company info here or connect its content with Page 2. In layer’s window place this page set underneath page 6 and 1. Whatever you will place or draw on it, if it extend the page boundary, it will be covered with previously made backgrounds.
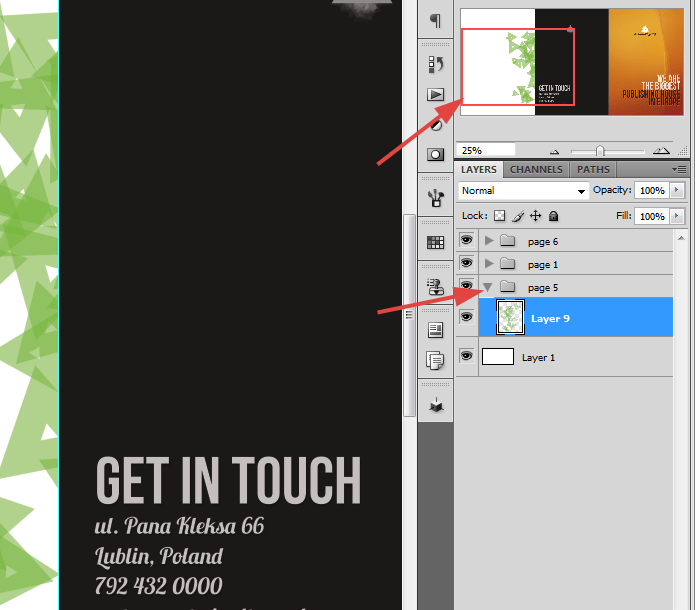
I’ve decided to put here about us page. Most often this section is on Page 2, while content on Page 5 is connected with Page 3 and 4. I think that this is confusing and for usability purpose I will connect 2,3 and 4 together while 5 will be separated. Also I changed a bit look of Page 6, but nothing really big at all. As the content is planned to be separated, thought we could make a connection of backgrounds. I am planning to make an orange background all inside the brochure. Fill the background with the same color that you have used on Page 6. Then make a selection, something like that:
27 responses to “How to Create Brochure Mockups in Photoshop”
-
Thank you so much. This is an excellent tutorial. You’re awesome! I hope your New Year is great! :)
-
Nice work
-
great stuff! thanks…
-
Thanks for the info!
-
Great article!
-
Thank you so much for this!
-
Great info!
-
not clear
-
Tutorial was confusing and unclear,You really have to find simpler ways of explaining things to people. Thanks for the information though.
-
Thank you bro .. U are realy great. Thanks for helping me a lot.
-
This really helped me . Thanks a bunch. I made a creating brochure present please.
-
Fascinating. It seems like most Adobe users would naturally choose InDesign over Photoshop for something like this, since that’s essentially what InDesign is made for. But this is a very thorough tutorial for hardcore Photoshop users!
-
It’s great! Thanks a lot!
-
Really helpful and inspiring ! I learnt a lot~thank you !
-
amazing tutorial.
keep up the good work.love it
-
very important and very useful information.. i m a web graphic designer and didn’t have knowledge about printing graphics and bleed and safety margin etc etc.. this is very useful to me.. thanks keep it up. please refer font size information on business card that what should be font size in photoshop and in illustrator.. etc etcc thankkss please mail me.
-
nice Great Work …
-
-
Thanks for sharing such a great information about print design
-
I’m sure this tutorial is great for beginners, but the title is very confusing. I thought this was about making the mock-ups not the whole brochure and just tell us to download your finished mock-up psd file.
-
That’s what I also thought. I guess that we won’t find any tutorial on how to make a mock-up template soon. :|
-
-
tq for the efforts… dont stop creating guides..:-)
-
Thank You very Much…its help me a big time..
-
thanks a lot. :)
-
This really helped me out. Thanks a bunch. I made a great 3 fold for my business. I tweaked some stuff to make it my own, but it was very helpful to utilize the file you posted as an outline.
-
i learn more form here. and this web.
-
not clear
-
asas


Leave a Reply