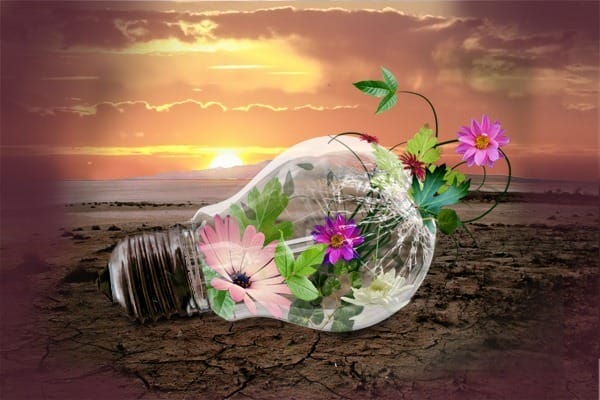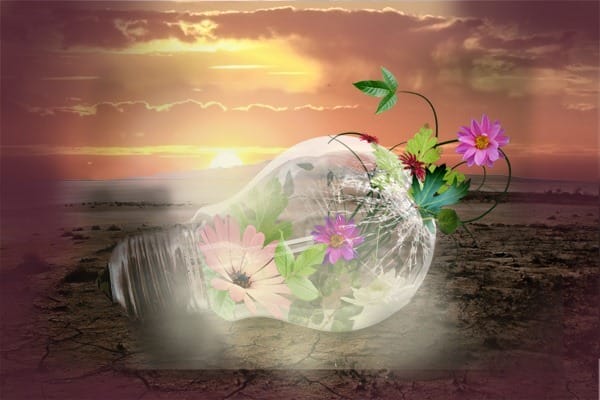
Now pick some light color from the picture and paint over and around the light bulb.

You probably agree with me that it looks quite weird right now. But it’s because it’s not blended properly. To blend it well change the Blending Mode of the layer on Soft Light.
Much better isn’t it?

Step 17 – Adding the Fractal
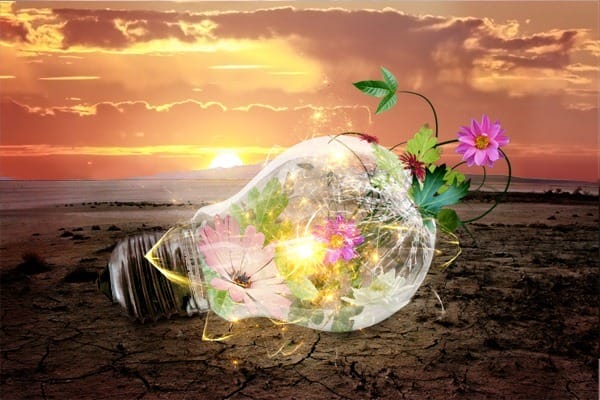
In this step you’re going to add the image of fractal to create the effect that the bulb is shining or glowing. Open the picture of fractal and drag it into the manipulation. Place the layer on the top of the layers and name it FRACTAL. To blend the layer properly you need to change the Blending Mode again. This time on Screen. It makes that the black color dissapear.

As you can see the effect is too harsh right now and it doesn’t look well. To make it bit less visible lower the opacity of this layer on 85%. Another thing which doesn’t look well is the bright spot in the middle of the fractal. To make it less visible add vector mask. Grab the Brush Tool (B), pick black color, lower opacity on 60% and paint over the bright spot to make it less visible. After you’re finished you should have image similar to the one below.

Step 18 – Analysis of the Light Scene
Now it’s time to focus more on building interesting light scene. So far the image looks bit dull because there is quite low contrast between lights and shadows and light itself is quite uninteresting. You’ll change it in this and some of the folowing steps.
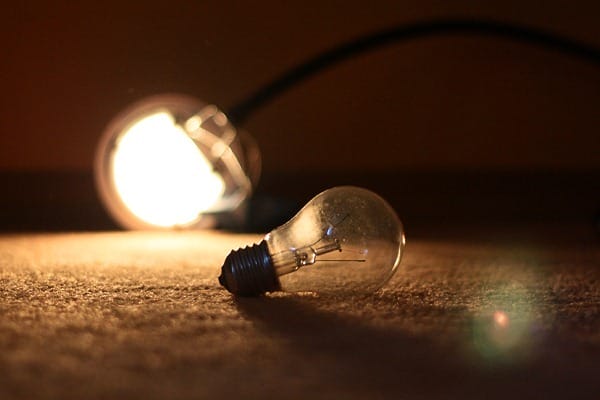
To be able better imagine how the whole light scene should look like I took a photo with light bulb and the lamp to imitate the scene on the maipulation. Below you can see the photo.

Now let me say what things has to be done:
- Lens Flare – it gives the picture sort of “movie feel”
- Yellow lines around the edges
- Lighter part on the light bulb where the sun is reflected
- Shadows from the holder
TIP: If you work on some manip with harder light condition I recommend you to take picture of the scene with similar light condition. Thanks to it you will be able to better imagine how the light should look and get better result.
Step 19: Adding Lens Flare
The first item from the “lighting list” is to add the lens flare. I encyrcled it on the example photo. You can see it below.

To add lens flare create a new layer on the top of all layers and name it LENS FLARE #1. Grab the Gradient Tool (G) and fill the layer with solid black color. Go to Filter > Render > Lens Flare… and set the window as on the following picture.
2 responses to “How to Create an Inspiring Light Bulb Photo Manipulation in Photoshop”
-
detailed and creative. I,m from Belize CA. I got photoshop cs6 like 6 months ago and it has become my new hobby ever since. this tutorial has excellent tips on blending modes and will certainly improve my skills. keep up the good work and thanks for the inspiration.
-
Excellent.


Leave a Reply