Download Lightroom presets and LUTs, absolutely free. Use the presets to add creativity and style to your photos.
Select all the layers, press Ctrl+G to group them together and name it "Wall".
Step 8
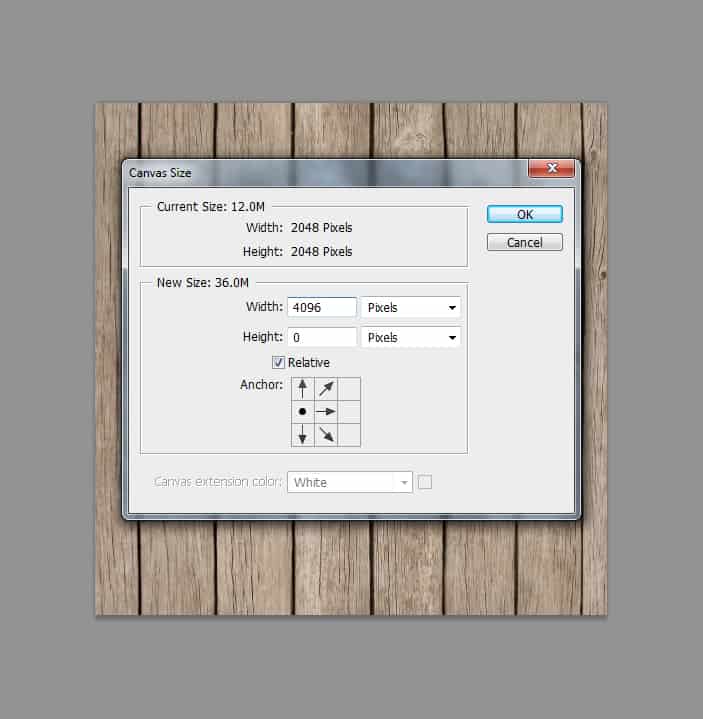
We're done with the wall. The next step would be creating a floor. First, open the Wood Texture image and go to Image > Image Rotation > 90 CW. Double click to unlock the background layer, then go to Image > Canvas Size, set the Width to 4096 px, with the Relative option checked, and leave the middle left anchor selected.
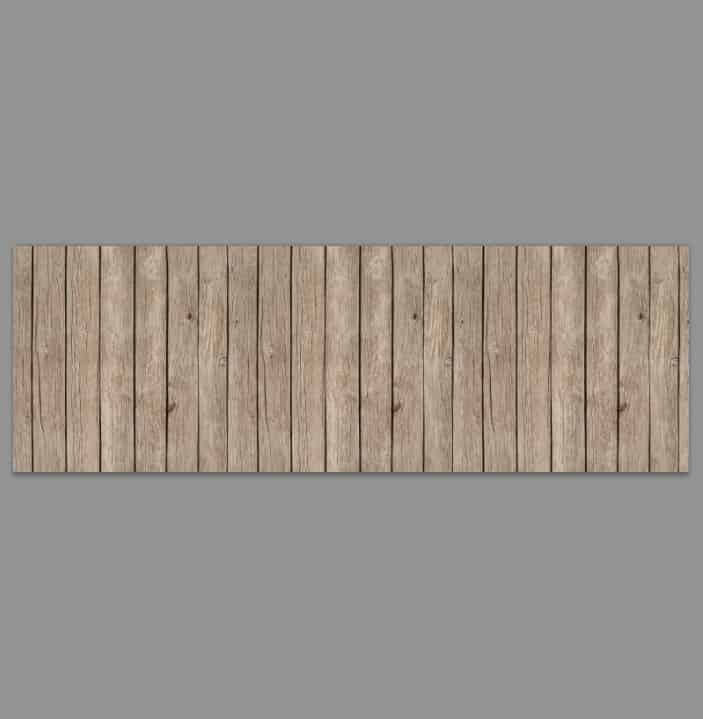
Duplicate the Background layer twice, and place the image next to each other. See the result as shown in the image below. If you got it right, go to Layers Panel menu and flatten all the layers down.
Step 9
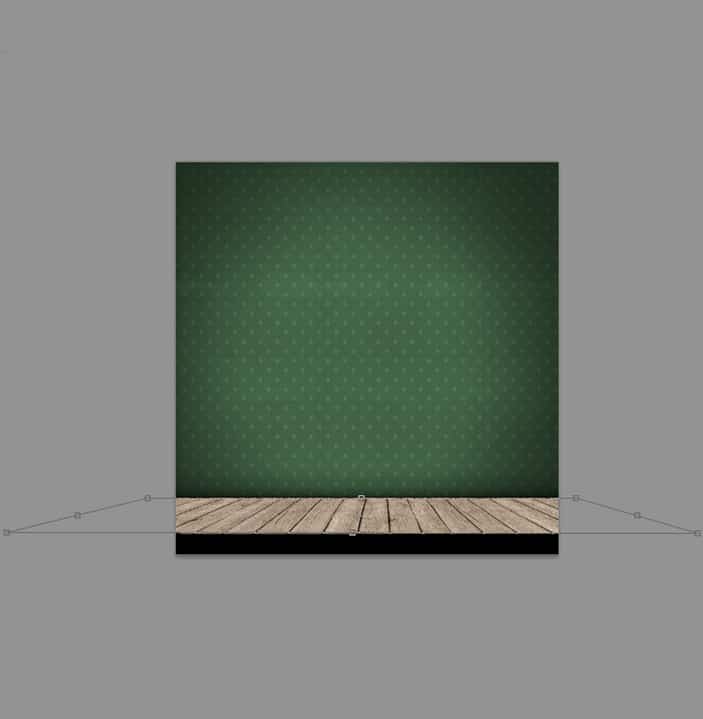
Drag the Wood Texture image to our main canvas. Press Ctrl+T to bring up the transform box, right-click and choose Distort. Refer to the image below and see how to transform this image to create a perspective-look as shown.
Apply a Color Overlay using Layer Style in the Layers Panel. Set the color to #906522, Blend Mode to Multiply and Opacity to 44%.
Step 10
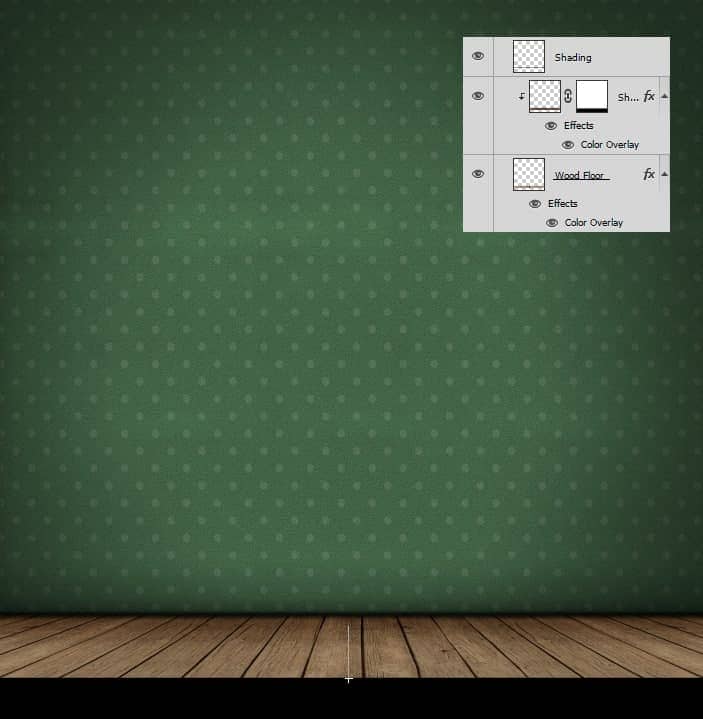
To add a shading in the floor, duplicate the layer and press Ctrl+L to call up the Levels window and set the Shadows slider to 65, Midtones to 0.86, and White Output slider to 226.
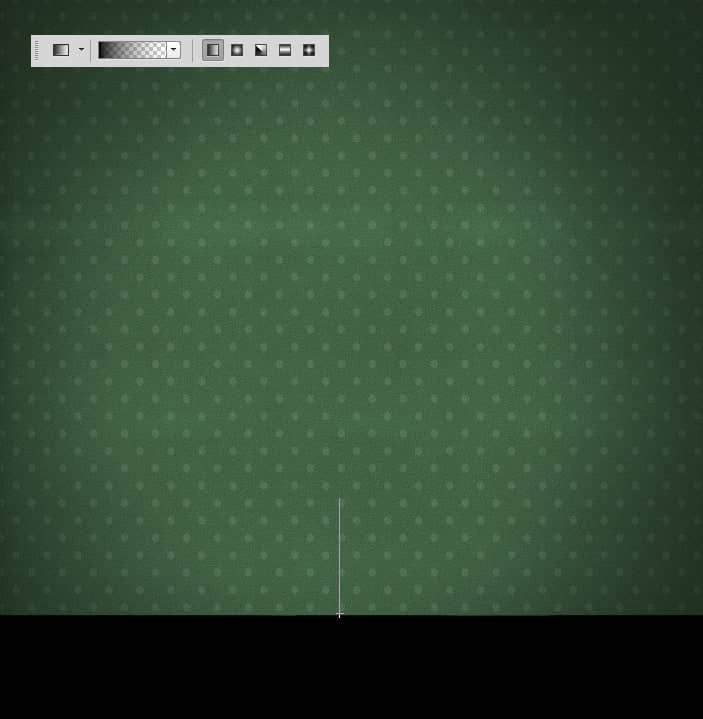
Apply a Layer Mask and using a Gradient Tool, drag from just above the bottom of the canvas to the top edge of the Wood image. Press down Ctrl+Alt+G all at the same time to create a clipping mask. Our shading should now be clipped to the Wood image below it.
Now create a new layer and draw a straight line on the top edge of the Wood image using a 25 px Brush Tool with the Hardness of 0%, and also clip the layer to the Wood layer. The layers should now look like the image below.
Step 11
Open and drag the Wood Texture image to our canvas once again. Rename this layer to "Bevel". Press Ctrl+T and stretch the image until the dividing line match with the floor. Just try to make it as close as possible.
Grab a Rectangular Marquee Tool and make a selection around the dividing line. Select a Move Tool and drag the line until it coincides exactly with the floor above. Hold down the Alt+Shift key while dragging.
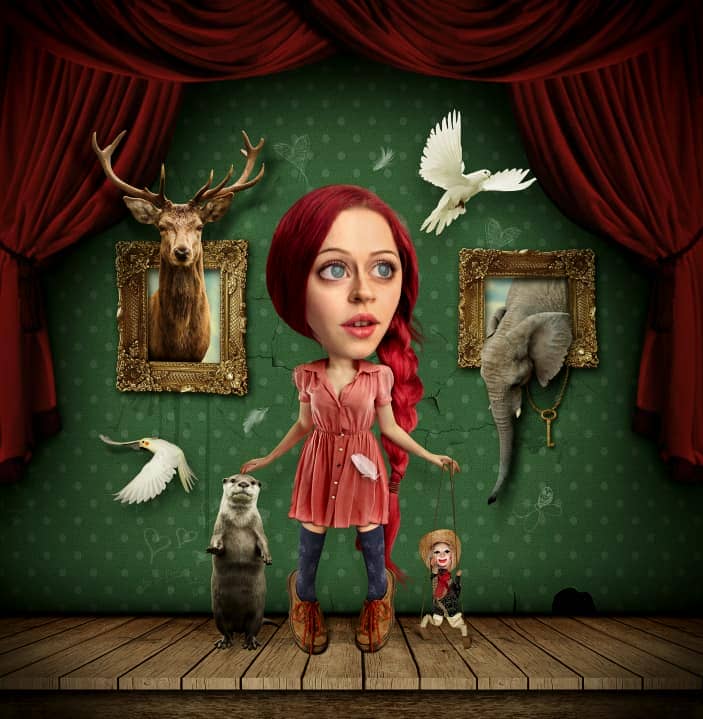


13 comments on “Transform a Portrait Into a Caricature Artwork”
A disgraceful explanation. nothing is understood.
Hello, your tutorial sucks. It gives no context to what I am actually doing, and it just expects me to know things not explained. I don't care about what you are going to say to this because my opinion is already formed that this tutorial is no good.
This is super cool. Inspired me to a new piece I've been wanting to do for a while. Thanks for sharing :)
Really your method is very easy and helpful. I get complete idea to the work. Thanks for your kind post.
It's really great tutorial.but how to do the first step? I mean the Gradient step.
1. Create a new layer (Layer > New > Layer).
2. Select the Elliptical Marquee Tool (Press Shift+M until the icon in the toolbar turns into a circular marquee).
3. Go to Select > Modify > Feature. Set the Radius to 150px.
4. Go to Select > Modify > Inverse.
5. Press Shift+Backspace. Set the contents to black.
6. Lower the current layer's opacity to 21%.
7. Duplicate the layer by pressing Ctrl+J (Cmd+J on Macs).
8. Go to Edit > Transform > Scale. Scale it up by around 137% or larger.
9. Lower the current layer's opacity to 41%.
exactly i have no clue
there is no tutorial on the dall looking girl?
how do i find out more about this please...very interested..thankyou
where is the add button??
GOOD!!
How to download this ??
wow am so inspire men good tin