![image017[1] image017[1]](https://cdn.photoshoptutorials.ws/images/stories/c876f3d2a1eb_5AA/image0171.jpg?strip=all&lossy=1&webp=82&avif=82&w=1920&ssl=1)
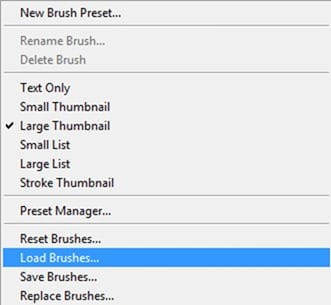
This will prompt the contextual menu to pop up and once you see that, just click on Load Brushes.

You will now be prompted to this directory: Adobe Photoshop > Presets > Brushes so make sure that you have put the brushes within this folder. Now locate the brush set and click OK.
Right click on the canvas again using your Brush tool (B) and now you’ll notice that you have the “Clouds II Photoshop Brushes” activated.
Now, right click on the canvas using the Brush tool (B) and choose this brush:

When that brush is activated, input the following settings for the brush:
- Brush size: 400px
- Hardness: Default
- Opacity: 100%
- Flow: 100%
- #: ffffff
Now, let’s paint!

The result of that would be like this:

Step 5: Create the Hanging Swing
Now, let’s add the swing that is hanging from the clouds. To start, open the stock image: “FREE STOCK Swing: by mariamurphy.
Activate the Move tool (V) and drag this image to our canvas.
Note: This is a PNG file, and its background is transparent, that means it has no background – just the creature. So after moving it to our canvas, you’d only see the swing. Rename this layer now to “swing”.
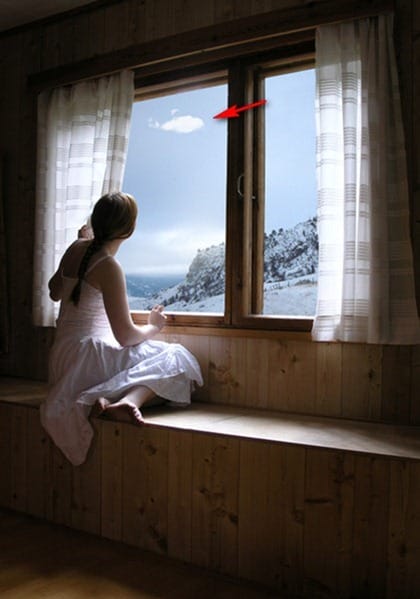
Move and position the swing on the region shown below:

Rename this layer to “swing”.
Position this layer below the “Cloud” layer.
Activate the Transform tool (Ctrl/Cmd + T) and right click on the canvas, and click on Flip Horizontal from the contextual menu.
The result:

Activate the Transform tool (Ctrl/Cmd + T) again and resize it as shown below:

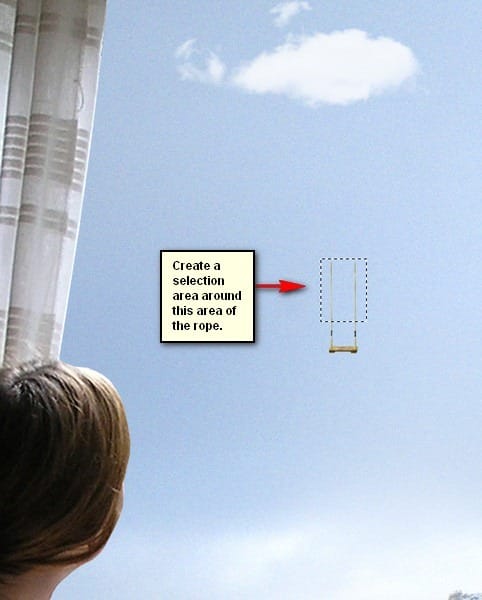
After resizing it, we will now make the rope longer and to do that we would need to create a selection area around the rope area. See image below:

Now, press Ctrl/Cmd + J on your keyboard to duplicate the selected layer. Once duplicated, activate the Transform tool (Ctrl/Cmd + T) and resize the duplicated rope as shown below:

The result of that should appear like this:

When you’re done, let’s now merge the duplicated rope and the swing by clicking all the layers that we have created in this step and right click on any of them. Once the contextual menu shows, click on Merge Layers. See image below:

After merging them into one layer, click that Merged layer and rename it to “Swing”. Next, we will change the Brightness/Contrast of this layer so it would still be seen through the textures that we will be applying on the later steps. To do that, make sure that the “Swing” layer is active and then go to Image > Adjustments > Brightness/Contrast and set the following:
One response to “Dreamy Photo Manipulation of a Girl Looking Out a Window”
-
you are professional with Photoshop and really I liked lessons so I put your website in my favorite to learn from your tutorial
thank you very much


Leave a Reply