Step 3: Create the View through the Window
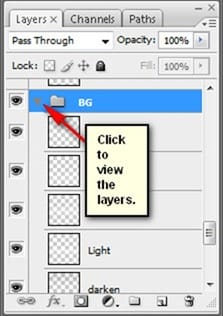
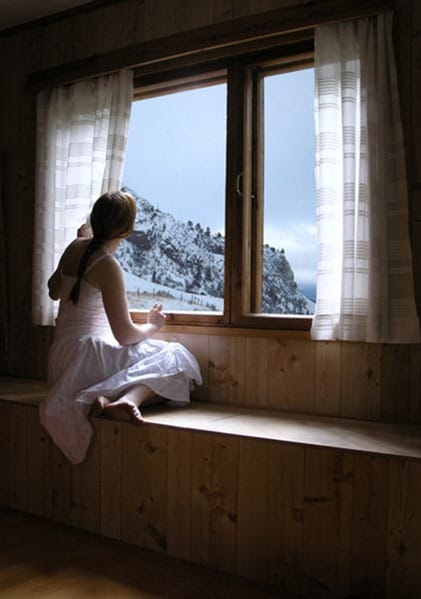
In this step, we will add a snowy landscape as the view through the child’s window. To start, open “Snowy weather stock 11” by SimplyBackgrounds. Now, we won’t have to create any selection areas or anything, we just have to drag this image using the Move tool (V) to our canvas. Position this new layer below all the layers that we have created. See image below:

After positioning it below the Background layer, rename this layer to “Snowy landscape”. The “Snowy landscape” should appear as shown on the image below:

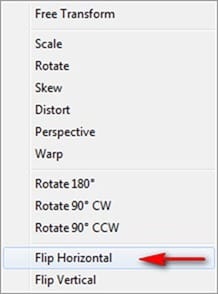
Composition wise, the snowy landscape is terrible! So we would flip it horizontally – to do that, activate the Transform tool (Ctrl/Cmd + T) while the “Snowy landscape” layer is selected and then right click on the canvas to show the contextual menu of the Transform tool. When the contextual menu opens, click on “Flip Horizontal”.

After clicking on it, this will be the result:

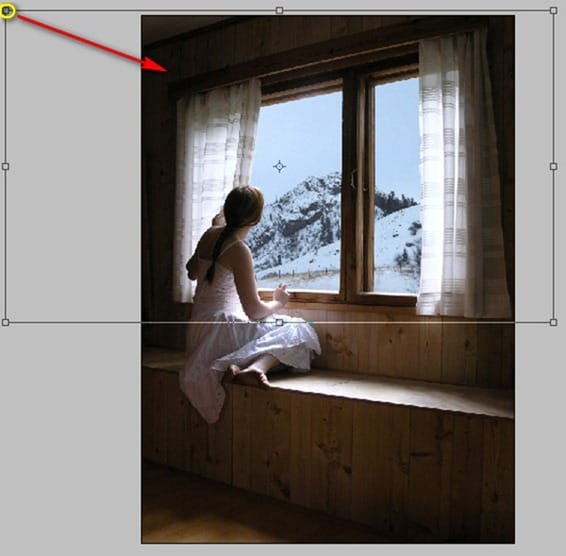
Still, the composition still looks hideous! So activate the Transform tool again (Ctrl/Cmd + T) and then resize by following the instructions below:


The result of that would be like this:


After that, create a new layer (Ctrl/Cmd + Shift + N), name it as “Light” and put this layer on top of the “Snowy landscape” layer. We will be amplifying the light on the “Snowy landscape” image through this layer.
Activate the Brush tool (B) and input the following:
- Brush size: 700 px
- Hardness: 0%
- Opacity: 25%
- Flow: 100%
- #: ffffff

The result of that would be:

When you’re done, select the layers “Light” and “Snowy Landscape” and group them (Ctrl/Cmd + G). Name this group to “Through the window”. This group will be created within the Background group.
Step 4: Create the Mysterious Cloud
Now we’re going to add the mysterious cloud that hangs a little swing down from it. To start, select the “Light” layer that we had just created and then create a new layer (Ctrl/Cmd + Shift + N) and name it “Cloud”.
Note: We selected the “Light” layer so that the “Cloud” layer will be created above it and still be within the “Through the window” group.
Now, activate the Brush tool (B) and open the brush set: “Clouds II Photoshop Brushes” by redheadstock. In Photoshop, its name is “SS-Clouds II”. To load them, simply, right click on our canvas through any layer and then click on the drop-down button as shown below:
One response to “Dreamy Photo Manipulation of a Girl Looking Out a Window”
-
you are professional with Photoshop and really I liked lessons so I put your website in my favorite to learn from your tutorial
thank you very much


Leave a Reply