- Blend Mode: Soft Light
- Opacity: 70%
Select the skyline layer with the current layer then merge by pressing Ctrl+E.
![27[4] 27[4]](https://cdn.photoshoptutorials.ws/images/stories/FashionModelPoster_10B6D/274.jpg?strip=all&lossy=1&webp=82&avif=82&w=1920&ssl=1)
Now change the Blend Mode of this merged skyline to Soft Light. Now make a layer BELOW skyline and name it skyline glow. If you notice the glow is very uneven. More in some places and very less in others. Before we start with the glow we need to make the brush. Again like the with the Sparkle brush, select a soft 3px brush. Go to Windows > Brushes (F5) then apply the properties shown below.
![29[4] 29[4]](https://cdn.photoshoptutorials.ws/images/stories/FashionModelPoster_10B6D/294.jpg?strip=all&lossy=1&webp=82&avif=82&w=1920&ssl=1)
The brush is now ready. Select the glow layer. Next Ctrl+Click on thumbnail of skyline layer. You’ve now got marching ants (yeah! that’s what it’s called) in the shape of the skyline. Select the Polygonal Lasso Tool (L) or any other selection tool and right click near the marching ants. Select > Make work Path > Tolerance : 2px.
![30[4] 30[4]](https://cdn.photoshoptutorials.ws/images/stories/FashionModelPoster_10B6D/304.jpg?strip=all&lossy=1&webp=82&avif=82&w=1920&ssl=1)
This makes the selection into a path. Select the Pen Tool(P) and right click near the created path and select Stroke Path –> Brush Do Not select Stimulate pressure. Click ok. Right click over the path and select Delete Path.
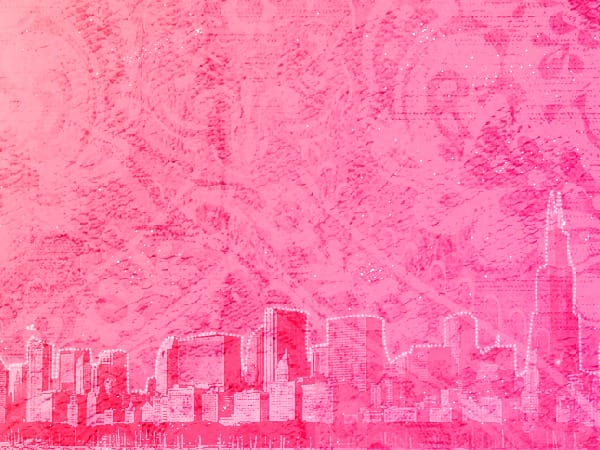
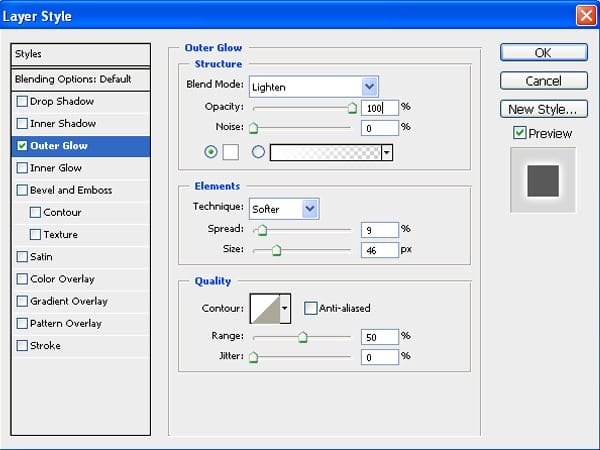
Now we have a dotted line over the skyline. Right click on the layer and select Blending Options. Select Outer Glow and apply the options as given in the picture.
There you go – the glowing skyline.
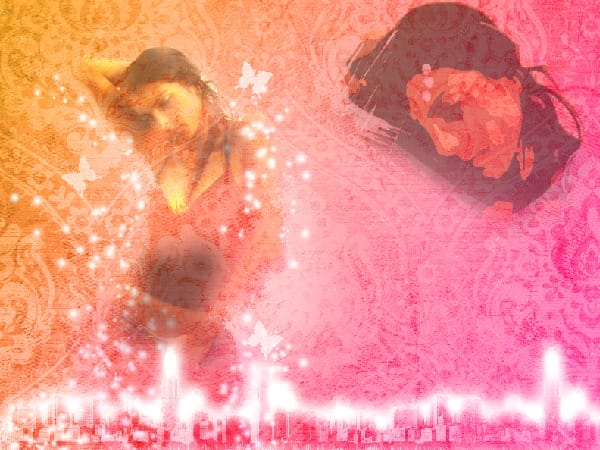
The trick here is that parts where the dots are packed together (around changing of buildings) will produce a comparatively greater glow.
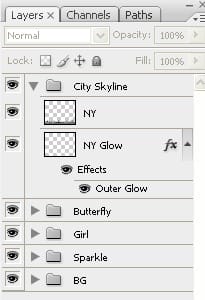
Check all the layers.
Group – TAG
This group stays below Sparkle and contains 2 layers ; one copy of the other. This is probably the oldest (and my favorite) trick in the book. Using the Rectangular Marquee Tool(M) make a selection above the belly of the girl. Fill it with Purple : #a52d5c I’ve added another color within it (#831734) but you can stick to one for simplicity.
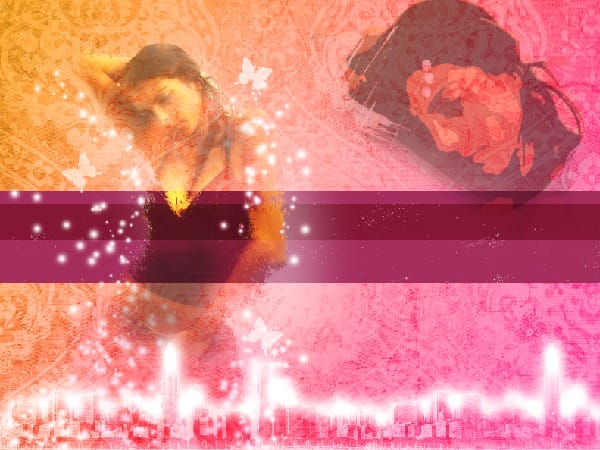
Ctrl+Click on thumbnail to select the rectangle the then press (Q) for Quick Selection Mode. Go to Filter –> Pixelate –> Color Halftone Fill the options as given in the picture and select OK.
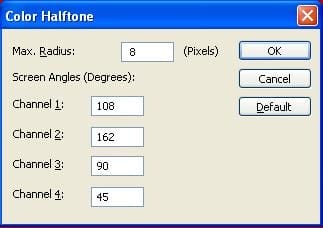
Now press Q again to exit the Quick Selection Mode. Press Ctrl+Shift+I to invert the selection and press delete.
3 responses to “Fashion Wallpaper”
-
This is so cheesy and 2000s teenager vibe
-
wow awesome tutorial..
very nice explanation …. -
I Love this technique


Leave a Reply