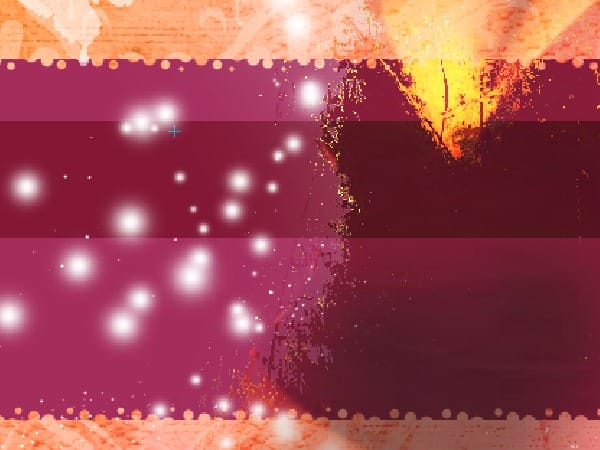
You’ll see a pattern at the edge. Now to bend it on both side, and push inside the middle portion using Warp. Goto Edit –> Transform –> Warp Selecting the ends of the rectangle gently pull down the sides and push in the middle, also raise the top a bit to give it a proper bend look.
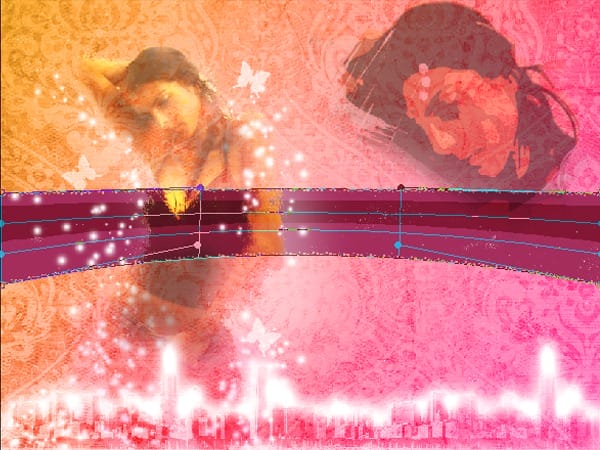
After you are satisfied, hit enter to complete the transformation. Now we have to fade the sides. For doing this add a layer mask. Take the Gradient Tool(G) with Black and White as colors. Give a tilted gradient on both sides as shown. Reduce the Opacity to 35% and duplicate the layer to make the colour deeper.
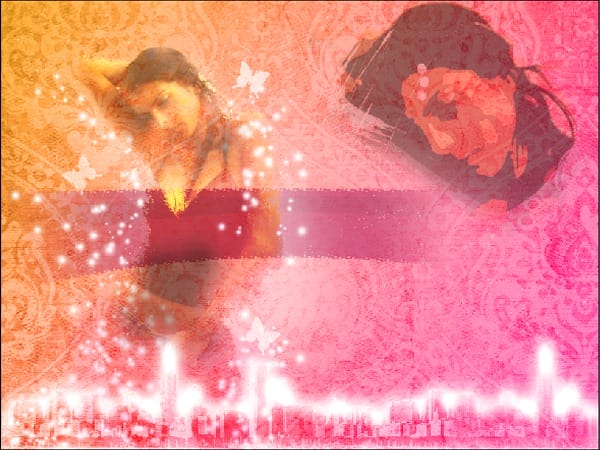
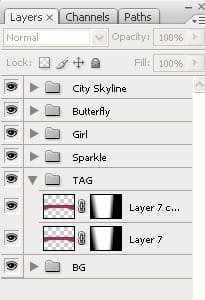
Check your layers.
Done with this group~!
Group – TXT
Again this text employs the same method used in the Skyline Glow case with a different approach. Select a nice font(Angelina) and write out whatever text you want. Keep it over the TAG part of the image so as to bring out contrast. Hide the layer. Ctrl+Click on thumbnail . Select the Lasso Tool(L). Right click near the marching ants and select Make Work Path –> Tolerance 2px.
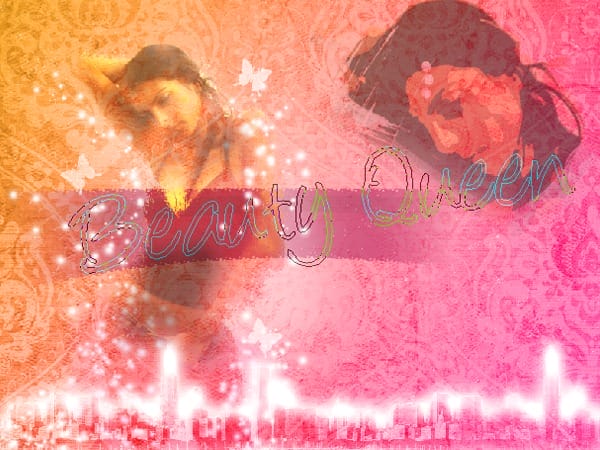
Now that its a path make a new layer. Make the dotted brush as in Skyline Brush. Select the pen tool and apply brush stroke . Delete path. Simple.
Group – Background(BG) – Final Touches
Still find something missing? That’s right. Only one layer, but which changes the artwork completely. Go to the Background(BG) Group Above the Pattern layer, make a new layer and name it “lens flare’ Paint it black completely. Go to Filter > Render > Lens Flare Select the 105mm Prime with 150% Brightness. Angle the flare such that the main part falls on the body and the tail on the ‘cutout’ girl (face) This might take a few attempts to get right. Set the layer blend mode to Hard Light and opacity to 90%. Presto~! Notice the difference. The artwork looks much more attractive now. If you feel the brightness is still less then you can add an additional layer above the flare with 25% opacity and paint some splashes white.
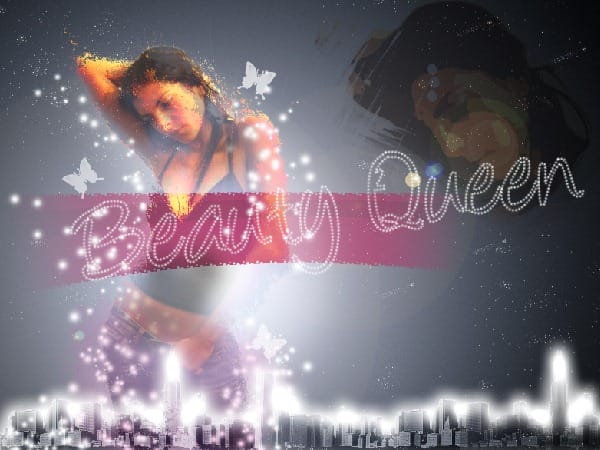
Final Setup Of Layers
Have a look at the final Set up of layers. It should help you eliminate any doubts.
Hope you enjoyed this tutorial as much as you found it helpful. If you have any doubts,get stuck at any point, or just need some info, you can leave a comment or just contact me at my email address – This e-mail address is being protected from spambots. You need JavaScript enabled to view it.
3 responses to “Fashion Wallpaper”
-
This is so cheesy and 2000s teenager vibe
-
wow awesome tutorial..
very nice explanation …. -
I Love this technique


Leave a Reply