Download Lightroom presets and LUTs, absolutely free. Use the presets to add creativity and style to your photos.
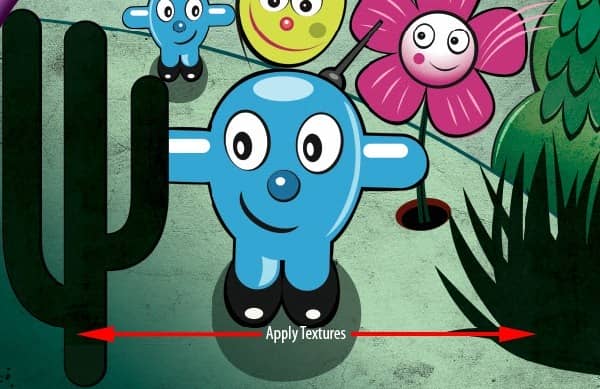
Step 23 : Adding halftone patterns
Create a new layer in "Flourishes" group. Select the Brush Tool set a large radius. Pick a nice pink color or #f00ebfa. Paint a blob.
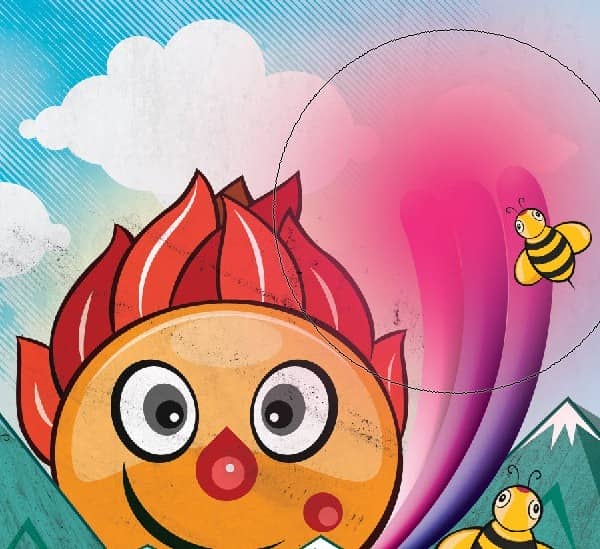
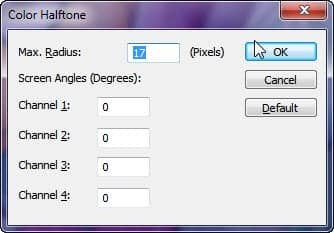
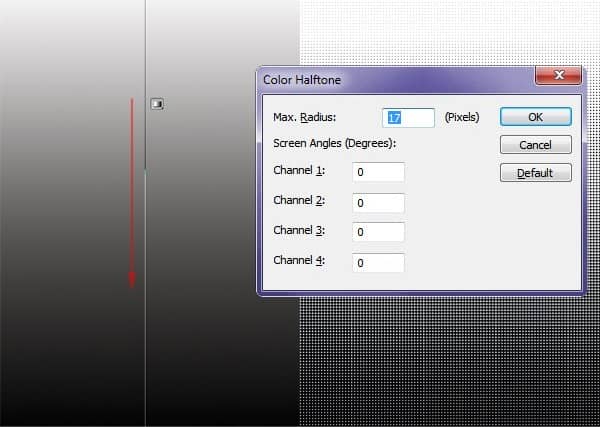
Go to Filter > Pixelate > Color Halftone. Apply these settings. Change the layer blending mode to Overlay.
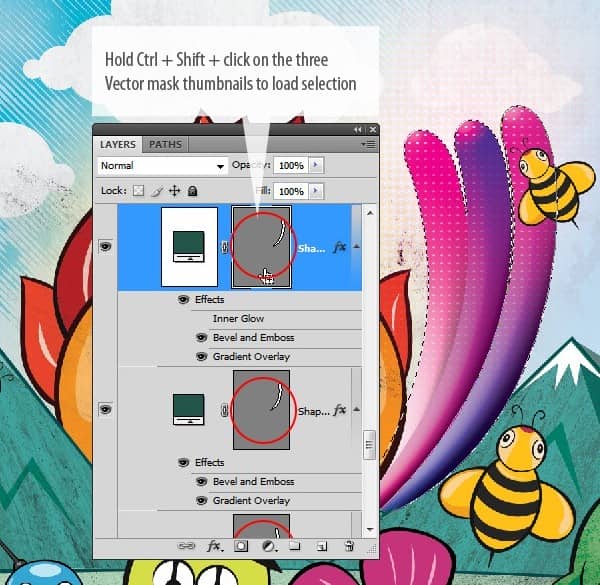
Mask out the area outside the flourishes. Hold Ctrl+Shift and click on all three Vector masks in the group to load multiple selections. Now click on the halftone pattern and click on the Add layer mask button.
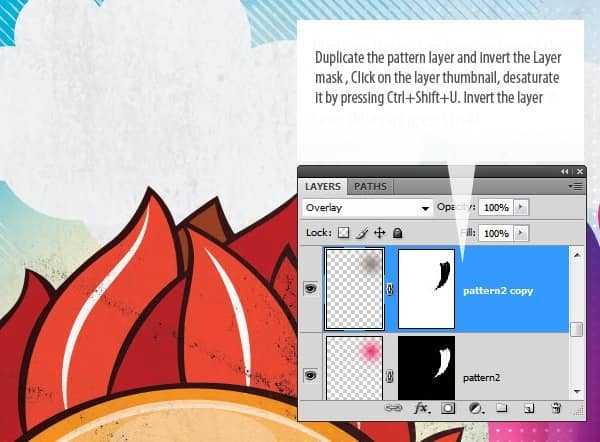
Now duplicate the halftone pattern layer. Click on the Layer mask and press Ctrl+I to invert the Layer mask. Click on Layer thumbnail press Ctrl+Shift+U to desaturate the layer. Press Ctrl+I to invert the layer. If the effect is not strong duplicate the layer a couple of times.
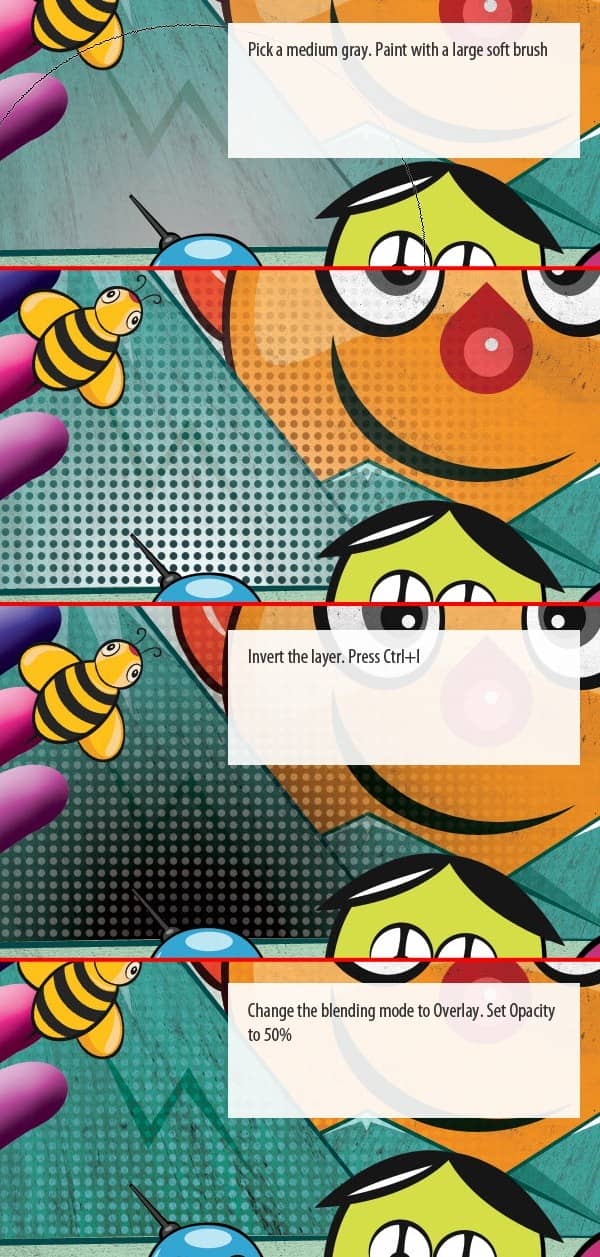
Add another halftone pattern. Create a new layer in "Mountain" group. Pick a medium gray and add a spot. Apply halftone pattern with the same settings used before. Follow steps you see below.
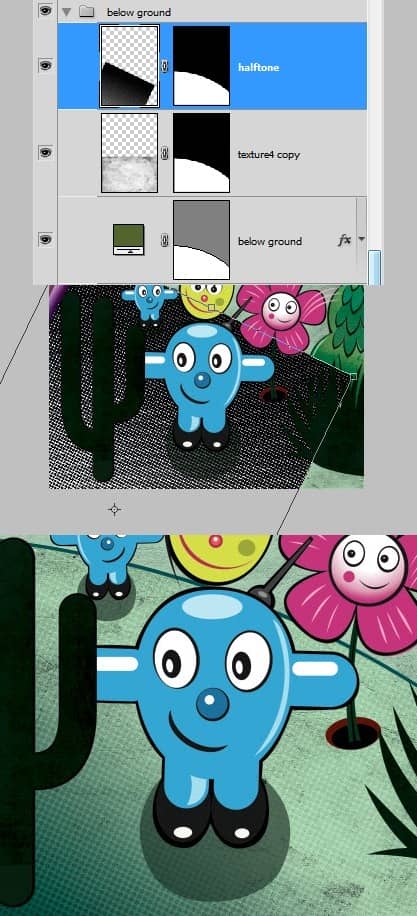
Create a black and white gradient. Apply Halftone pattern. Move it into the "Below ground" group. Position it on top of the ground layer. Change the Blend mode to Soft Light. Mask out unwanted area by loading selection from the ground layer.
Step 24 :Adding Custom Elements
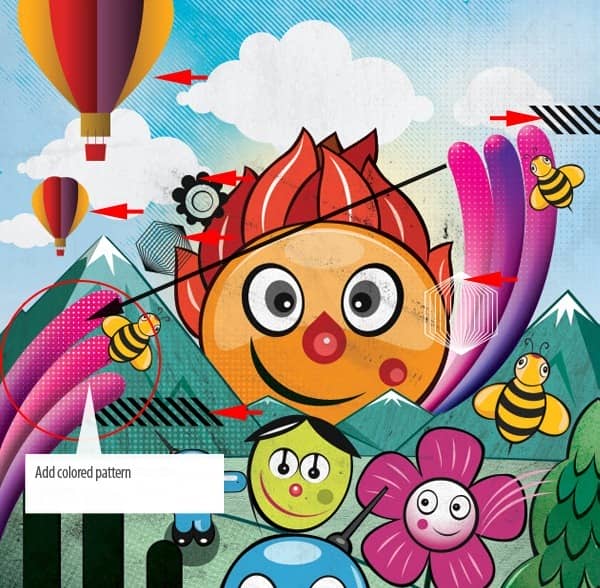
Open the Illustrator file provided below. Copy and paste shapes into our file as Smart Objects. You can apply layer styles to them. Once you arrange them group them as "custom elements". Place it above the "Flourishes" group.
Step 25 : Add paint texture
Open the 22.png from the "Drips and Spray Paint Pack". Drag and drop it into the main file.
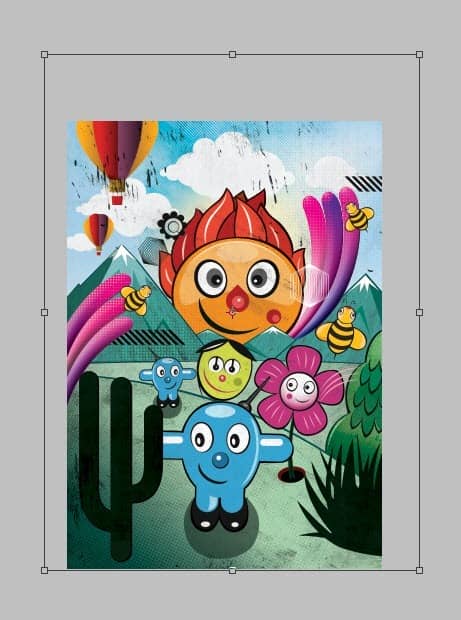
Use layer mask to erase areas where it is too strong. Reduce the Opacity to 30%.
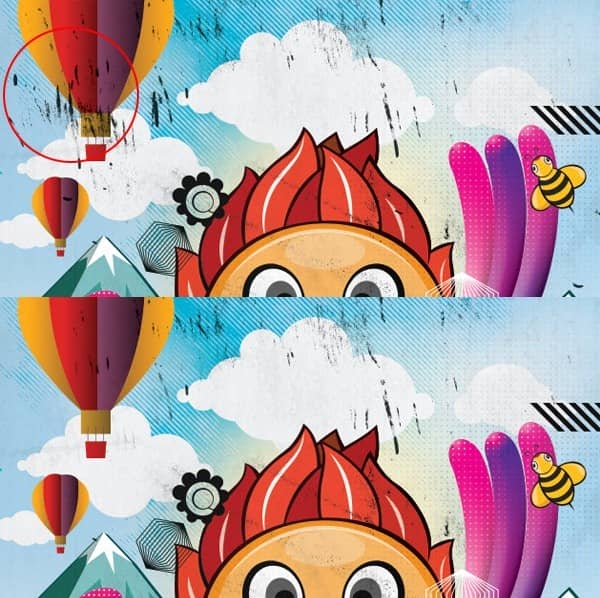
Duplicate the paint texture. Press Ctrl+T, right click on the bounding box and choose Flip Vertical. Reposition it at the bottom of the layout. Select the two layers and press Ctrl+G to group them and rename it as "Paint Texture".

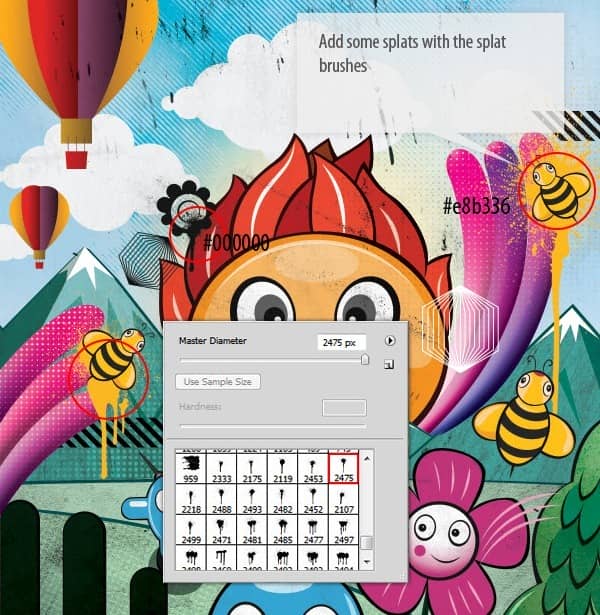
Load the "Drippy Spray Brushes". Create a new layer and under the bees, pick a spray paint brush. Add splats. Change the blending mode Hard Light.
Step 26 : Title
Now add title. I chose the name "Artkind". Create a new group called "Title". Place it at top in the layer stack. Select the Horizontal Type Tool and type the text. I used Myriad Pro family to create the entire text. You can choose any similar font. But always limit your fonts to 2 to 3 types. Turn on the guides to make sure the text is within the text safe zone.


8 comments on “Create a Vector Style Magazine Cover in Photoshop”
You would do anything in your power to make your best friend's day even better. That could mean picking up their go-to coffee in the morning, or sending a funny TikTok you know will make them LOL. It could also mean that whenever they post a cool pic, you’re the first to like it. As their No. 1 fan on social media, you’ll also need the best comments to leave on Instagram for your bestie as well. After all, you know you can't just drop them a like. A stunning selfie in their OOTD or foodie pic of their lunch order deserves all the love with some funny Instagram comments from yours truly.
Hello Niranth, this was truly a fun filled tutorial!!!! Thank you very much for supplying such a detailed and organized project. I have recently finished this tutorial and was wondering if I could post this on my portfolio site? I would be sure to give you credit. Just let me know if you ever have the chance. <3
Sincerely - Auzurial
you took my name
Learn to type friend
can u plz mail me d psd file as ders some downloading error wic im facing..plaeas do it by 2mrw...its really very urgent
You are amazingly talented ... wow, I loved that. Makes me proud to be an artist. Thanks!!!!
Nice idea and a wonderful lesson
no