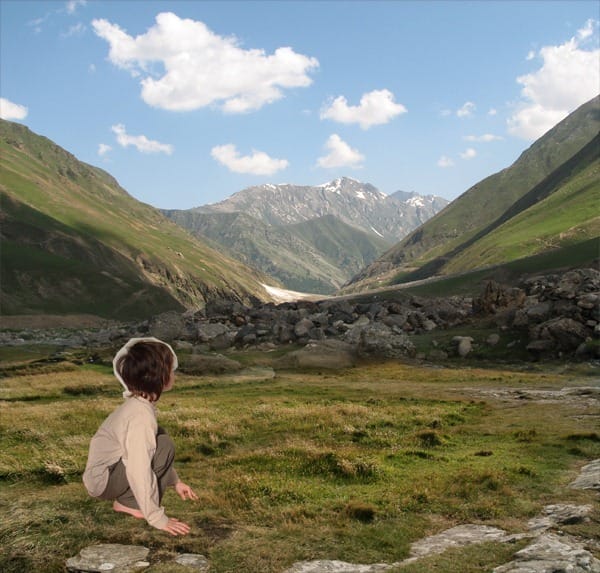
Step 4 – Changing the Angle
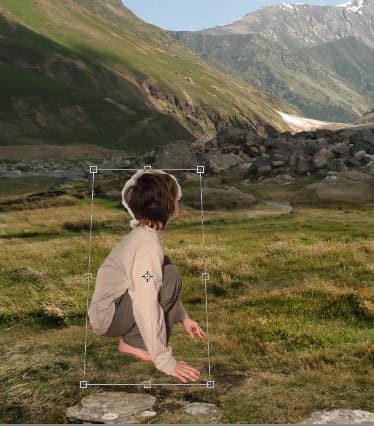
The angle in which the photo of the boy was taken is little different than the angle of the meadow. It would look better if you change the angle of the boy gently. To do that go to Edit > Transform > Perspective. The grid appears. Set it as on the following picture and press Enter on your keyboard .
Conclusion
Using of the Lasso Tool (L) can be little time consuming but it gives you the most controll over the selection process. To get realistic result be very precise with selection. To select correctly all the details zoom in on 100% and more. Be very careful with selecting hands and face. Every mistake you make with selection of these parts is very easily noticable.
After few uses of the Lasso Tool you´ll get practise and the whole selection process will be quicker.
3. Channels
Using Channels for selection is more advanced method but I´d like to mention it in this tutorial because in some cases it can save a lot of time. It´s priceless for making selection e.g. trees on the horizon. You´ll use this method to quickly select the sky in your picture.
Step 1 – Choosing the Channel
Before you start working with Channels make all layers except the MOUNTAIN invisible. To do that click on the eye icon on the left side of the layers.

Open the palette Channels. To do that go to Window > Channels and it will appear. On the palette you can see RGB and separated red, green and blue channel.
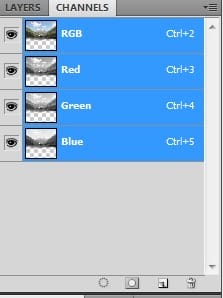
Duplicate the channel where is the highest contrast between the sky and the mounation. In this case it is the Blue Channel. To duplicate it right click on the Blue Channel and select the option Duplicate Channel.
Make all channels except the Blue copy channel invisible by clicking on the eye icon.
Step 2 – Adjusting the Channel with Levels
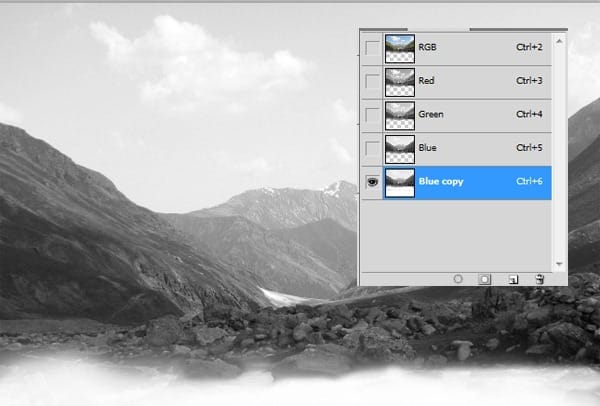
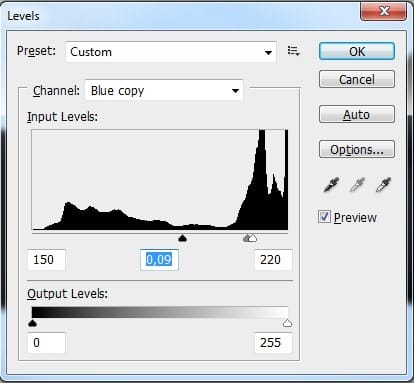
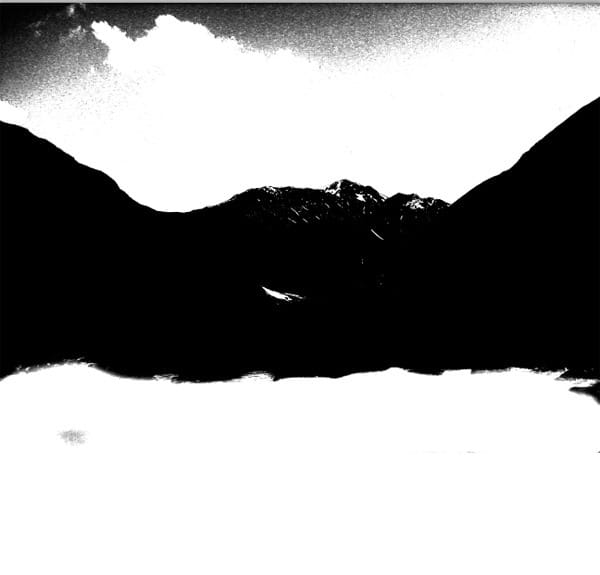
To create the mask you need to make the sky white and the mountain black (it works similarly as layer mask which was mentioned in previous parts of the tutorial). To do that go to Image > Adjustments > Levels and set Input Levels on 150; 0,09; 220 and press OK.
You should get something like on the picture below.
Step 4 – Adjusting the Channel with Brush Tool
The line between sky and mountains is correct. But you need to have the whole sky white and everything else black. You can fix it easily with the Brush Tool. Grab it, pick white color and paint over the sky. Then pick black color and paint over the rest of the image. Be careful around the line between them.
3 responses to “A Photo Manipulator’s Guide to Blending”
-
Lol
-
can you give a video tutorial please :3
-
110% work, thanx for inpiration


Leave a Reply