Turn any photo into a dot grid artwork with these Photoshop actions. You'll get great results with dots that change size. They get larger in brighter areas and smaller in darker areas. Free download available.
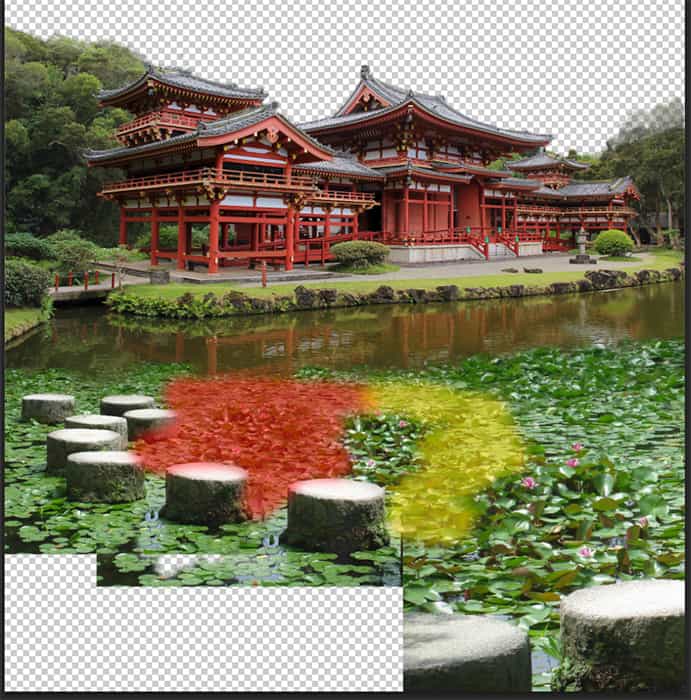
Step 10
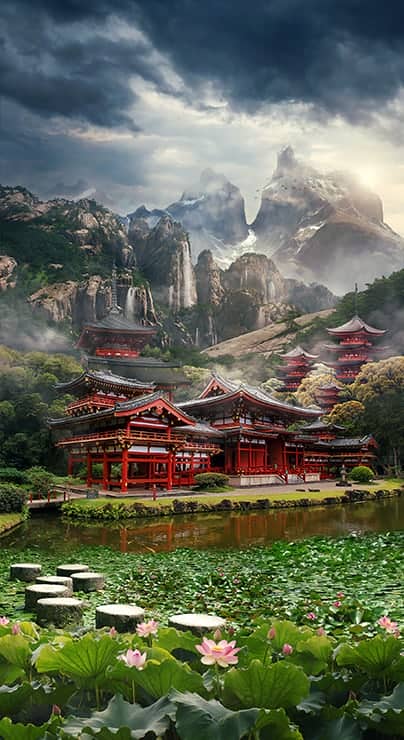
I added in working document (File > Place (Place Embedded)) a large lotuses "262_boat_by_Chinese_stock". Quite a bit to increase the size of lotuses (Ctrl/Cmd+T or Edit > Free Transform). Select lotuses, used Quick Selection Tool (W) and add layer mask to this layer.
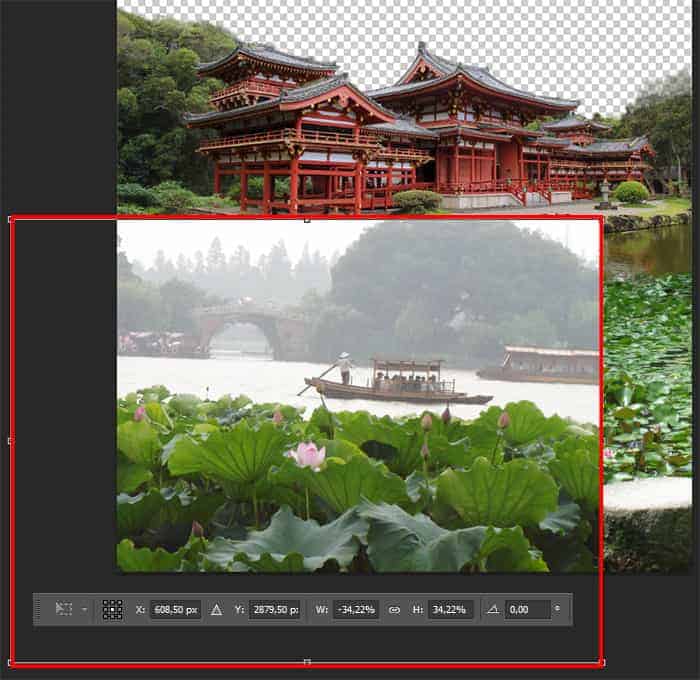
Step 11
Duplicate once this layer (to do this, use Cmd/Ctrl + J or go to Layer > Duplicate Layer). A little reduce size and move this layer under previous lotuses layer. Arrange them so that the images overlap. I recommends that you first select the desired fragment and not use reflection to this layer (Flip Horizontal). Otherwise, the picture loses its harmony and becomes not lose integrity. To make the leaves a little different and get rid of the light background in some places, I removed some parts of the layer mask with a small soft brush.
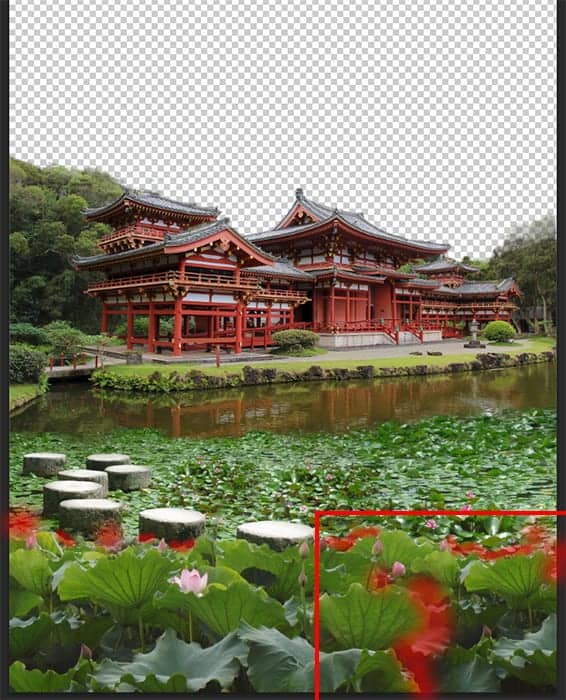
Step 12
Lotus is perhaps the most famous and sacred plant. But the vast majority of these beliefs combines basic concept denoted Lotus: purity by light. Lotus rhizome immersed in the mud, but the flowers and leaves its pure and untainted. Flowers raised high above the water, over land. Is not it beautiful and instructive!
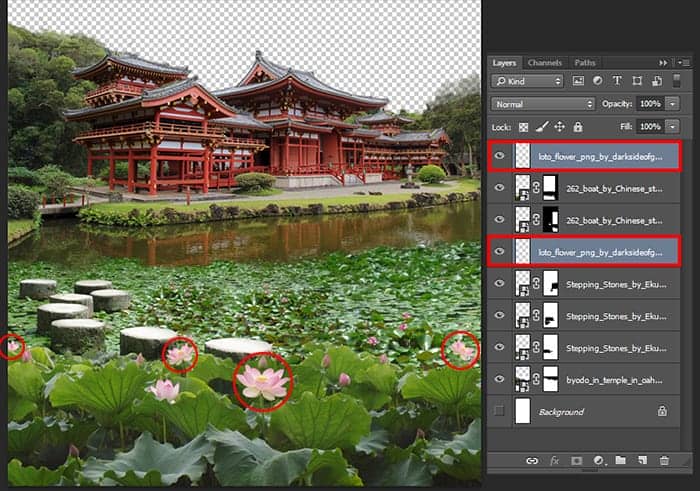
I thought it necessary to add a few bloomed lotus flowers to diversify and give affection. Place (File > Place (Place Embedded)) image "loto_flower_png_by_darksideofgraphic-d6ck3z4" in working document. Reduce the flowers that they were about the size as on original photos and arrange them different parts of the image. I advise you to place some layers before the layers with lotuses and behind them. Also, do not replace all the buds on the flowers, otherwise you will lose the harmony. Try to arrange the flowers in the foreground on sticks buds. Total I used 4 flower. To Merge flower layers use Cmd/Ctrl + E or Layer > Merge Layers...
Step 13
To put the point in the work on the first plan, add the finishing touches - koi fish. Koi - it is one of the gems of east. With them is associated with many legends and this fish is highly respected, it has long been revered as a symbol. I added them much later when doing this artwork, but you better do it now. Open image "Koi_1_by_Alegion_stock" (go to File > Open or use Cmd/Ctrl+ O). As you can see, background is not enough black to select the fishes, so press Cmd/Ctrl + L or go to Image > Adjustments> Levels... Set for Blacks: 21, for Whites: 225 and click OK. I increased the maximum black to get rid of noise and color spots on the background and reduced a little of maximum brightness to make a little contrasted fishes.


30 comments on “How to Create a Mysterious Matte Painting Landscape in Photoshop”
also me
This looks so cool. You know what would make it even better?? ATMOSPHERIC PERSPECTIVE. But that can be a personal job for readers. Nice work
this is good thanks
kms
this actually sucks
this sucks
bro I be watching dr duke all day keep up the amazing vids man
good job!
Great!!
That's the most hideous photo that I have ever seen.
perfect
"an amazing" NOT "a amazing" !
takes to long
Great tutorial! I've learned a lot. Here is my outcome: http://oi66.tinypic.com/2a5gqbr.jpg
Thanks
Possibly the best tutorial I have done. Absolutly awesome image, and I love the way you explain how you see it & why. It is like a noval.
Please do more !
Thanks you! Maria
I had finished this tutorial.
Amazing!!!
Thanks for sharing.... :-)
Nice
Amazing tutorial, now I have to go back and do the rest of your stuff. :D
A tip for Step 38: just select your top layer, go to Edit -> Select all (ctrl/cmd + A)
then Edit -> Copy merged (shift + ctrl/cmd + C)
This will copy all the visible layer (inside your selection), now you just have to paste it,
Edit -> Paste (ctrl/cmd + V) or Paste special -> Paste in place (shift + ctrl/cmd + V).
wow, what a wonderful great tutorial.
Very well explained so even a "beginner" to work with.
Thank you also for the material and links to the trouble to write it all. Once again, simply grandiose.
Kind Regards
Easy to follow. But I have some problems with making it exactly the same you have showed. I would have to search in http://google.com for photoshop basic tools documentation.
However, thanks!
awesome
Absolutely georgeous.
Nice
and AMAZING!
TAKES SO LONG, but the outcome is amazing!
one of the finest...what a refreshing work to see..
Near to natural !
wooow!!!
it's so realistic pic
great work, i like it :)
this is great i love and need turt specially on building back grounds and Invirements