TIP: If you create shadows in your manip try to avoid using of black color. Use some dark browns, dark blues or greens etc.
In nature you will find very few pure black things – more often they are dark tones of different colors but your brain percieve them as black. Your pictures will look much more realistic if you don’t use black.
Step 10 – Blurred Background Behind the Bulb
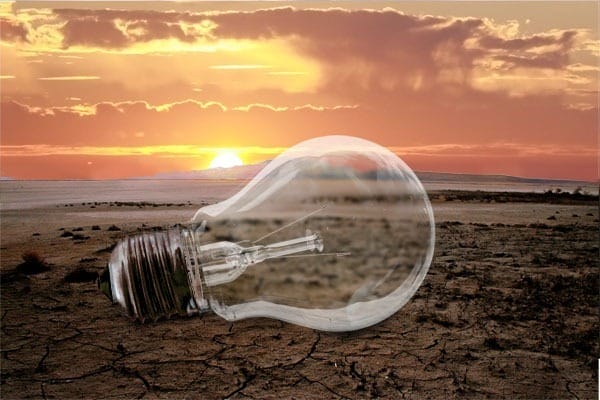
The background behind the bulb should look little blury because of the glass in front. You´ll do it in this step. Click on the layer GROUND. Grab the Lasso Tool (L) and select the area behind the bulb. Press Ctrl + C to copy the selection and paste it under the HOLDER. Name this new layer e.g. BLURRED BACKGROUND. Go to Filter > Blur > Gaussian Blur… and set the value Radius on 2,0 pixels. Press OK.

Step 11 – Ading the Flowers
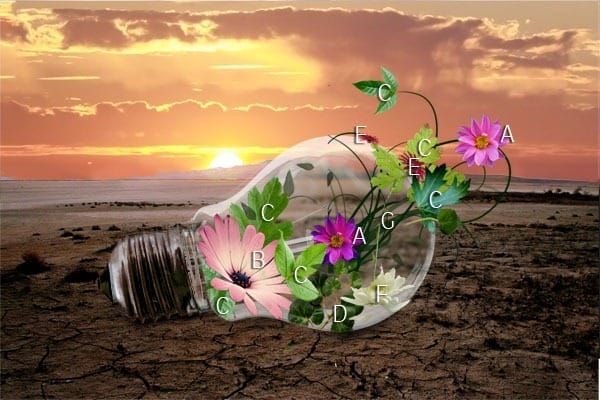
Now it´s time to add flowers and leaves. It´s pretty simple step but little time consuming. Cut out the background of the flower if it´s necessary, drag it into the manipulation, resize it properly and put it on the right place. Do the same process with all flowers and leaves. Below you can see the video showing how I added the flowers. And on the following picture there is shown which flower is from which stock.
- A – livinius stock
- B – sourcow stock
- C – grannysatticstock
- D – sammykaye1sStamps
- E – MaureenOlder
- F – AJK-Original-Stock
- G – Tempestazure

Step 12 – Glass In Front of the Flowers
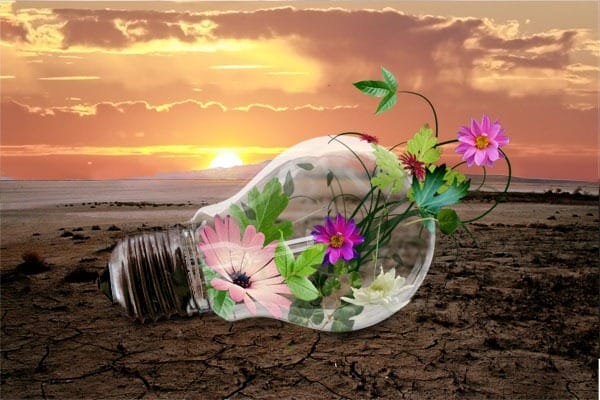
Right now the flowers look like they are in front of the light bulb, not inside. You’ll fix it in this step. The way how to do it is quite easy. Right click on the layer LIGHT BULB and select option Duplicate Layer. Name this new layer e.g. BULB IN FRONT and place it on the top of all layers. Lower the opacity of this layer on 40%.

Step 13 – Adding Shadows Under the Flowers
Now it’s time to add shadows under the flowers to make them looking that they’re not levitating but standing on the ground.
TIP: Always if you add some new object to your manipulation don’t forget to think about shadows which the object automatically creates. Every object (except those who are flying) should have thin line of shadow between itself and the object on which it’s standing.
Create a new layer under the layers with flowers and name it e.g. SHADOWS UNDER FLOWERS. Grab the Eye Dropper Tool (I) and select some dark brown color again. Then grab the Brush Tool (B), select some soft round brush and set the Master Diameter on 25 px. Lower the Opacity of the brush on 50%.
2 responses to “How to Create an Inspiring Light Bulb Photo Manipulation in Photoshop”
-
detailed and creative. I,m from Belize CA. I got photoshop cs6 like 6 months ago and it has become my new hobby ever since. this tutorial has excellent tips on blending modes and will certainly improve my skills. keep up the good work and thanks for the inspiration.
-
Excellent.


Leave a Reply