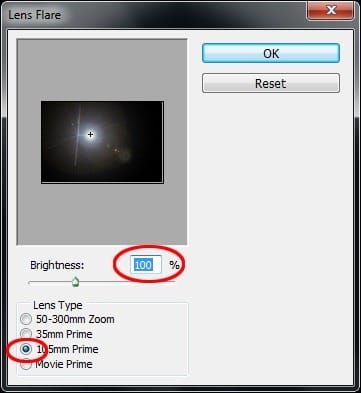
Press OK.
To blend the layer properly change the Blending Mode on Screen. According to me the brightest spot of the flare is too bright and makes the eyes hurt. To make it softer add new vector mask to this layer. Grab the Brush Tool (B), pick black color and lower the Opacity on 30%. Gently paint over that bright spot.

Step 20 – Yellow Lines Around the Edges
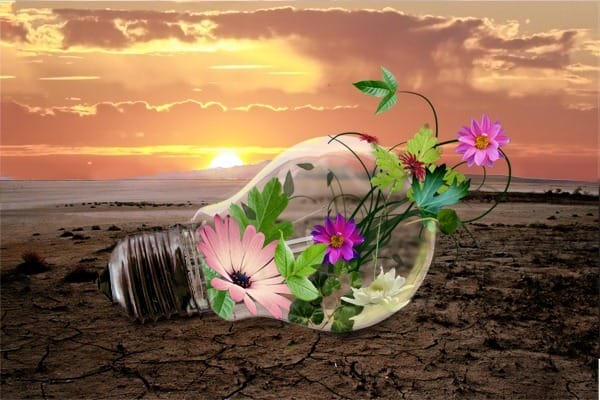
Second thing on the list is adding the yellow lines. I circled them on the example image again so you can see better what you will create in this step.

To add these lines create a new layer on the top of all layers and name it YELLOW LINES. Pick some light yellow from the picture with the Eye Dropper Tool (I). Grab the Brush Tool (B), select some soft round brush and set the Master Diameter on 4 pixels. Set the Opacity on about 60%. Now paint the upper line. Change the Master Diameter on 8 pixels and paint the reflection on the bottom. This step would be easier if you have a tablet but it can be done with mouse too. You just need little more patience. On the following picture it’s shown how your image should look so far.

Step 21 – Aura Around the Light Bulb
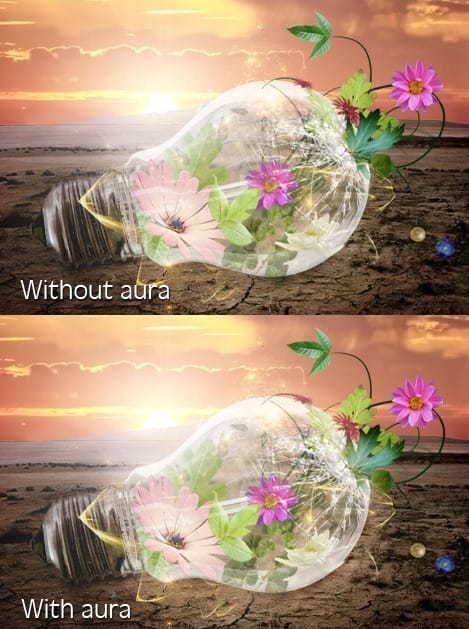
You will add the rest of the thing from the list little later. Now lets focus on something different. To make the light bulb looks like it is really shining it should have decent aura around. You’ll create it in this step. Add a new layer on the top of the layers and name it AURA. Grab the Brush Tool (B), pick some very light yellow or orange color and lower the opacity of the brush on 20%. Set the Master Diameter on 60 pixels. Paint white stroke around the light bulb, not around the holder. Below you can see how the image looks with and without this step.

Step 22 – Reflection to the Light Bulb
The light bulb and the flowers inside should have bit more orange tones. To add them grab the Lasso Tool (L) and select part of the sky. Make the shape of the selection similar as the shape of the bulb.

Go to Edit > Copy Merged on press Ctrl + Shift + C on your keyboard to copy the merged image. Then press Ctrl + V to paste the selection. Name this new layer e.g. ORANGE TONES and place in on the top of the layers.
2 responses to “How to Create an Inspiring Light Bulb Photo Manipulation in Photoshop”
-
detailed and creative. I,m from Belize CA. I got photoshop cs6 like 6 months ago and it has become my new hobby ever since. this tutorial has excellent tips on blending modes and will certainly improve my skills. keep up the good work and thanks for the inspiration.
-
Excellent.


Leave a Reply