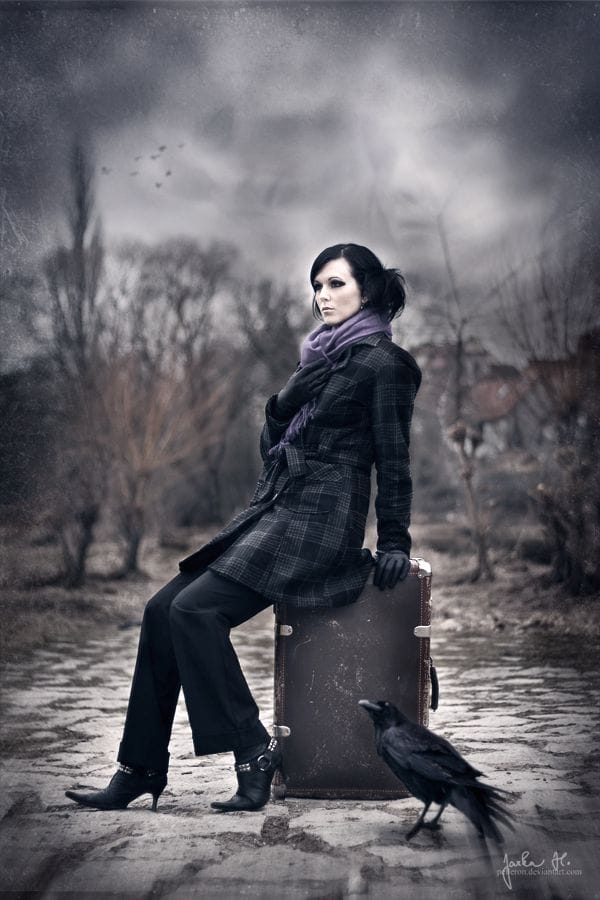
In this tutorial you’ll learn how you can change light scene in your photography or photo manipulation to get dramatic atmosphere. I’ll also show you how you can use Channels to easily change sky, how you can use different filters to create dreamy effect and give you several tips on color adjustments. Let’s get started!
Preview of Final Results

How to Use Light and Shadow to Create a Dramatic Photo Effect Photoshop Tutorial
Resources
Step 1 – Preparing the Picture
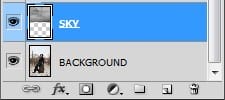
Open the photo of a girl in Photoshop. Right click on the Background and select option Layer From Background. Then open photo of sky and drag it into previous picture. Place it on the top and name it SKY. Below you can see how your layers should look liker.

Step 2 – Blurring the Sky
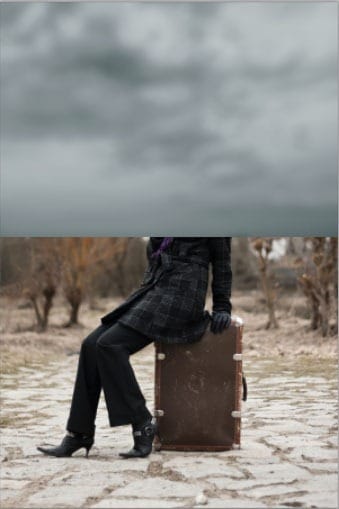
Right now the sky is not blended with the rest of the picture. You’ll fix it in this and following steps. As you may notice picture of the sky is sharper than the background. It’s because it was taken with different (higher) f-number setting than the rest of the image. If you start blending sky now you won’t get realistic result because of that. To fix it you need to blur the sky a little. Make sure that the SKY layer is active (just click on it). Go to Filter > Blur > Gaussian Blur, set the value Radius on about 3,5 pixels and press OK.

Below you can see how the image looks so far. Still lots of work need to be done.

Step 3 – Blending the Sky
Before you’ll start to adjusting contrast and colors of the sky let’s focus on blending. Click on the layer SKY and change its Blending Mode on Multiply. You can find this option in the bottom part of the palette Layers (same as your layers). If you don’t see it go to Window > Layers or simply press F7 on your keyboard.

Then lower the Opacity on 80% to get even better result. You can find this option right to Blending Mode changes on Layers palette.

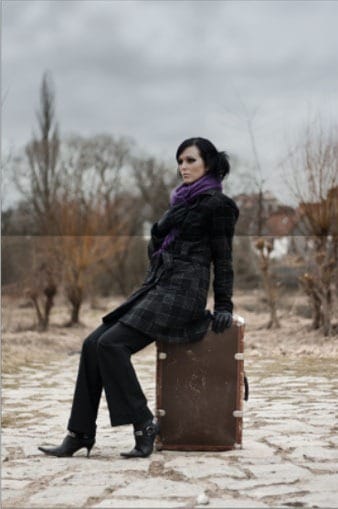
Below you can see how the picture looks so far. It’s much better but still needs some adjustments to look perfect.

Step 4 – Soft Transition
As you can see on the photo above there is a harsh line between SKY and the rest of the image. To fix it add new layer mask to sky. You can find the button Add layer mask on the bottom part of the palette Layers.

Grab the Brush Tool (B), select some soft round brush, lower its Opacity on about 40% and pick black color. Make sure that the layer mask is active – click on the thumbnail of it.
9 responses to “How to Use Light and Shadow to Create a Dramatic Photo Effect with Photoshop”
-
Thank you so much for this tutorial. I’ve read many tutorials about all of the tools you mentioned in this article, but I was never able to really grasp or truly understand the concept behind the tool. You have explained them in a way that really make sense to me!! And that is very much appreciated!
-
thanks a lot
-
thanks very nice.
-
Woow! I am very very impressed about your tutorial. With all your stuffs, i have no doubt am gonna be a pro in photoshop!
-
thats a wonderfull tutorial….thank u….
-
thanks wow nice
-
plz post a video tutorial….
-
Yes girl, nice job. Thanx
-
What a fantastic tutorial, covering so many aspects of photoshop. I’m now even more excited to learn the program. . Thank you! thank you! thank you!


Leave a Reply