Luminar AI lets you turn your ideas into reality with powerful, intelligent AI. Download the photo editor and see how you can completely transform your photos in a few clicks.

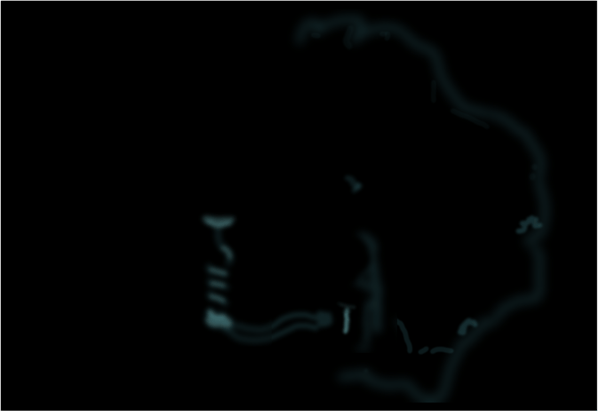
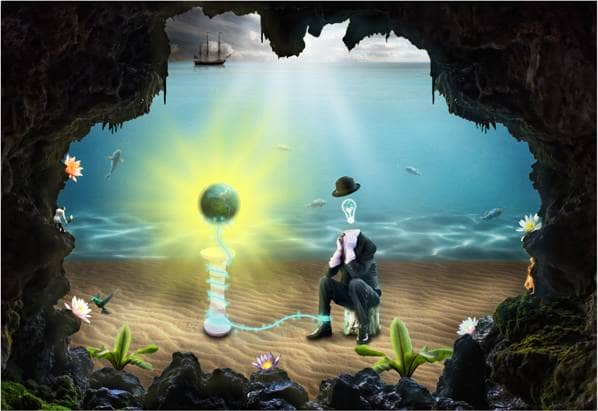
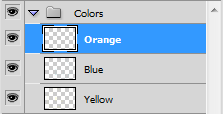
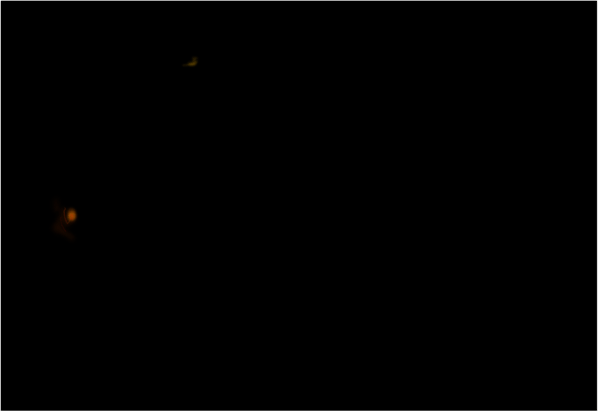
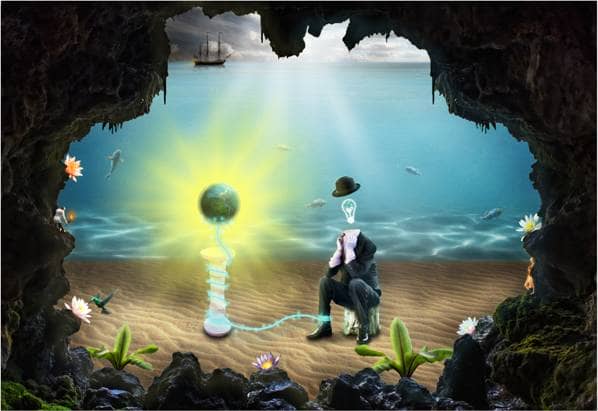
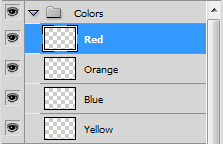
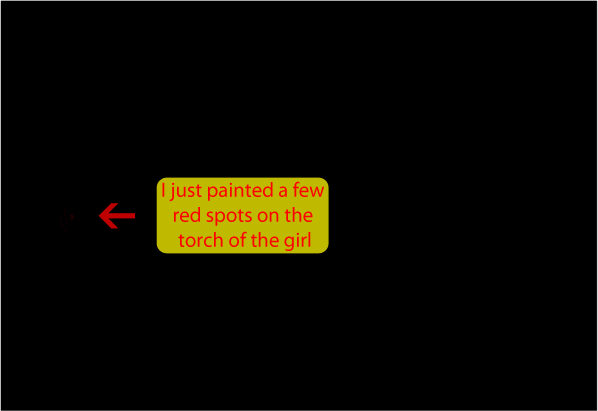
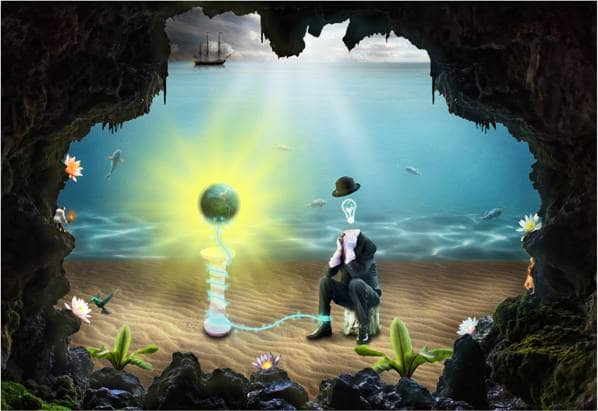
I’m going to stop here but feel free to use how many colors you want in this step.
Step 21: Final Adjustments
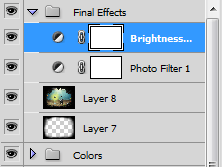
Once you’re satisfied with the colors of your image create a new group called ‘Final Effects’. This group will have all the adjustments we’re going to make in this step.
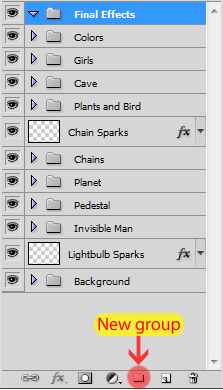
Add a new layer (Ctrl/Cmd+Shift+Alt/Opt+N), press D to reset the colors of your palette, and press Alt/Opt+Delete to fill this layer with black.
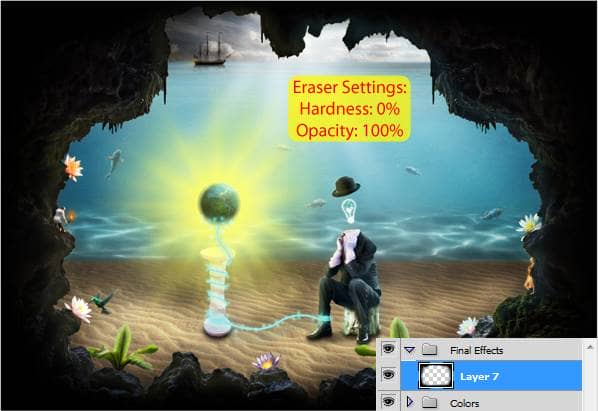
Now grab the Eraser Tool (Shortcut: E) and erase the main part of our image (see image below). This will hide the cornes of our image, making the viewer focus more on the details inside our cave.
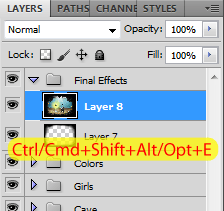
Press Ctrl/Cmd+Shift+Alt/Opt+E to merge your image into a new layer while leaving all the other layers in your project intact.
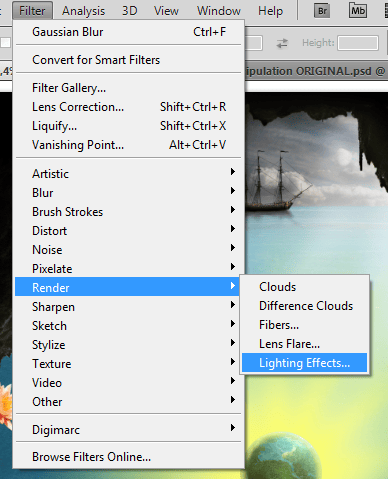
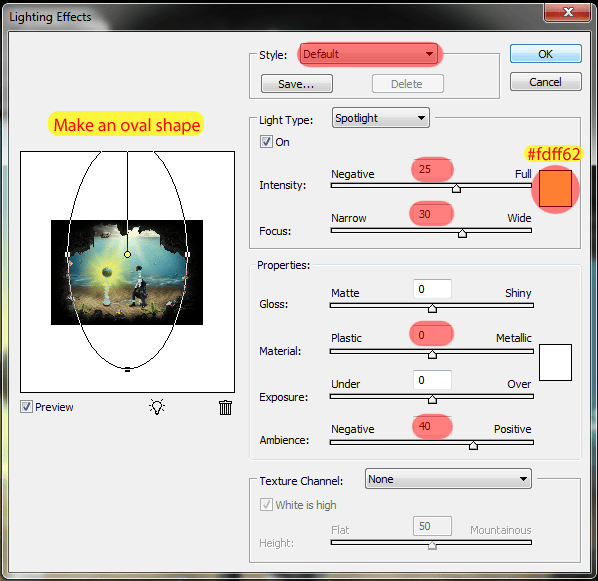
With this new layer selected, go to Filter > Render > Lighting Effects.
Check the image below for the input values:
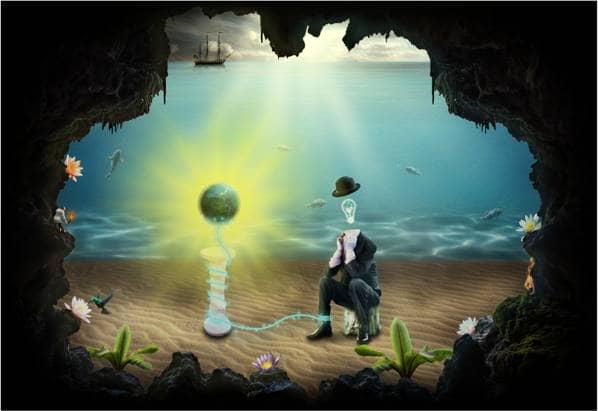
The result:
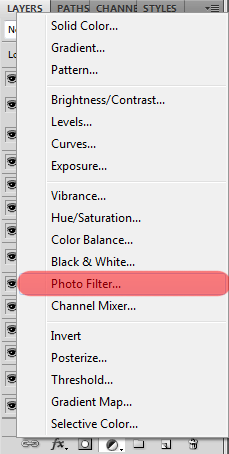
Add a Photo Filter (see image below).
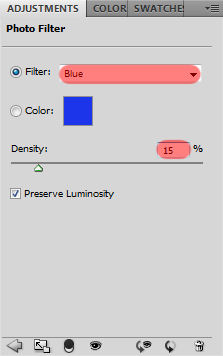
Select the Blue filter and change the Density to 15%.
Result:
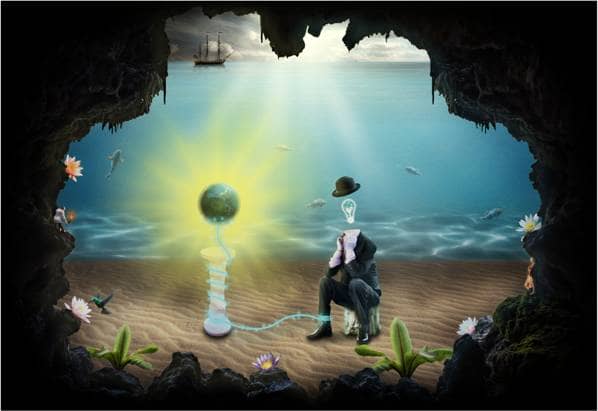
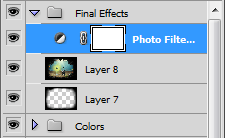
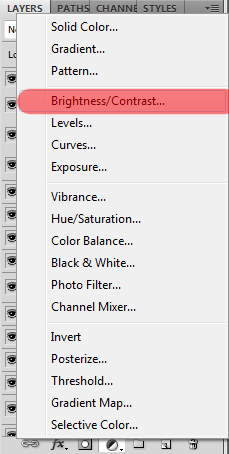
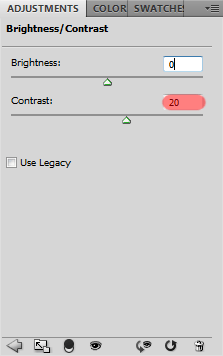
Add a Brightness/Contrast adjustment and set the Contrast to +20.
Here is the result:
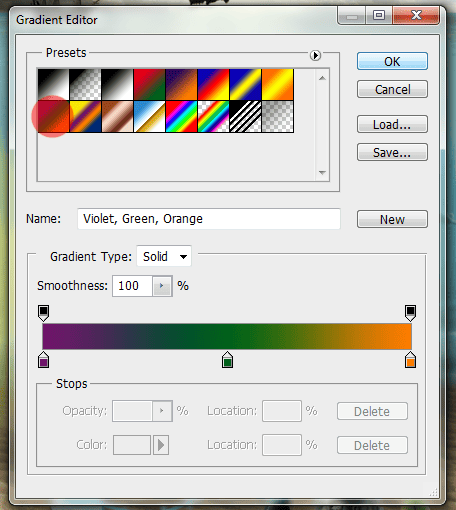
Press G to select the Gradient Tool, and change the gradient (click in the thumbnail of the gradient on the top toolbar).

Select the first gradient from the second line:
Now create a new layer (Ctrl/Cmd+Shift+Alt/Opt+N) above all the other layers and click and drag to form the gradient (see image below).
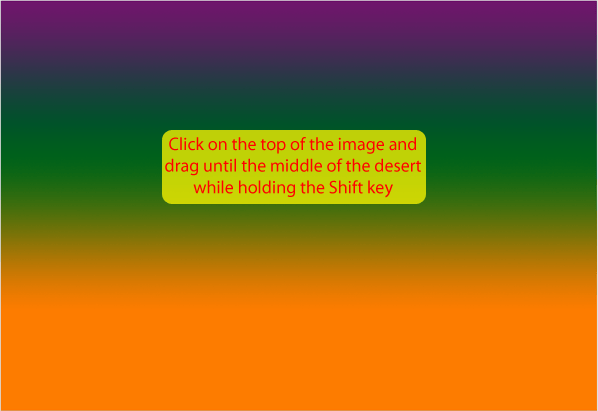
Change the blend mode of this layer to Soft Light and lower the opacity to around 30%.
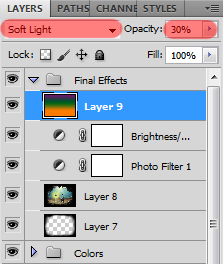
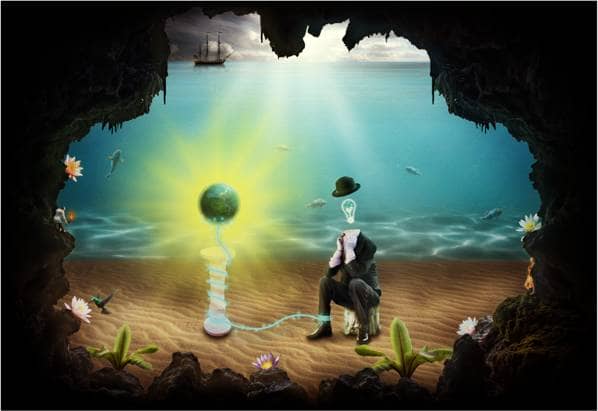
Here is the result:
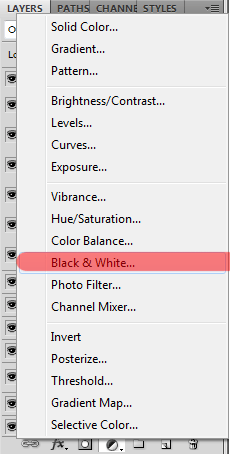
Add a Black & White adjustment and choose the High Contrast Red Filter.
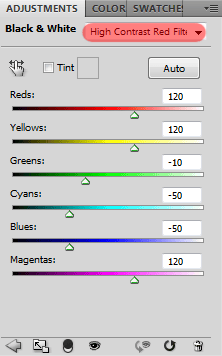
Now change the blend mode of this layer to Overlay and lower the opacity to around 25%.
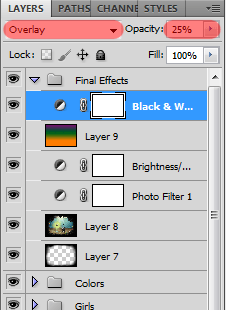
Here is the result:
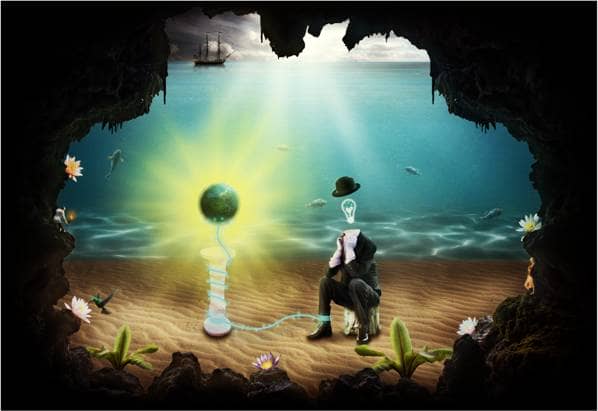
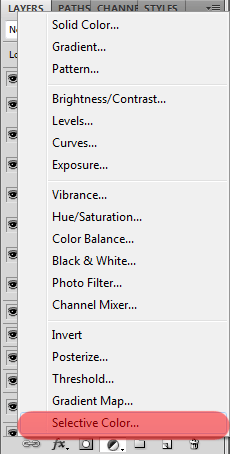
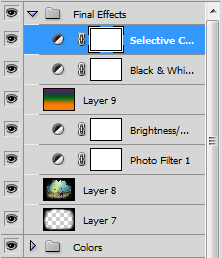
Add a Selective Color adjustment and see the image below for the input values.

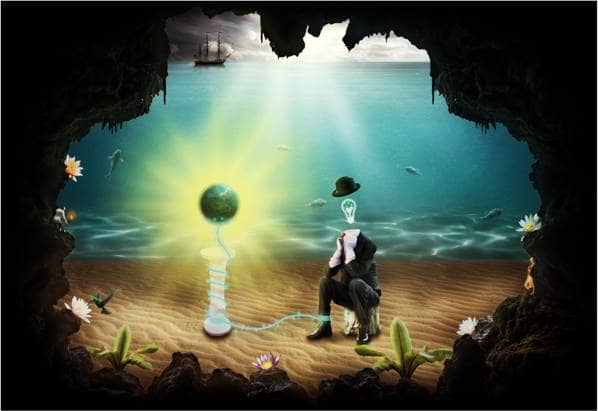
Here’s the result:
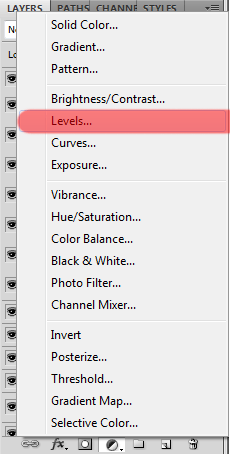
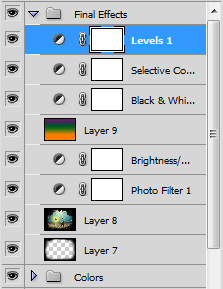
Last but not least, add a Levels adjustment.
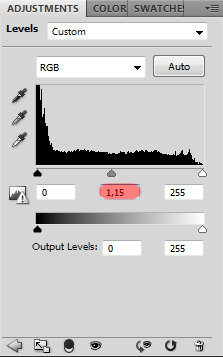
Set the middle slider to 1,15.
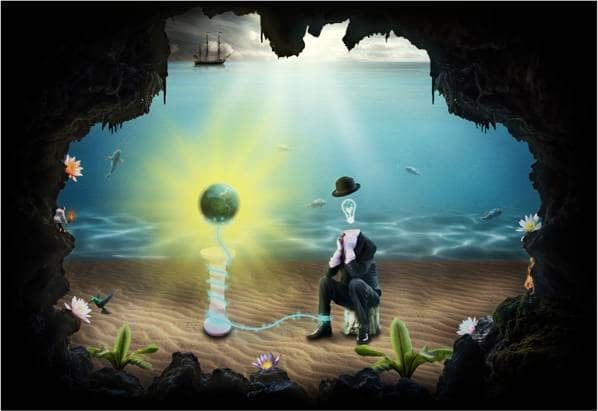
And here is the final result of our photo manipulation:
![clip_image002[1] clip_image002[1]](https://cdn.photoshoptutorials.ws/images/stories/57a99763c51b_12E3C/clip_image0021.png?strip=all&lossy=1&quality=70&webp=70&avif=70&w=1920&ssl=1)
Final Results
![clip_image002[2] clip_image002[2]](https://cdn.photoshoptutorials.ws/images/stories/57a99763c51b_12E3C/clip_image0022.png?strip=all&lossy=1&quality=70&webp=70&avif=70&w=1920&ssl=1)

 Thanks for following this tutorial! I hope you've learned a thing or two here (even if it was just some shortcuts) and I hope that you were able to follow along with no problems. I’ll see you again on another tutorial soon. Have Fun!.
10 comments on “How to Create a Surreal Scene with an Invisible Man Inside a Mystic Cave”
Some of these tutorials are extremely good, magazine like. Thanks for sharing!
Excellent tutorial. Easy to follow and very, very informative. Thanks for the knowledge.
I did thank you. It took a while but after a while I got the hang of it.
excellent work
buen trabajo amigo
good work
nice
Cool tutorial...got to learn a lot of things... Thanks a lot... :)
thanks, glad you like it =D