
Step 15: Add the pedestal
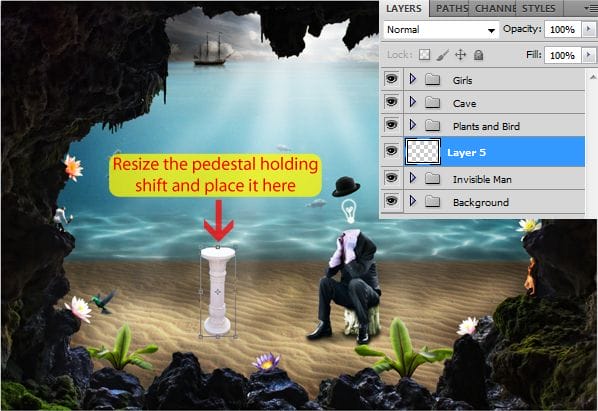
Open the pedestal stock and use the Quick Selection Tool to extract it. Then copy and paste it into our project.

Resize the pedestal with the Free Transform Tool (Ctrl/Cmd+T) while holding the Shift key. Then place the pedestal layer between the ‘Invisible Man’ and the ‘Plants and Bird’ groups.
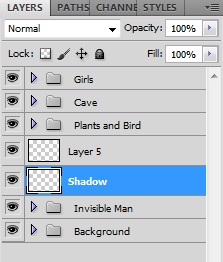
Create a new layer pressing the button in the Layers panel or using the shortcut Ctrl/Cmd+Shift+Alt/Opt+N. Name this new layer Shadow and place it below the pedestal layer.
Select a soft brush (Shortcut: B) with the black color and start painting shadows like this:

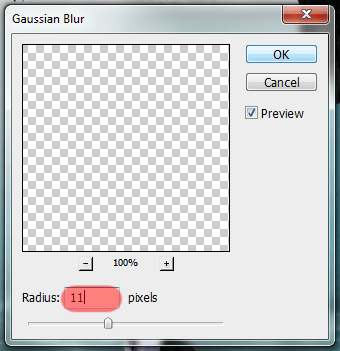
Then add a Gaussian Blur by going to Filter > Blur > Gaussian Blur. Set the Radius to 11px.
Here is the result:
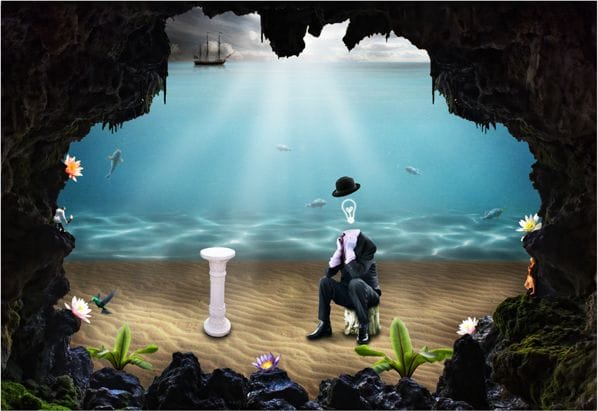
To finish this step, group these two layers into a new group called Pedestal. We’ll return to this group later.

Step 16: Add the planet
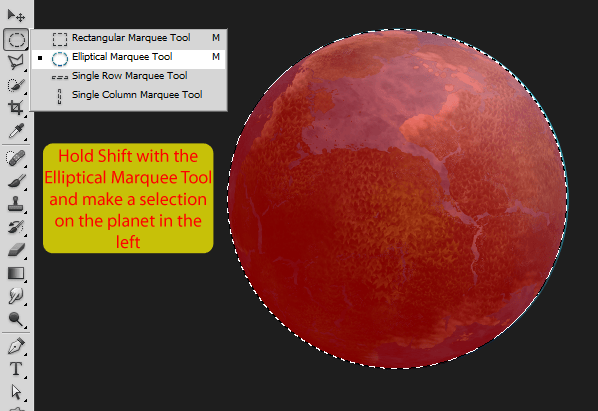
Open our last stock, the planet, and use the Elliptical Marquee Tool (Shortcut: M) to make a round selection on the planet in the left.
- Hold Shift to make a perfect circle
- While making the selection, press and hold the Space Bar to move the selection around
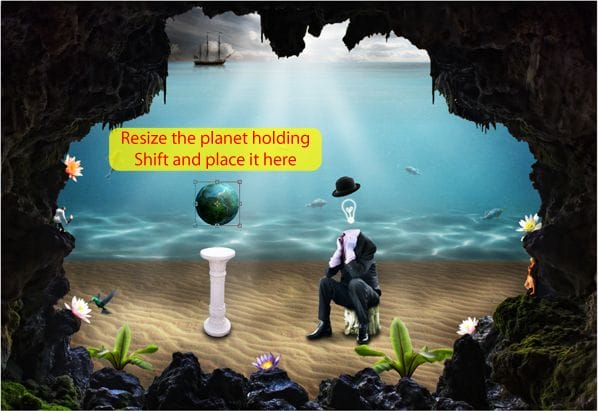
Copy and paste the planet into our project (place this layer below the ‘Plants and Bird’ group. Use the Free Transform Tool (Ctrl/Cmd+T) to make it smaller and place it above the pedestal.
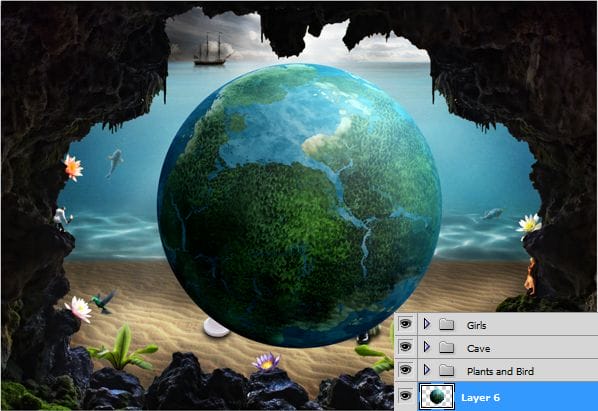
Double click the planet layer to add some layer style.
- To change the Contour don’t click in the thumbnail, click in the arrow on the right

The Gradient Editor:

Back to the Layer Style:

Here’s the result on the planet:
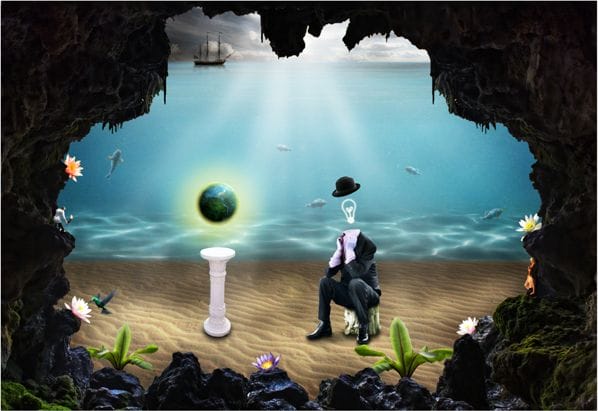
Create a new layer pressing the button in the Layers panel or using the shortcut Ctrl/Cmd+Shift+Alt/Opt+N. Name this new layer ‘Planet Light’ and place it below the planet layer.
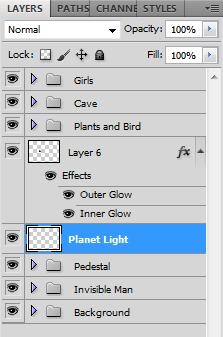
Load the Light Beam brushes again and select this one:
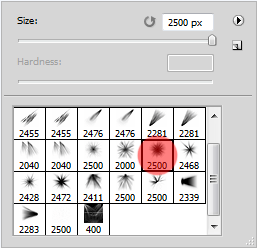
Select a light yellow (#ffff62) and click once behind the planet. Remember to adjust the size of the brush before you paint.

Now go to Filter > Blur > Gaussian Blur and set the radius to 13px.


Here is the result:

To finish this step, group these two layers into a new group called Planet.

Step 17: Adding the light chains
Create a new layer pressing the button in the Layers panel or using the shortcut Ctrl/Cmd+Shift+Alt/Opt+N. Name this new layer ‘Chain’ and place it above the Planet group.
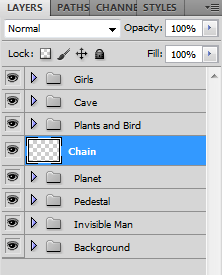
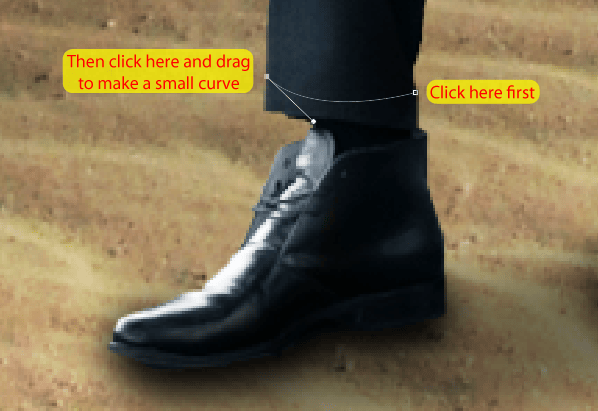
Grab the Pen Tool (Shortcut: P) and make the path shown below:
Then go back to the Brush Tool (Shortcut: B) and open the Brush Presets (you can go to Window > Brush Presets if you can’t see it). Set 12px for the brush size and select the highlighted brush.
10 responses to “How to Create a Surreal Scene with an Invisible Man Inside a Mystic Cave”
-
Some of these tutorials are extremely good, magazine like. Thanks for sharing!
-
Excellent tutorial. Easy to follow and very, very informative. Thanks for the knowledge.
-
I did thank you. It took a while but after a while I got the hang of it.
-
excellent work
-
buen trabajo amigo
-
good work
-
nice
-
Cool tutorial…got to learn a lot of things… Thanks a lot… :)
-
thanks, glad you like it =D
-


Leave a Reply